artisan bread: easy. awesome. no-knead. dutch oven method.
Everything to love about artisan bread is in this easy (naturally vegan) and fool-proof recipe: the taste, a satisfying and crispy-crust, and a soft-pillowy inside, with beautiful air and the right amount of density. This no-knead, dutch oven method is the easiest and best bread (or bread dough) I have ever made. It is the closest to the perfect bread my own Nonna would make every week, and that I enjoyed my entire childhood.This dough can be transformed into many beautiful things! I've made rustic loaves, pull-apart rolls, braided loaves, focaccia, frittelle. and pizza. It's amazing! Please see the video to master how to put this together, and live your best (bread) life with me.
Ingredients
dough ingredients
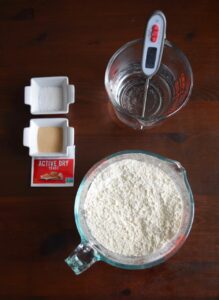
- 3 cups all purpose flour
- 1 and 1/2 teaspoons coarse salt
- 2 teaspoons active dry yeast (one package)
- 1 and 1/2 cups water heated at Water temperature is at 105-110 degrees Fahrenheit or 40-43 degrees Celsius
baking-method ingredients
- 1/3 cup all purpose flour
- 1/3 cup cornmeal
Instructions
Making No-Knead Dough
- Prepare the four ingredients
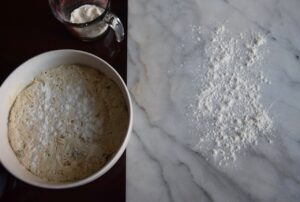
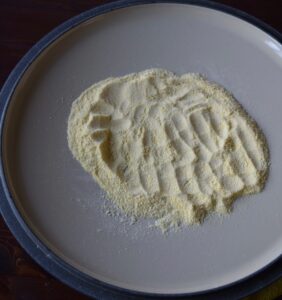
- In a larger bowl, place the flour and salt. Make a well in the center.
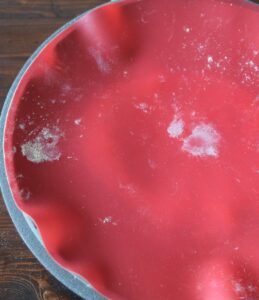
- Mix the dry active yeast inside the warm water (heated to between 105-110 degrees Fahrenheit or 40-43 degrees Celsius). Allow it to activate by covering and for five minutes.

- Once the yeast is ready, pour it into the flour-well.

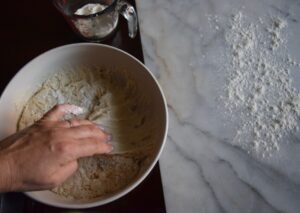
- Use a spoon or spatula to quickly combine the ingredients.
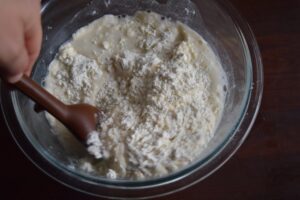
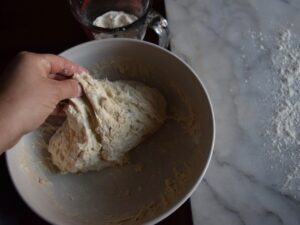
- It will take a minute or so to get everything together. Create a loose ball.

- Keep the warmth inside the ball by covering. I use one layer of (BPA free) plastic wrap to make a seal.

- If you don't like plastic wrap, you will have to completely cover the bowl in a cloth.
Bread Baking Prep
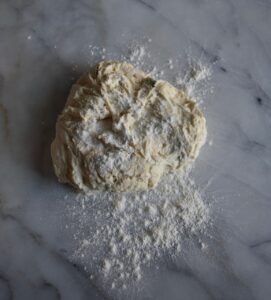
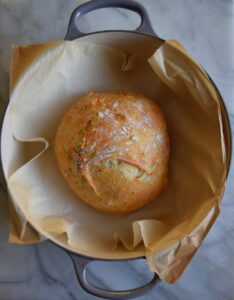
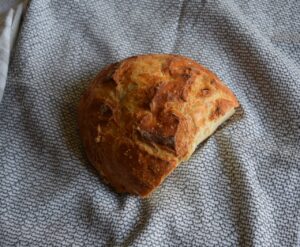
- The dough has risen! I have about 1/3 cup of flour set aside for dusting and my dutch oven is lined with either parchment paper or a baking mat. (For this particular loaf, I added fresh herbs.)

- Dust a surface and the top of the dough with your 1/3 cup reserved flour.
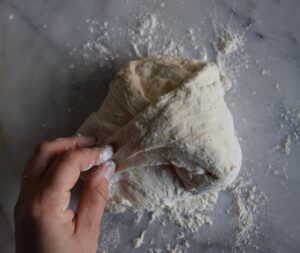
- With one hand, start at the edges to lift the dough from the bowl.
- Pull all of the dough from the bowl.
- Place the dough onto a floured surface and add a little more flour. Put your fingers in to be sure there are no big lumps.
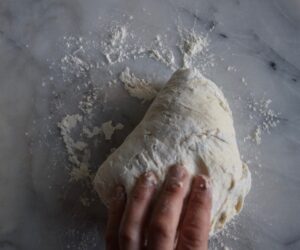
- Fold. I use a diaper-style. First a piece up, then the two side flaps over.
- Flip over so that the smooth side faces up and the folds are at the bottom.
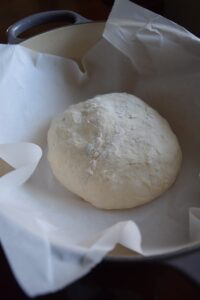
- Gently pat to make a round ball. It doesn't have to be perfect.
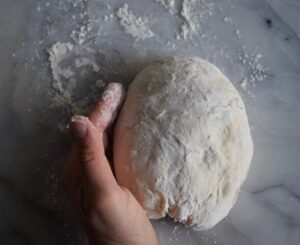
- Place the ball in the center of the lined dutch oven.
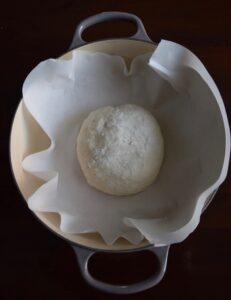
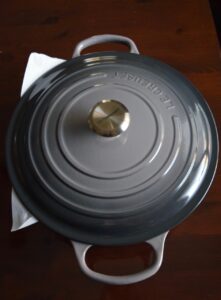
- Cover the dutch oven and set a timer for 30 minutes. This allows the dough to rest and rise before baking.
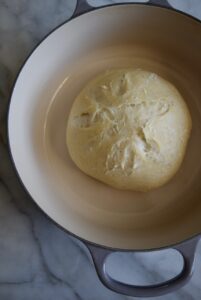
- Set aside to allow it to rise at room temperature. I tend to place it in a cold oven. This will be risen and ready to use use in one hour. However, you can make it ahead up to 18 hours in advance! You will not want to keep the dough out to rise for more than 18 hours. If you have not baked or cooked your dough within a day, it should be refrigerated or frozen to bake at another time.
Dutch Oven Baking Method
- During the 30 minute rest period, preheat your oven to 425 degrees Fahrenheit or 218 degrees Celsius. The rack should be toward the bottom for a conventional oven. I use the second level from the bottom.
- If you choose to score your bread with a sharp blade, you would do this once the dough is done resting and when it is ready to go into the oven. Bake for 30 minutes with the lid on and closed.
- Take the bread out of the dutch oven for the second part of the baking process.
- The next set of instructions are key to creating a perfectly browned bread for the second half of bread-baking, that is not burned or over-baked on one side.
- Take the dutch oven lid and invert it so that it is closing an empty pot. Place cornmeal in the center to cover the area and size of the bread.
- Place a baking mat or parchment paper over the cornmeal.
- Place the bread on top of the prepared baking mat. Place back into the oven to bake for 30 minutes.

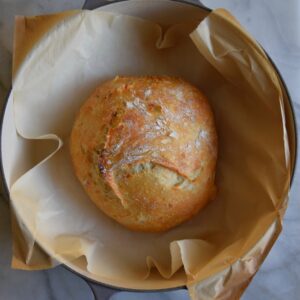
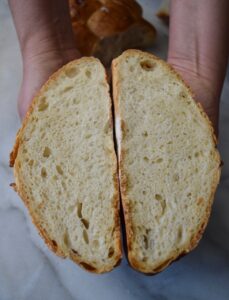
- For a golden and softer crust, remove from the oven at 30 minutes and allow to cool before cutting.
- For a darker and crisper crust, allow to cook for 10-15 minutes longer, until your desired color is achieved.
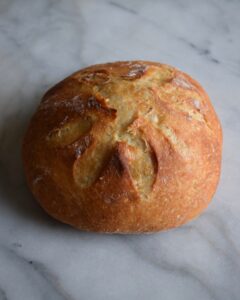
- Slice and enjoy. Fresh-baked bread is best when enjoyed the same day it is baked.
Storage
- If you prefer a soft crust, and want the bread to last longer before going stale, you can store in an airtight container or plastic at room temperature for up to five days.
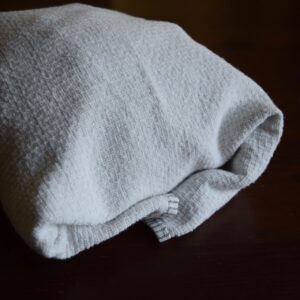
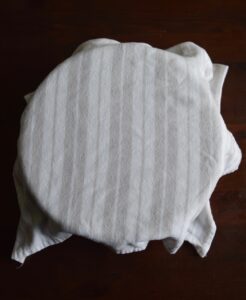
- If you do not want to compromise the crispness (or chosen hardness) of the crust, you will store in a wrapped cloth. The old-school Italian method is cloth.

- Fold the cloth down, then over, and tuck under the bread.
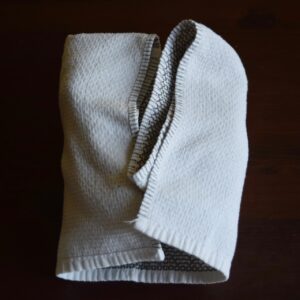
- Bread can be stored this way for up to three days. Baked bread is also stored very well in the freezer. For food safety, I recommend using a sealed plastic bag.