I take my brownies very seriously. I’m not kidding when I say that I’ve studied them. Over the years, I have made too many versions to count. Of all the different recipes, I’m sharing my all-time favorite recipe here, for traditional or gluten-free-flour brownies that are deep, dark, and decadent.
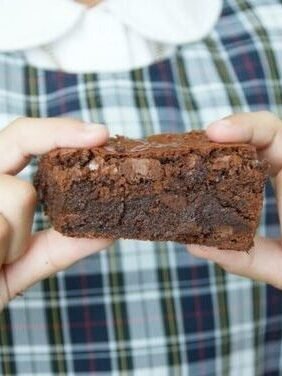
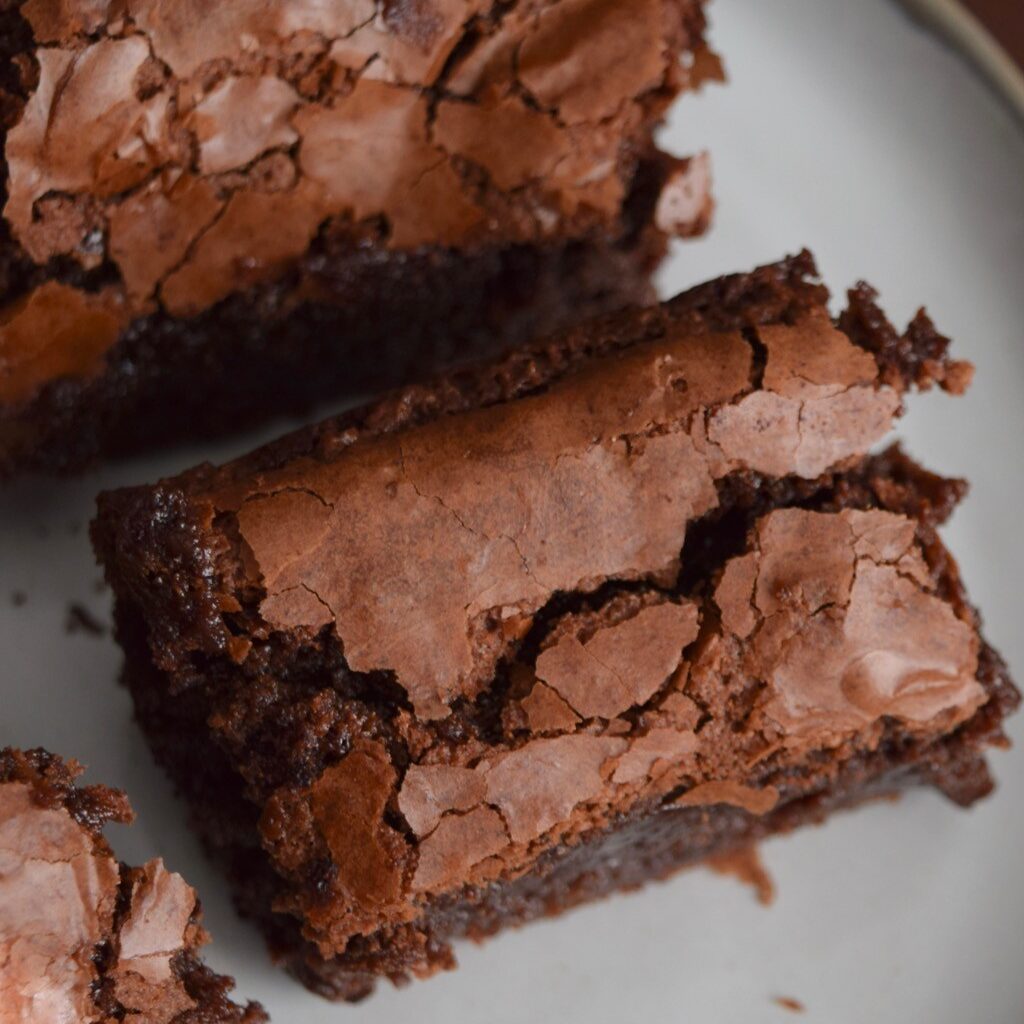
Here’s my perfect brownie: very rich, thick, dark, with a satisfying top layer. It should have a chew to it, with no dryness. Of course, my brownies will never have nuts of any kind, but I do love chocolate chips baked-in. The center should be extremely rich, the top should have some crackle. If I get first dibs, a corner piece is mine!
This recipe was modified and updated in 2026 from the original 2014 post, and is the same way I’m making this recipe for dessert catering with Mili’s Sweets.
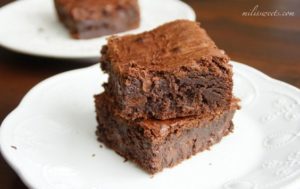
Shown cooled, and with chocolate chips:
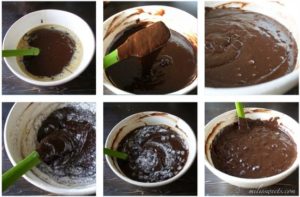
This recipe is great, as it requires no machinery. It’s best if all ingredients are mixed by-hand, with a good old fashioned bowl and spatula. I separate the parts of the recipe into bowls A-D, so that it’s easy to organize and manage.
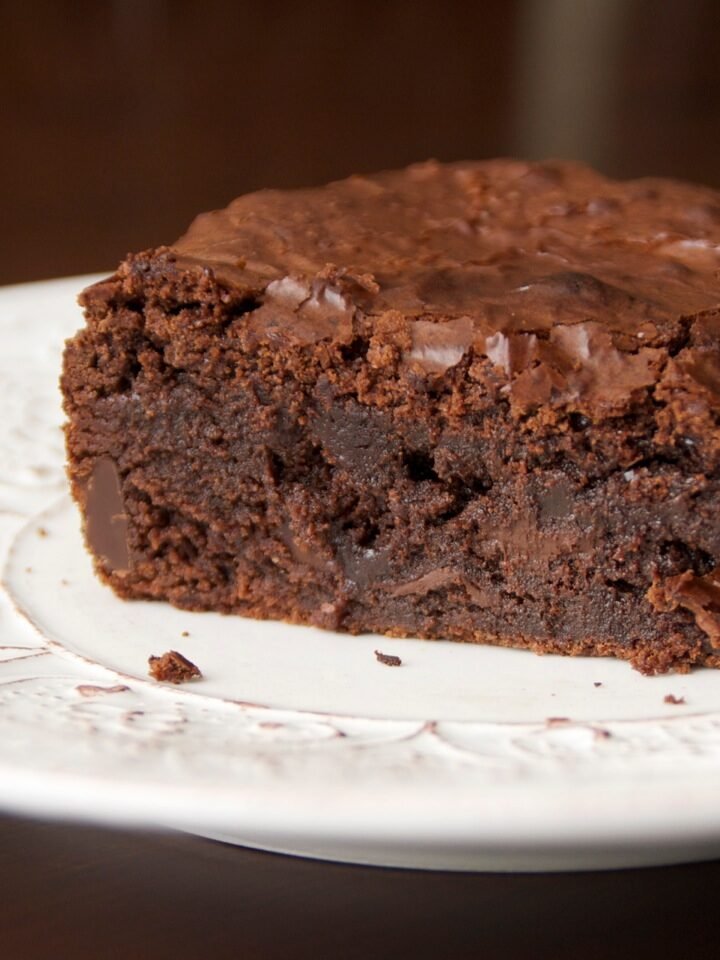
Shown without chocolate chips and strait from the oven (cut before cooled):

If all of that sounds like perfection to you, these are the brownies you should make as soon as possible.
Brownies: Deep, Dark and Decadent
Ingredients
Bowl A
- 16 ounces semi sweet chocolate chips or chopped blocks
- 6 ounces darker/bittersweet chocolate
- 8 ounces 1 cup (two sticks) salted butter, cut into pats or cubes
Bowl B
- 6 large eggs
- 2 and 1/2 cups granulated sugar white or organic
- 2 teaspoons pure vanilla extract
- 2 teaspoons pure vanilla extract or pure vanilla paste optional: substitute for fresh brewed espresso
- 1 teaspoon salt
- 1 tablespoon baking powder
- 1 and 1/4 cup all purpose flour* *make gluten free by substituting for an all-purpose blend of gluten free flour. I recommend Pamela’s or Bob’s Red Mill.
optional: on the side
- 1 and 1/2 cups bittersweet or dark chocolate chips sprinkle into batter or ontop of batter once poured and before baking
Instructions
- Prepare two different bowls with the ingredients listed below. Your melted chocolate and butter bowl will be the one that eventually holds all ingredients, so this should be largest.
prepare baking pan
- Preheat your oven to 350 degrees. Prepare your baking pan: I use a 9" x 13" pan so that my brownies are the thickness I require for my version of "perfection." If you like thinner brownies, use a larger pan so that the batter can be spread thin.Cut a sheet of parchment to fit into the longest sides, and give yourself about 6" extra of those two sides so that you can "pull up" the brownies out of pan and after they have cooled. Spray the bottom of the pan with your favorite non-stick spray, or liberally spread with a pat of butter. optional dusting: Sprinkle the top with unsweetened cocoa if you wish. Do not dust pan with flour. This tends to leave a bitter aftertaste on the outside of the brownie crust.
bowl A: double broiler for chocolate
- Create a double-broiler to melt the chocolate and butter together. First, place 1-2 inches of water into a saucepan. Place on medium-low heat. Once you see tiny bubbles forming in the water, it's time to place a glass or metal glass bowl (A) onto the top. The trick to melting/tempering chocolate is to be sure additional moisture is not added, while it's over a heat source. I recommend always using a baking spatula and not a wood spoon (since wood retains moisture) to mix while melting.Use the spatula to coat the chocolate with the butter. Bring heat to low if the water starts to boil. We want a slight simmer at most. Continue turning the chocolate for a few minutes until totally melted and completely smooth.

- Remove the bowl from heat, and set this aside to cool. Before mixing in the rest of the ingredients, the chocolate should cool for 10 minutes (set a timer). This is done so that we don't 'cook' the eggs in the second part of the recipe.

bowl B: ingredients before adding to chocolate
- In a separate bowl, mix together sugar, eggs, pure vanilla extract (and if you're using it, the fresh-brewed espresso). Whisk or blend with a spatula by hand. There's no need to beat with a machine but do what you think is best. There's a fine line to over-mixing this recipe so be aware. Incorporate the dry ingredients. Mix until everything is totally combined.

add bowl B to bowl A
- Pour the bowl B mixture into the chocolate of bowl A. This is done so that everything is totally combined. Again, don't over mix.Option: Add chocolate chips into the batter mix now, or wait until after you've poured the batter into the pan to sprinkle on top.
let's bake
- Place the pan at the center rack of your oven. For this size pan, the brownies are done after 35 minutes. I wouldn't leave them in for longer than 45 minutes. The method of checking the center for a clean stick won't work with brownies because of the amount of chocolate. Don't overbake or allow for dark-browning/burning at the edge or top. Once done, allow to cool. Brownies will inflate while baking, and then deflate or flatten a bit in the cooling process. Lift the parchment paper "up" to remove the entire sheet of brownies from the pan. Cut and serve, or put the pan in the refrigerator to cut and serve when you are ready. I like to cut them into portions, individually wrap them and then place them in an air-tight container, so that they do not stale and I can enjoy them at least two days later, if there are any left.Save me a corner!

In the end, perfection is totally subjective. It’s up to you, to put your own spin on the flavor and texture you wish to create, so that it’s a keeper. I hope this becomes a keeper for you as it has for me!
If you’d like another one of my brownie recipes, please see my post for flourless chocolate brownies or s’mores brownies.