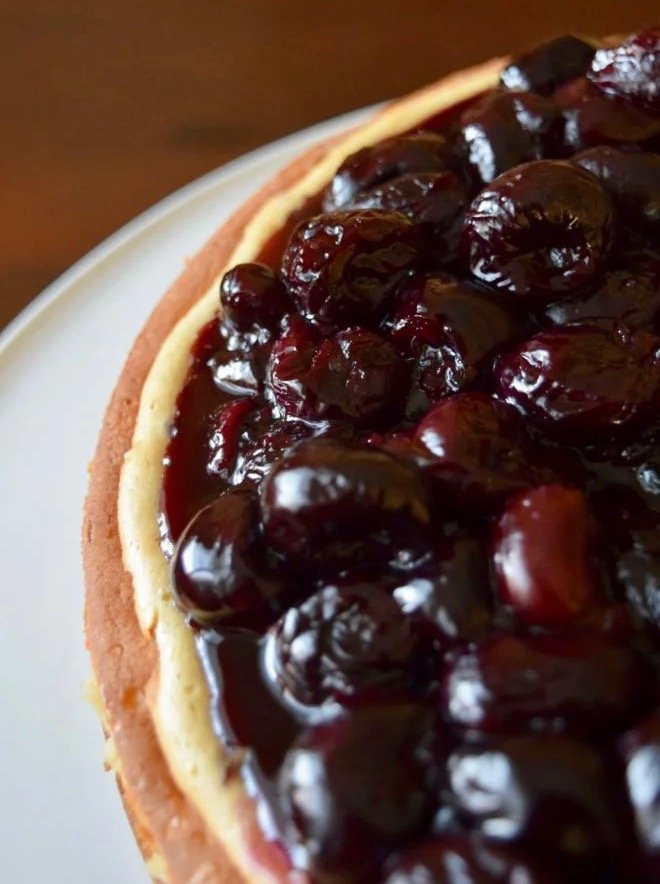
Cherries on classic vanilla bean cheesecake is what’s happening for dessert this weekend! At home, we’re celebrating the first weekend of February with a kick-off for love to my Valentines, and kicking off Super Bowl Sunday with friends and family that I absolutely must make dessert for. It’s all good stuff.
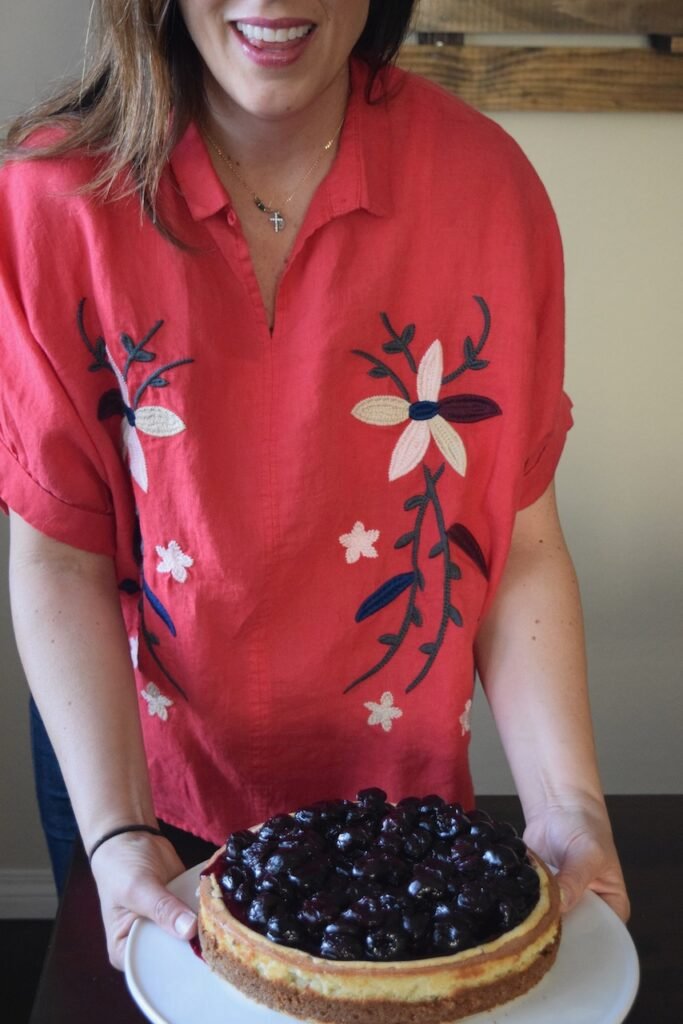
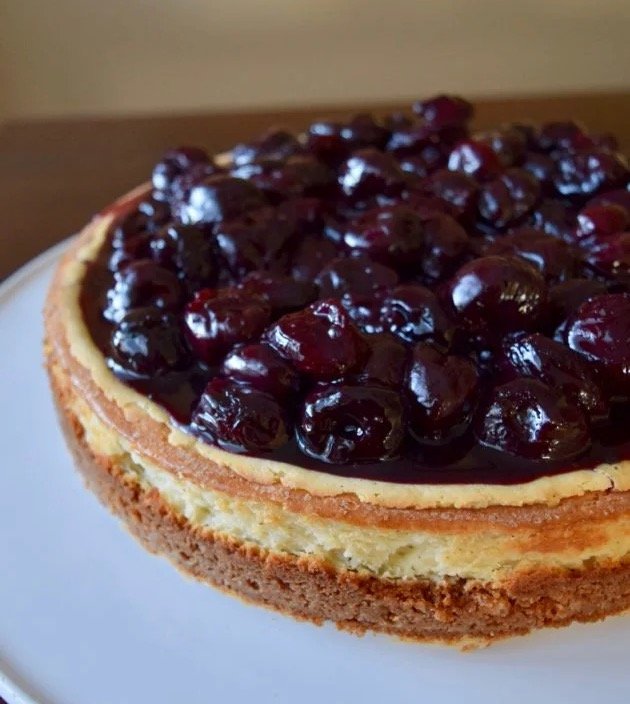
My kids love cheesecake, so I definitely had my sweethearts in mind when I decided to put this together this morning. And, with the 49ers and the Chiefs playing in the big-game tomorrow, red covers all bases. Rodney and I love to watch the games, and putting out good food for everyone to enjoy.
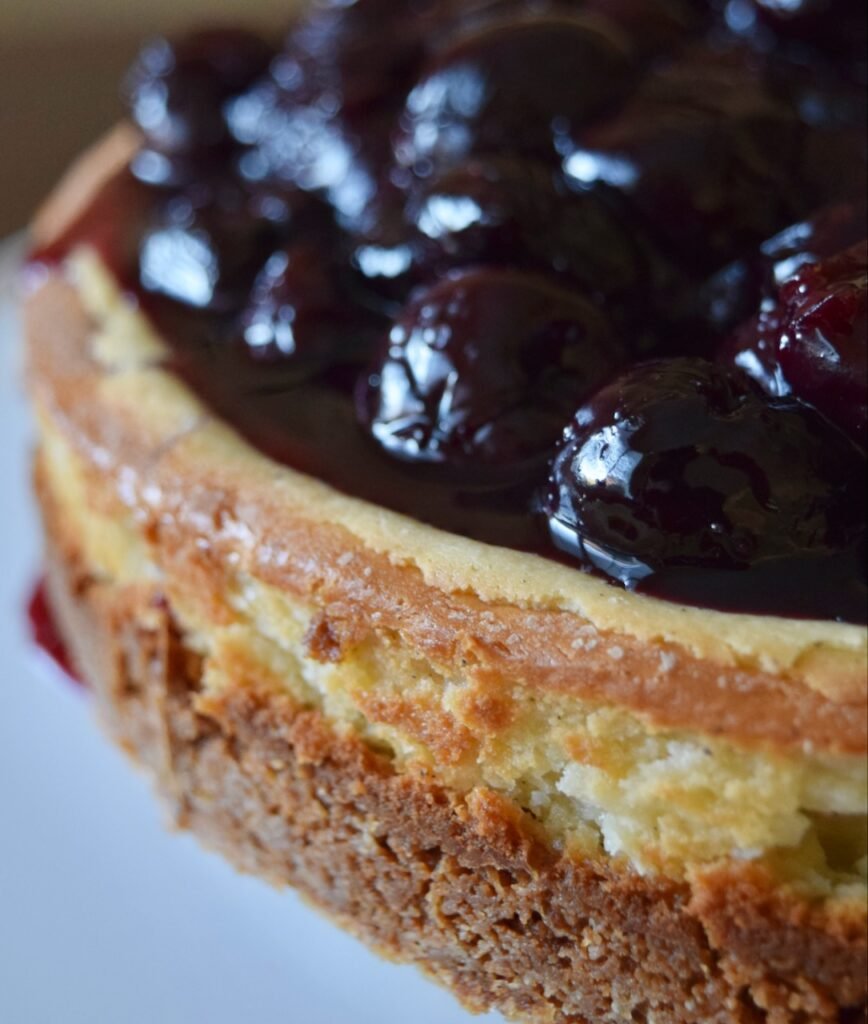
So, let’s do this! While my cheesecake was baking, I made the cherry (pie) topping. The first step is laying out the graham cracker crust bottom, followed by the cheesecake and then comes the cherries on top, once the cheesecake has settled.
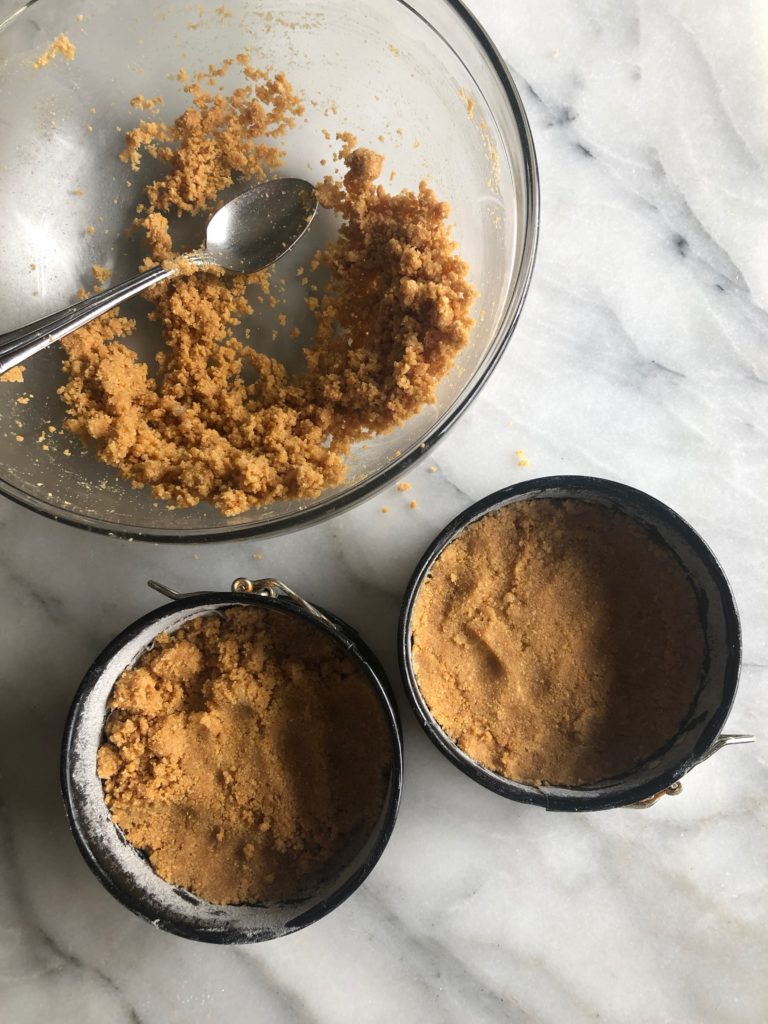
You can use any pan that suits you. For this particular round of baking, I used a spring-form cake pan, lined with a sheet of parchment paper, and doubled my Graham Cracker Crust Recipe:
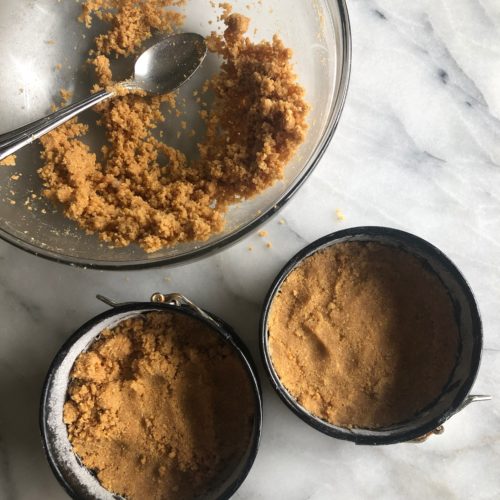
Mili’s Graham Cracker Crust Recipe
Ingredients
- 8 tablespoons salted butter – cut into pats (one stick) You can make this recipe vegan and/or dairy free by substituting alternative, non-dairy butter with 7 tablespoons.
- 1 and 1/4 cups graham cracker crumbs purchase pre-crumbed or finely grind whole crackers in a food processor. Common/basic graham crackers are free of dairy, egg and nut products. As a heads up, many contain traces of soy.
- 1/4 cup granulated sugar
Instructions
- Preheat your oven to 350 degrees. First, we'll prepare the butter. Cut your butter into about tablespoon-sided pats and place in a glass bowl. You'll want to partially melt the butter and you have a couple options to do this. Simply place in the microwave to start with 25 seconds, or put the bowl over a little bit of simmering water inside a sauce pan, and that will do the trick too. Your melted butter should have some partial solids in there. Most will be liquid, but you'll be able to see pats that are soft and not liquid.
- In a separate bowl, place the graham crackers and sugar. Combine the two.
- Pour the butter over the dry mixture.
- Combine with a spoon.
- Pour into the bottom of a prepared pan. Otherwise, if you're making smaller desserts, like mini cupcakes or cheesecakes, use a teaspoon-sized amount for each holder.
- Use your finger tips to gently press the crust down.
- Place in the oven for 6 minutes – The crust will bake evenly. Remove from oven.
- Pour your main batter over the prepared graham cracker crust bottom. This is Key Lime cake. It can be cake batter, cheesecake batter or brownie batter – anything that will go back into your oven to bake.
- You'll bake that batter for almost whatever time your main recipe calls for. Because the graham cracker crust bottom takes up some space – especially with smaller desserts – you'll want to remove them from the oven a miniute or so beforehand. Just check to be sure the center is baked-through before removing from the oven.
While the crust was baking in the oven, I put my cheesecake batter together. This is a super simple recipe, new to my blog, but I have been using it professionally for years. This was a vintage (50 years or older) recipe that found, tried, and I tweaked a bit to make it my own.
Once you have your pan with the baked graham cracker crust bottom set and out of the oven, you can pour this right in. Your oven was at 350 degrees, and now you need to bring it down to 300 degrees for the cheesecake portion.
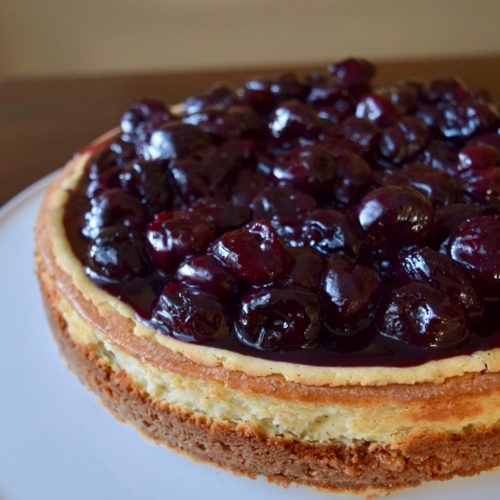
Mili’s Classic Vanilla Bean Cheesecake
Ingredients
- 20 ounces classic cream cheese (two and a half standard, 8oz. packages – full fat)
- 1 cup granulated sugar
- 2 teaspoons pure vanilla extract
- 1/4-1/2 teaspoon pure vanilla bean paste, powder, or scraped bean
- 3 whole eggs
Instructions
- Pre heat your oven to 325 degrees.
- In a bowl, combine cream cheese and sugar. Add pure vanilla extract and powder.
- Incorporate three large eggs, one at a time.
- Cream all ingredients together until smooth and for a couple of minutes so that air has a chance to be let into the batter.
- Pour into a prepared pan, as-is or over a graham cracker or torte crust bottom.
- Bake for 55 minutes. Check oven at 50 minutes and you may need to bake it for one hour. Once stick comes out clean, you are set. It may crack but only slightly around the edges.
- Take out of the oven and allow to settle for at least 30 minutes before removing from pan, and adding any toppings.
- Chill in the refrigerator for three hours before serving.
Your cheesecake will look nice and tall when it comes out of the oven, and then it deflates a bit as it settles. Allow to settle for about 30 minutes before adding fruit.

We went with an abundant pouring of prepared cherries as our topper.
I made a whole batch of cherry pie filling and strained them so that most of the juices could be separated from the whole, cooked cherries. The strained cherries are what I poured on top. You can view my social media for the little video of my adding the cherries on top.
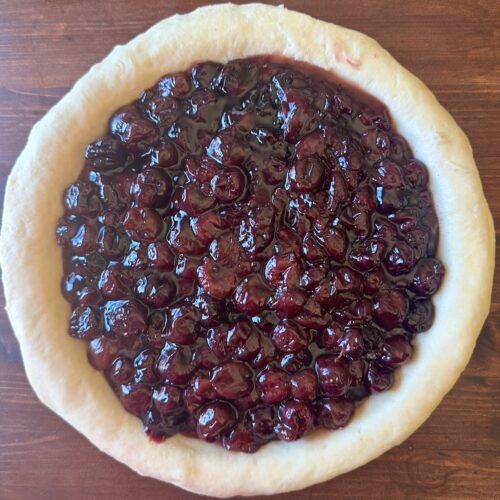
Mili’s Sweets Cherry Pie Filling
Ingredients
- 6-7 cups dark and tart pitted cherries about 30oz.
- 1 and 1/2 cups granulated sugar
- 1/2 cup filtered water
- 1/4 cup cornstarch
- 1/4 teaspoon salt
- 2 tablespoons salted butter optional for when it’s time to bake a pie
Instructions
- Over medium heat, place all of the ingredients (except for the butter) into a large saucepan, including: 6-7 cups of pitted cherries (frozen or fresh), sugar, cornstarch, salt and water.
- Stir to dissolve the sugar. More water will created in the pan as the cherries start to cook. I typically use my wooden spoon to do all of the mixing for fruit pies. Bring the mixture to a boil. Once you see small bubbles forming around the edge of the pan, it’s time to continue stirring and stay with it as it thickens. If you walk away for the last 5-10 minutes, you could burn the bottom of the filling and your pot. From start to finish, it will take a total of 30 minutes to cook the cherries down to a nice thickness, perfect for pie filling.
- Once the filling is done cooking, pour the hot prepared filling into a storage container to cool or pour directly into a prepared pie crust.
- If you are storing it for later use, cover it completely and store in the refrigerator for up to a week. Store in the freezer for up to a month.
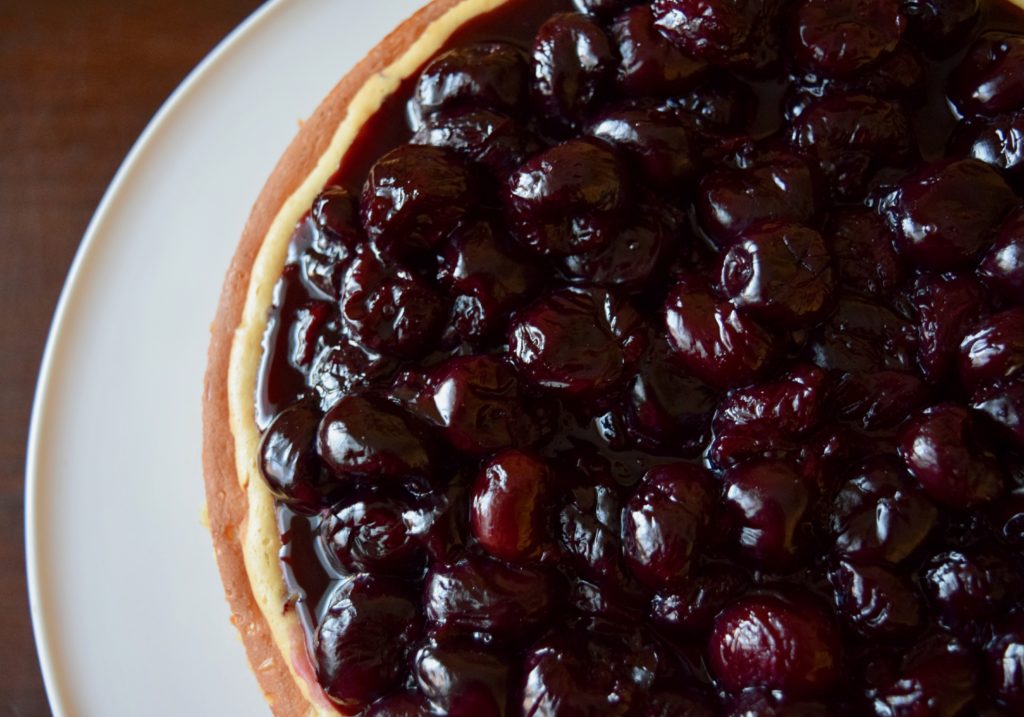
There you have it! Here’s a slice. I’m excited to enjoy some quality-chill time with my loves. I personally like the ratio of crust to cheesecake to cherries. It’s perfect for me and everyone loved it.
However, this is about making dessert just the way you want to enjoy it, so if you prefer less graham cracker crust, just put down one batch. If you like more cheesecake, double my recipe. Whatever you decide, I know you are going to love this.

