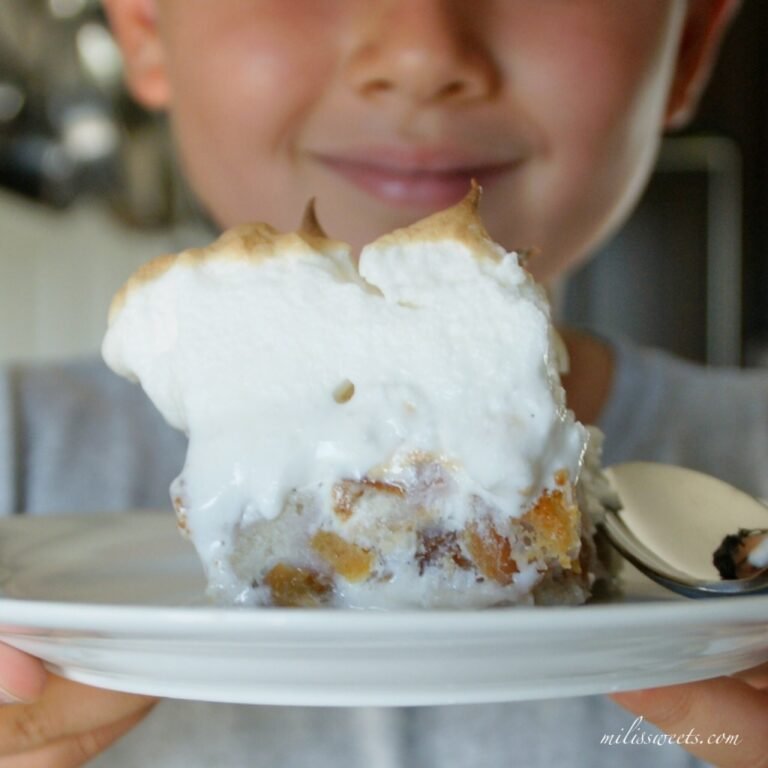
My love for pie runs deep and I have passed down this love to my kids. They have decided on their own that cherry pie is one of our Christmas traditions. So with this recipe, you can make this with me. I’m sharing my from-scratch cherry pie filling recipe with a step-by-step guide for making gluten free pie crust.

Making a good pie crust is half the process, and a gluten free option is a great way to build your recipe arsenal and skill level. In my notes to this recipe, you’ll find extra details and tips for baking that have been passed down to me from my mom – a true master – who has lovingly taught me everything I know from her 40+ years of hands-on experience.
It wasn’t until I was a mom myself, that I made my first cherry pie. It has been more than a decade since my first try, and I’ve worked out this recipe of mine to be a family favorite and a wonderful gift to give.

Mili’s Gluten Free, Flakey Pie Crust
Ingredients
- 2 and 1/2 cups gluten free, all purpose flour – a mixture that tends to be a 1:1 ratio with wheat flours
- 1 cup salted butter, cold and cut into pats For traditional pie crust, you can use between 1/4-1/2 of this ratio to be shortening. If you wanted your pie crust to also be dairy free, you can use vegan butter, a combination of both, or all vegetable shortening.
- 1/3 cup cold water, plus two tablespoons
- 1/2 teaspoon salt
- 1 teaspoon granulated sugar
- 1 egg white for wash before baking optional
Instructions
- Please make note that this recipe is enough to cover the bottom of a large pie, and allow enough for decorating the top with moderate-coverage lattice technique.
- First, be sure that the butter, or substitute/combo you’re using is cold. Beforehand, I recommending cutting the butter it into pats that are about tablespoon sized, and place them in the fridge for when you are ready to make the dough.
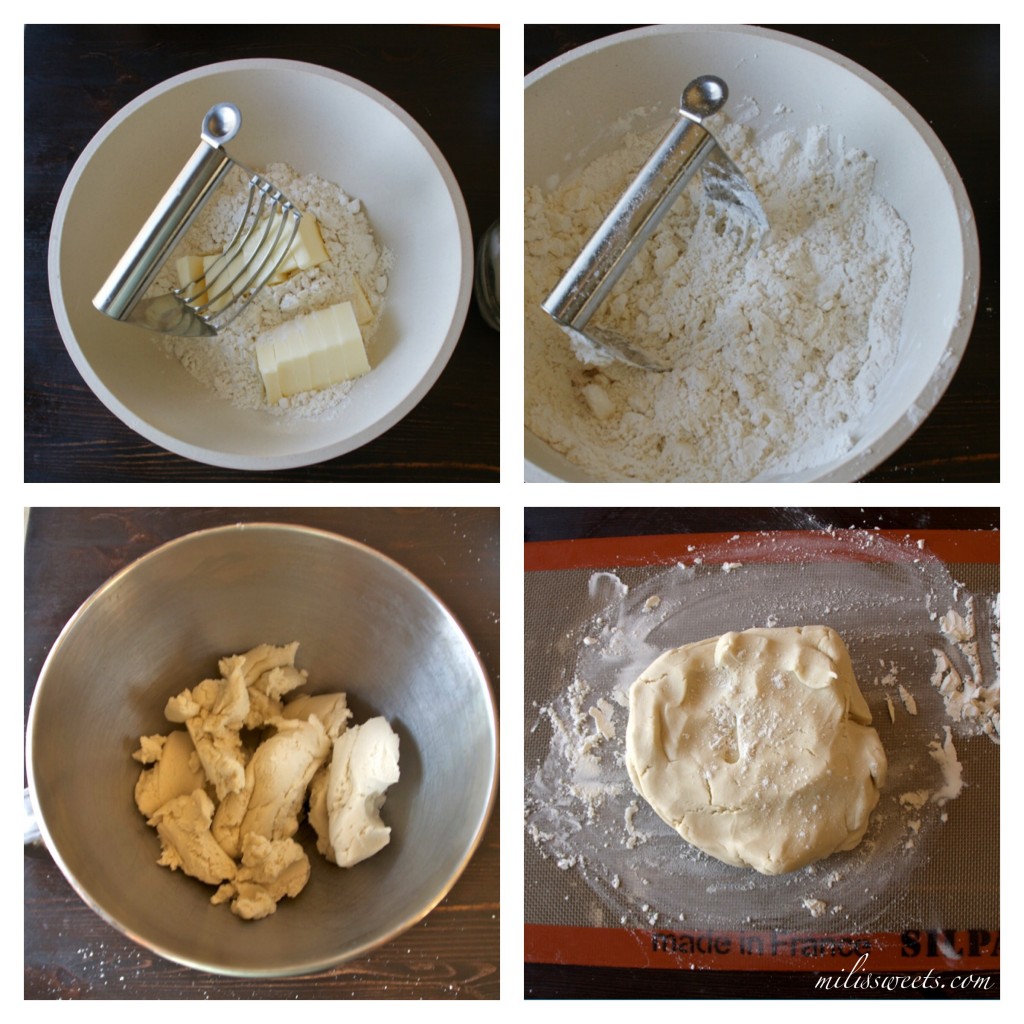
- In a large bowl, place all the dry ingredients. Next, put the butter pats on top, and use a pastry blender to push the butter into the flour mixture, cutting it all into ams, pea-sized pieces.

- Place this mixture into the bowl of a standing mixer with a standard, metal paddle attachment. Add the water a little at a time, and mix at low-medium speed until the dough has combined and completely lifts from the bowl. Use your hands to form the dough in to a ball.
- At this point, you can choose to work with the dough to make a pie crust, or completely cover the ball in plastic wrap and refrigerate for later use.
- If you’re ready to roll, place the dough onto a silapt mat or parchment paper that has been dusted with gluten free flour.
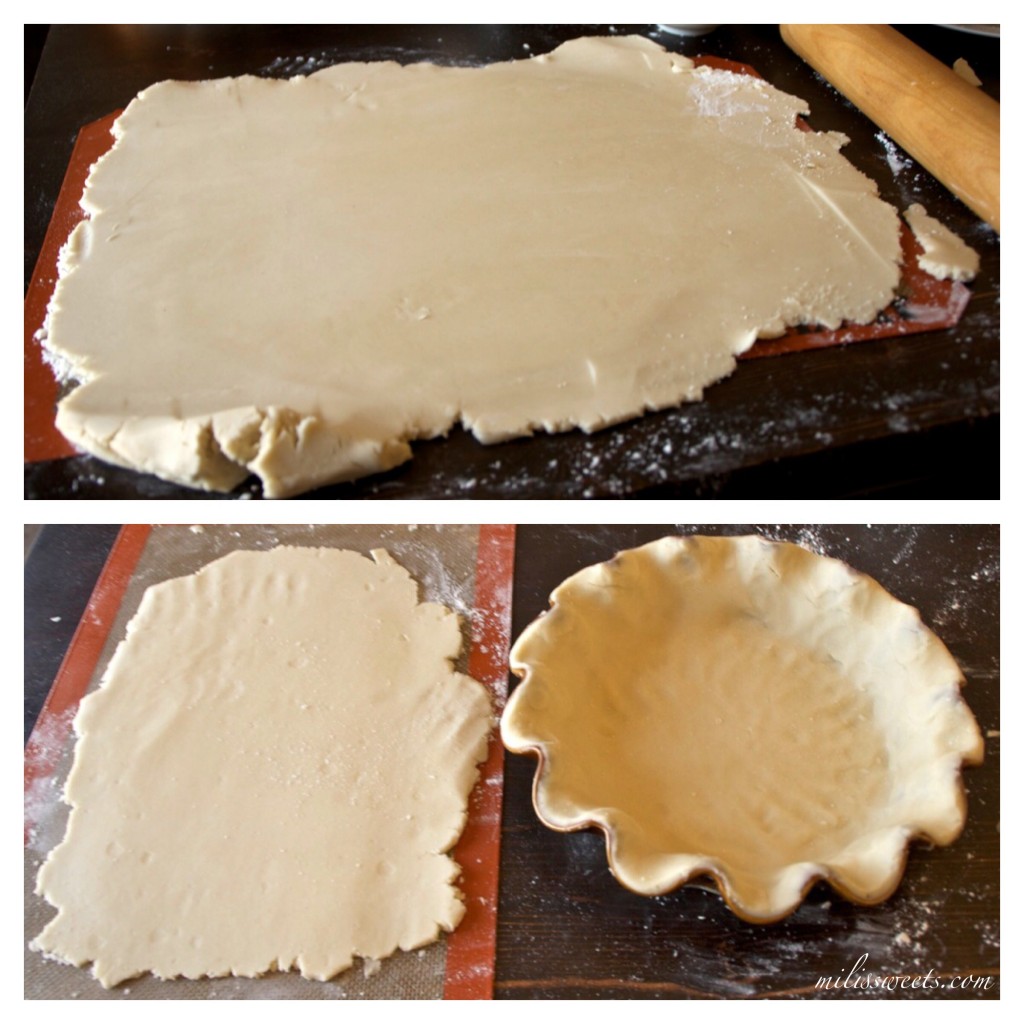
- With a rolling pin, roll the dough flat, until it’s smooth and about 1/4″ high all around.

- Using the mat or paper, invert the rolled-out dough into your pie pan.
- The dough is very similar to shortbread so it’s elastic and super easy to work with. You can fill in any spaces or mistakes with your hands and like magic, it comes together beautifully and seamlessly.
- Once your pie pan is prepared with the dough, set it aside. Form another ball with the remaining scraps of dough and re-roll out the rest, that will be used for the top of your pie.
- If you like to use an egg wash, for a golden-brown finish to the crust, simply take one egg white and whisk it in a small bowl. Use a kitchen safe brush to apply it onto the inside and all around the crust. It would be best if you do this just before pouring in the prepared pie filling. If you need your recipe to be vegan or free of animal products, do not use the optional egg wash and use the butter substitute options as mentioned in the attached recipe notes.
Baking pie crust notes and techniques, based on the type you’re baking
- Tips on the kinds of pie you’re baking. If you’re baking a fruit pie like cherry, apple, blueberry, etc. You won’t be baking the crust in advance. You’ll put the pie together – top and bottom and bake. I recommend putting some aluminum foil at the bottom of your oven, or placing the entire pie onto a cookie sheet – so that the sugars that may overflow and drip down, don’t get into the oven itself. If they do, they’ll burn and cause some smoke in your oven that you’d want to avoid.
- If you’re baking a pie with the filling already prepared or chilled – like lemon meringue or chocolate mousse, or banana cream, you’ll be baking the pie crust first and separately and allowing it to cool before you’d put in your filling. If you’re going this route, you’ll need the help of pie weights to hold own the bottom of the crust.
- Preheat your oven to 400 degrees. Bake for 15 minutes. This will be the golden time. Reduce the heat to 350 degrees. At this point, you have the option to cover the entire pie loosely, with aluminum foil or just the outer crust portion, so that your edges and top does not get overly brown. Bake for 30 minutes. At this point, you can check if you need additional baking and browning. If so, completely remove the aluminum foil covers. If not, keep them on for an additional 10-15 minutes of baking. This is pie babysitting time. You’ll want to stay close by the oven in the last portion of baking your pie.
- If you are baking an apple pie, 10-15 minutes before your pie is baked, you’ll want to hold it firmly, and slightly tip the pie it into a sink or bowl to remove some of the extra juices that could be over-cooking the apples. This is a slight motion and the juices will flow right out. Don’t overly tip or you’ll lose your pie all together. This takes practice, so if you’re not feeling it or don’t have the arm strength, don’t do it. This is something my mom has shown me as a master apple pie maker and I wanted to share this tip with you.
- Once your pie is smelling and looking absolutely gorgeous and browned, and had a 50-60 minute baking time, set it out and allow it to completely cool. You can store it at room temperature for up to 3 days (If it lasts that long) or in the fridge for a chilled pie, for up to five days.
Please make note that this recipe is enough to cover the bottom of a large pie, and allow enough for decorating the top with moderate-coverage lattice technique.
First, be sure that the butter, or substitute/combo you’re using is cold. Beforehand, I recommending cutting the butter it into pats that are about tablespoon sized, and place them in the fridge for when you are ready to make the dough.
In a large bowl, place all the dry ingredients. Next, put the butter pats on top, and use a pastry blender to push the butter into the flour mixture, cutting it all into ams, pea-sized pieces.
Place this mixture into the bowl of a standing mixer with a standard, metal paddle attachment. Add the water a little at a time, and mix at low-medium speed until the dough has combined and completely lifts from the bowl. Use your hands to form the dough in to a ball.
At this point, you can choose to work with the dough to make a pie crust, or completely cover the ball in plastic wrap and refrigerate for later use.
If you’re ready to roll, place the dough onto a silapt mat or parchment paper that has been dusted with gluten free flour.
With a rolling pin, roll the dough flat, until it’s smooth and about 1/4″ high all around.
Using the mat or paper, invert the rolled-out dough into your pie pan.
The dough is very similar to shortbread so it’s elastic and super easy to work with. You can fill in any spaces or mistakes with your hands and like magic, it comes together beautifully and seamlessly.
Once your pie pan is prepared with the dough, set it aside. Form another ball with the remaining scraps of dough and re-roll out the rest, that will be used for the top of your pie.
If you like to use an egg wash, for a golden-brown finish to the crust, simply take one egg white and whisk it in a small bowl. Use a kitchen safe brush to apply it onto the inside and all around the crust. It would be best if you do this just before pouring in the prepared pie filling. If you need your recipe to be vegan or free of animal products, do not use the optional egg wash, and use the butter substitute options as mentioned in the attached recipe notes.
For more tips and details for making gluten free pie crust dough for this pie and other flavors of pie, please refer to the recipe attached above.
Now it’s time to prepare the cherry pie filling! Naturally dairy free and gluten free, use this from-scratch recipe to fill pies, or top other desserts like cheesecakes, cupcakes, tarts or vanilla bean ice cream. Strain and cut for use to fold into baking scones or butter cream frosting.
This recipe is a personal treasure. I hope you enjoy it!
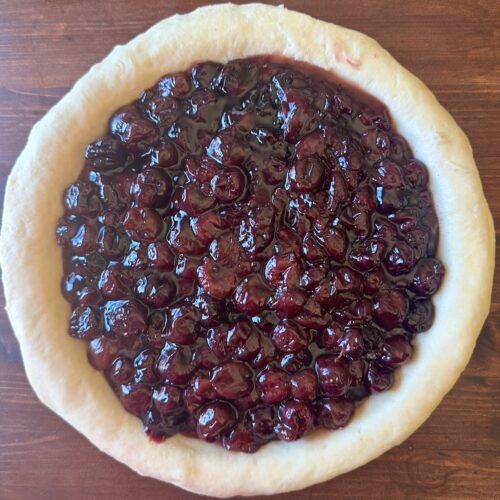
Mili’s Sweets Cherry Pie Filling
Ingredients
- 6-7 cups dark and tart pitted cherries about 30oz.
- 1 and 1/2 cups granulated sugar
- 1/2 cup filtered water
- 1/4 cup cornstarch
- 1/4 teaspoon salt
- 2 tablespoons salted butter optional for when it’s time to bake a pie
Instructions
- Over medium heat, place all of the ingredients (except for the butter) into a large saucepan, including: 6-7 cups of pitted cherries (frozen or fresh), sugar, cornstarch, salt and water.
- Stir to dissolve the sugar. More water will created in the pan as the cherries start to cook. I typically use my wooden spoon to do all of the mixing for fruit pies. Bring the mixture to a boil. Once you see small bubbles forming around the edge of the pan, it’s time to continue stirring and stay with it as it thickens. If you walk away for the last 5-10 minutes, you could burn the bottom of the filling and your pot. From start to finish, it will take a total of 30 minutes to cook the cherries down to a nice thickness, perfect for pie filling.
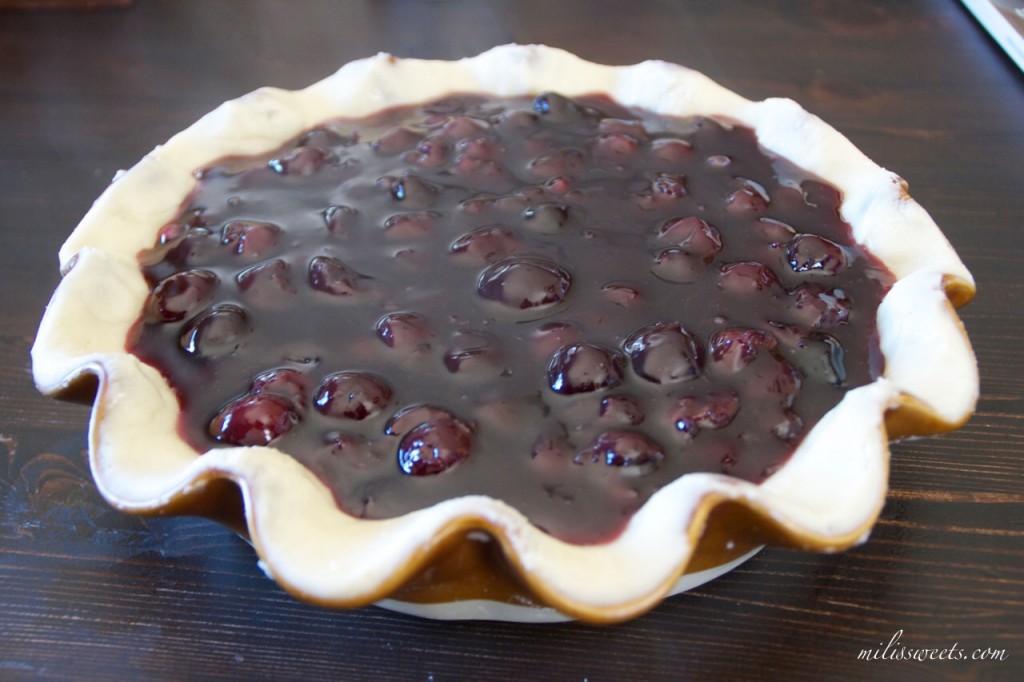
- Once the filling is done cooking, pour the hot prepared filling into a storage container to cool or pour directly into a prepared pie crust.
- If you are storing it for later use, cover it completely and store in the refrigerator for up to a week. Store in the freezer for up to a month.
You can find organic and non-organic dark pitted cherries in the frozen food section of most grocery chains. You can also definitely use fresh and remove the pits one at a time.
Over medium heat, place all of the ingredients (except for the butter) into a large saucepan, including: 6-7 cups of pitted cherries (frozen or fresh), sugar, cornstarch, salt and water.
Stir to dissolve the sugar. More water will created in the pan as the cherries start to cook. I typically use my wooden spoon to do all of the mixing for fruit pies. Bring the mixture to a boil. Once you see small bubbles forming around the edge of the pan, it’s time to continue stirring and stay with it as it thickens. If you walk away for the last 5-10 minutes, you could burn the bottom of the filling and your pot. From start to finish, it will take a total of 30 minutes to cook the cherries down to a nice thickness, perfect for pie filling.
For other uses and storage options, please refer to the attached recipe. Otherwise, if you’re ready to make a pie, you’ll be pouring the filling right into your prepared crust.
If you’re using optional butter, now is the time that you’ll add the two tablespoons of butter. Make little pats and place the pieces all around the top.
Preheat your oven to 400 degrees.
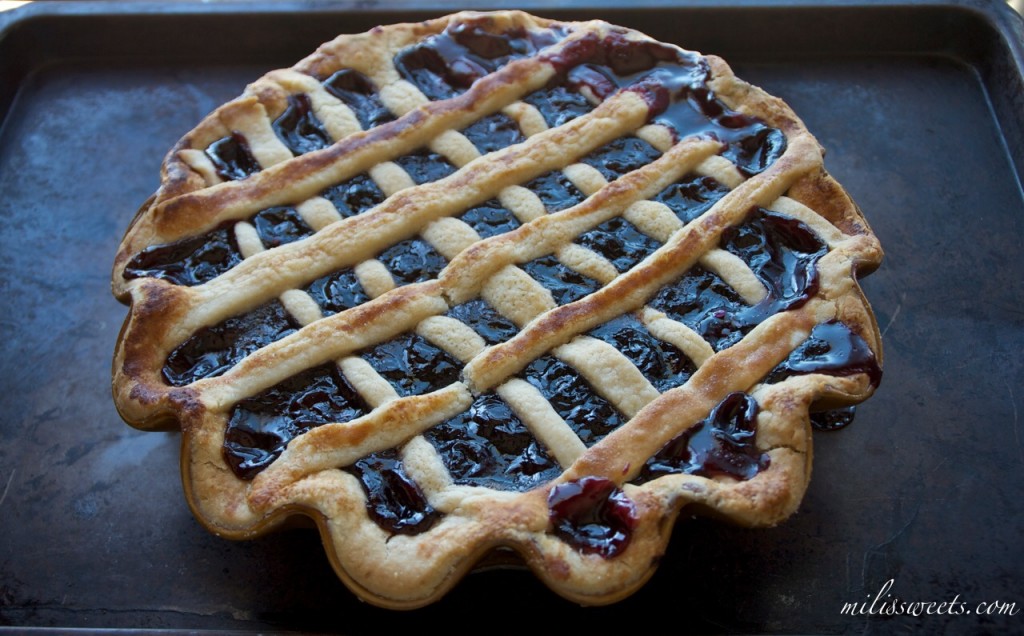
Next, you’ll cover the pie with the remaining dough. You’ll notice that the dough is delicate, compared to dough that uses shortening. It will make it a little more challenging to lift strips for a lattice. You should have enough remaining dough to either cover the top completely, or to make a lattice.
Brush the top of the dough with the egg wash and if you wish, sprinkle the top of the entire pie with granulated sugar.
I placed the pie in a cookie sheet, in case some filling decided to seep out during baking (which usually happens). It helps to keep the oven clean.
Bake for 15 minutes at 400 degrees. Reduce the heat to 350 and bake for an additional 30 minutes. Allow to completely cool before serving.
Some people (like my husband) prefer a cold pie. If that’s what you like too, allow to completely cool at room temperature before placing it int he refrigerator. Vanilla bean ice cream or fresh whipped cream make the perfect pairing with just about any pie. (I’m a pie purest, and like my pie with a side of more pie.)
I topped the pie with a fake-lattice design, by simply leaving the top strands at the top, without weaving them over and under the bottom pieces. My attempt here was “fake” because the dough was too delicate to weave up and down.
This crust is light, flakey and absolutely divine. It takes the pie to a whole other level. No one would even care or notice that it’s gluten-free. I hope you truly enjoy making this, and sharing the end result with your loved ones too.


