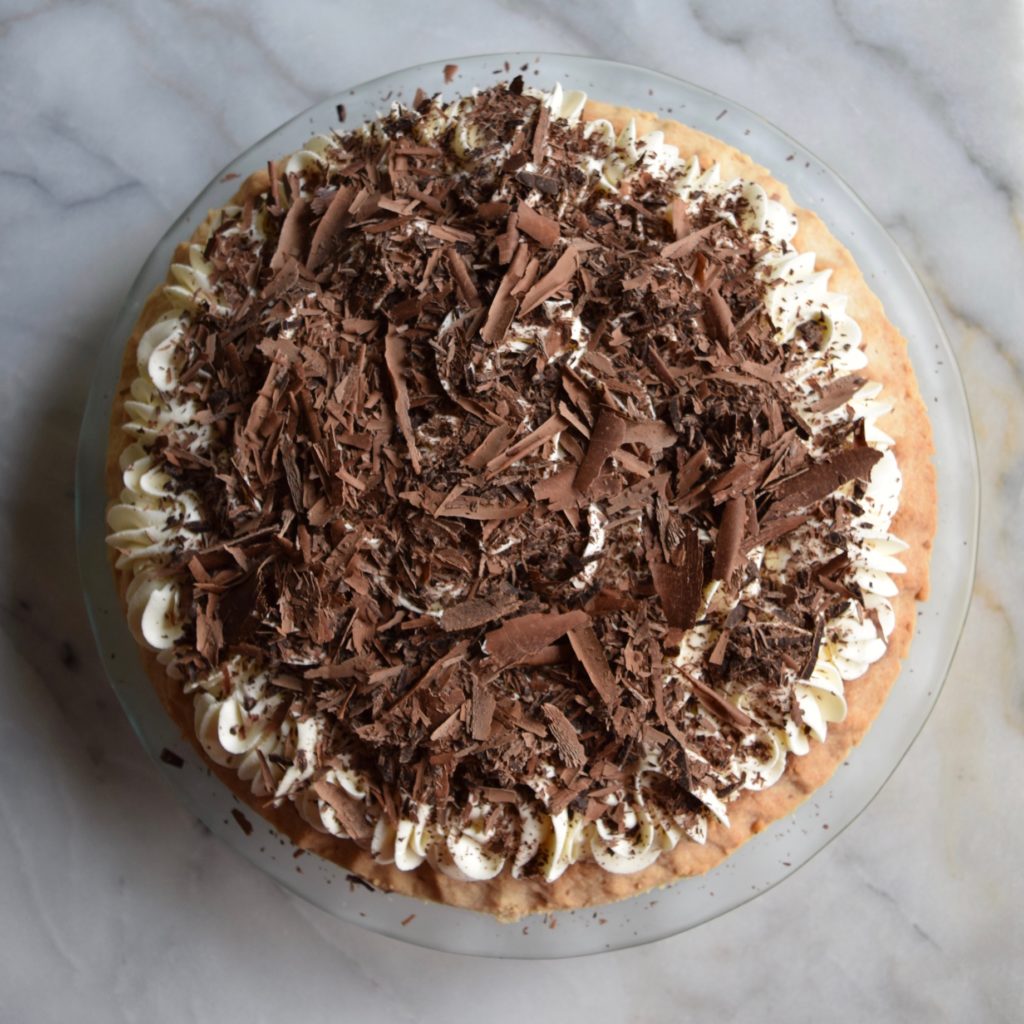
All right Sweethearts. We’re on a mission to make Chocolate Mousse for the holidays! This is my little gift to you: the recipe and how to make this luscious dessert happen by creating chocolate mousse as the filling, made in a simple, three-step process. It will chill inside a shortbread pie crust to make Chocolate Cream Pie.
Before we go any further, I want to let you know that my personal recipes that I share here on my blog, are all about what I love to make for my loved ones at home, and for my customers at work. Many, including this one, are personal and something I want to document. You may find them intermediate-level to tedious, but this is how I do it. I hope you find that all of the work and love that goes into this dessert is fun, satisfying, and worth the effort.
I tend to make a chocolate-treat for the holidays, and this particular pie is something that I promised my son I’d make for us to enjoy on Christmas Eve. This step by step recipe is something I promised some of my followers and friends I’d post to the blog to make just in-time.
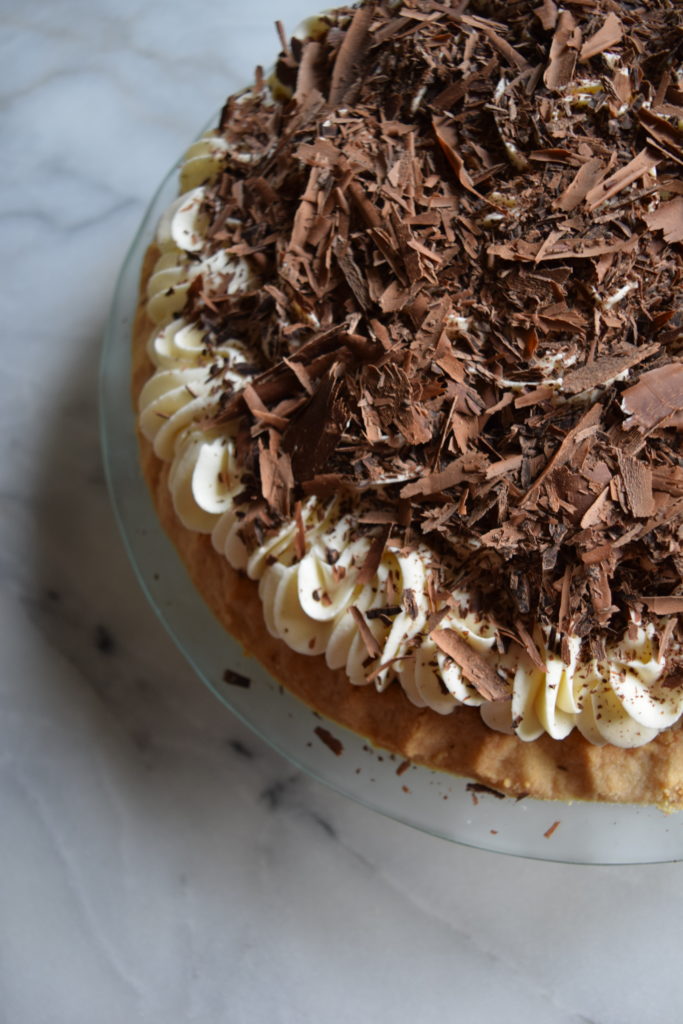
Let us start with the Chocolate Mousse, because it’s what’s happening for our pie filling. This is a stand-alone dessert as it is. You can skip the pie all together and garnish your set and chilled mousse with fresh berries, or make an incredible trifle by adding layers of fresh whipped cream in the mix. I have my whipped cream recipe below, for your convenience. If you want to use this for a pie, you can simply use a pre-made or store bought crust, make my gluten free pie crust recipe, or you can scroll down to see how I make it with shortbread for pie crust.
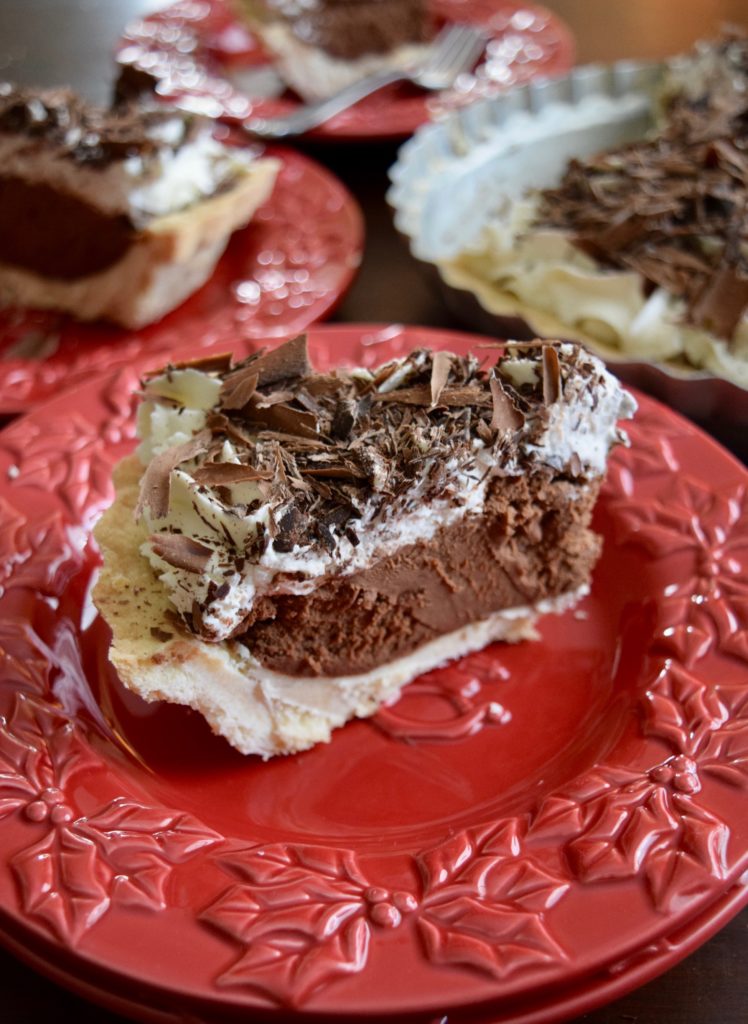
Chocolate Mousse – stand alone or for Chocolate Cream Pie filling
Ingredients
custard
- 1 and 1/2 cups heavy whipping cream
- 8 egg yolks
- 1/3 cup granulated sugar
- 1/3 cup corn starch
- 2 teaspoons pure vanilla extract
tempered chocolate
- 2 cups chocolate chips I use two cups dark chocolate and a half cup semi-sweet. You can use any combination you choose. Any chocolate-based chip will work, including milk chocolate.
whipped cream
- 2 and 1/2 cups heavy whipping cream
Instructions
- If you can manage, have someone help you with the chocolate tempering while you make the custard. Otherwise, you'll have to juggle a little bit. Let's get started.
Custard
- Take a larger saucepan and warm the 1 and 1/2 cups of of heavy whipping cream and warm at medium heat until scalding. Steam will rise up from the middle and you may have some tiny bubbles around the edge of the milk. Once this happens. Remove it from heat and allow it to cool for 10 minutes.

- In a mixing bowl, whisk 8 egg yolks, 1/3 cup granulated sugar and 1/3 cup corn starch. Once your scalded milk is done with the 10 minute waiting period, pour that milk into this bowl and whisk all of this together. Next, pour these combined ingredients into the saucepan.
- Whisk at medium-high heat until a hand-held thermometer reaches 170 degrees. Remove from heat. Whisk in the two teaspoons of pure vanilla extract. Allow to rest for 10 minutes.
Tempered/Melted Chocolate
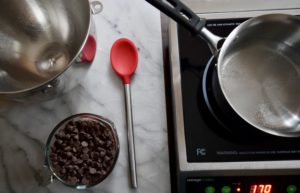
- While you are working on scalding the milk, you can heat your chocolate and allow it to cool for 10 minutes as well, so that it will be ready to mix with your prepared custard. Temper the two cups of chocolate in a double broiler. Put a small amount of water (1 inch) in a saucepan and place a glass bowl or metal mixing bowl on top of the saucepan, without the water touching the bottom of the bowl. Put on medium heat. Pour in chocolate. Without having the water come to a boil, melt all of the chocolate chips until smooth. Set aside and allow to cool for 10 minutes. An alternative to melting your chocolate with a double-broiler method, is to place the chocolate chips into a glass bowl and heat in the microwave for 30 seconds at a time, mixing as you go, until completely melted.

- This is what (a half-batch mousse recipe) microwave-melted choclate looks like, just before combining with the custard.

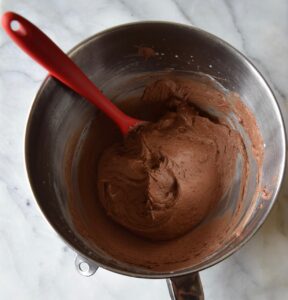
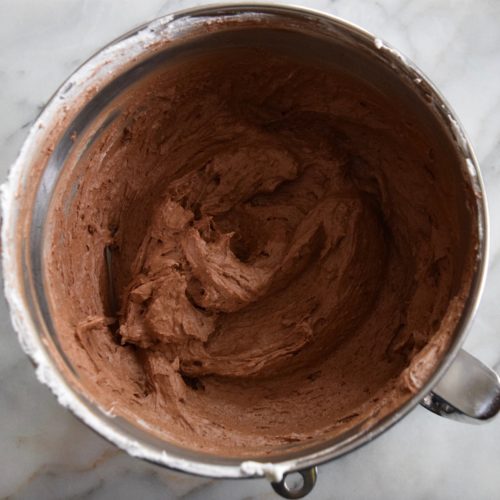
- This is the cooled/set chocolate custard, ready to mix into the prepared whipped cream. My rule of thumb for cooling is set a timer for 10 minutes.

Whipped Cream goes into the Chocolate Custard to make Chocolate Mousse
- If your custard and tempered chocolate have both cooled for 10 minutes, you will now combine them, and make chocolate custard.

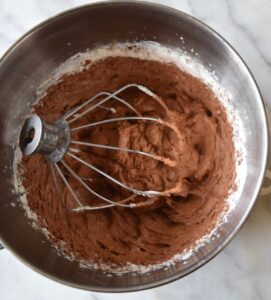
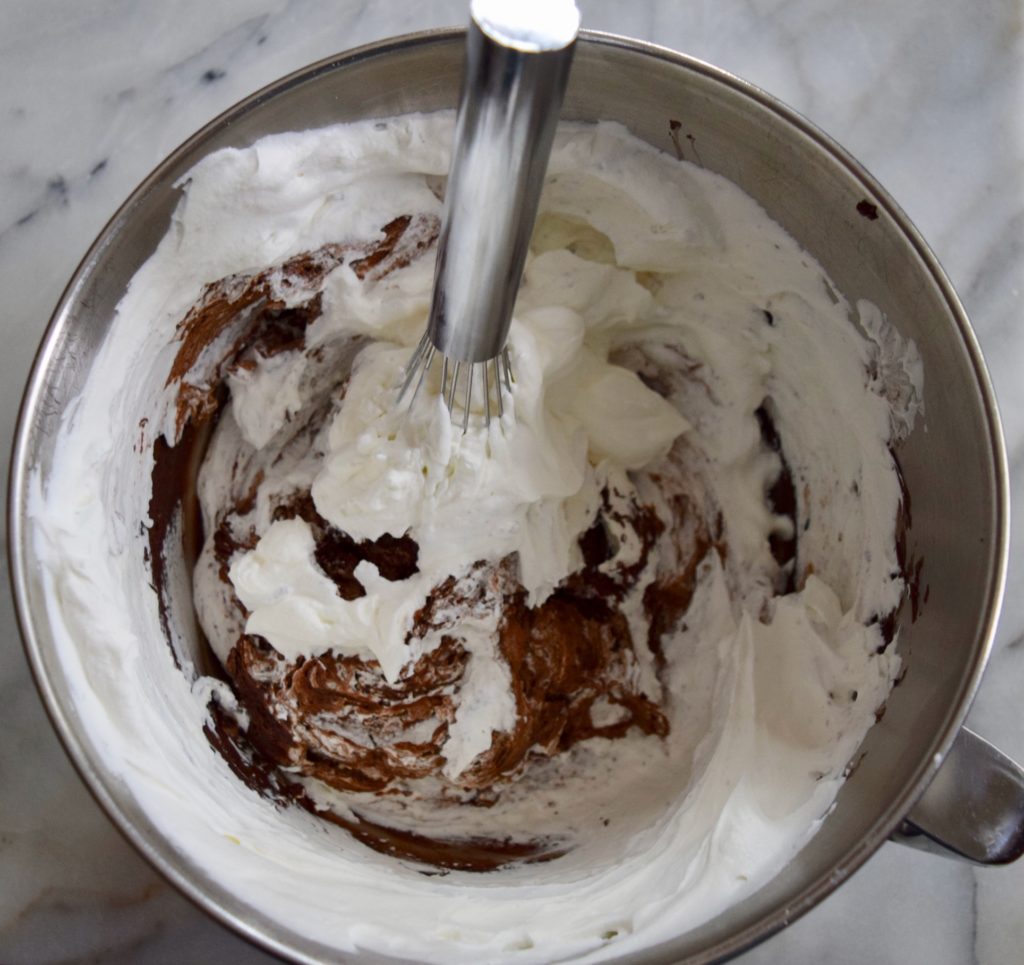
- In a standing mixer with a whisk attachment, take 2 and 1/2 cups of cold heavy whipping cream and whisk until it peaks.

- Whisk this into the chocolate custard and you have Chocolate Mousse. You can plop and spread or use a pastry bag to pipe into a pie. I also use this as cake or cream puff filling or topping.

This is my tried and true recipe and I’m so happy that you have it! You are going to absolutely love it. It’s not overly sweet or rich. It’s so good and a chocolate-lovers dream for celebrating any occasion.
Now, let’s get this amazing treat into a pie! The way I make Chocolate Cream Pie is with a shortbread crust. I’ve shared with you a few times how to make it, but to make it easy, I want you to have it right here.
Shortbread for pie crust or cookies
Ingredients
- 1 cup salted butter, cut into pats and melted (2 sticks/16 tablespoons)
- 2 and 1/2 cups all purpose flour use classic or gluten free blend
- 1/3 cup granulated sugar
- 1/2 teaspoon salt
- 2 teaspoons pure vanilla extract
Instructions
For Pie Crust
- Preheat your oven to 350 degrees
- Have a pie pan prepped and ready to go.
- In a glass bowl, melt the butter pats. I use a microwave and go 20-30 seconds at a time, but please use whatever method you prefer. I'm looking for mostly liquid, and some very soft little pats in there. Pour in pure vanilla extract. Set aside.
- In a mixing bowl, combine all the dry ingredients: flour, sugar, salt. Pour in the wet ingredients. Mix with a paddle attachment until it comes together in crumbles.
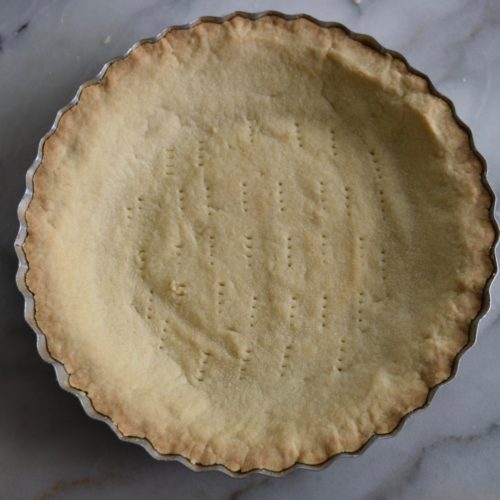
- Take the ingredients by the hand and squeeze them together to form a ball. Put the mound into the center of your pie pan and manipulate the dough to cover the pan. It's very easy to work with and form together from the pieces. I use the bottom of a measuring cup to apply pressure and smooth it all out so that it's even and nice. Take a fork and poke some uniform holes at the bottom portion of the dough.
- Bake for 15-20 minutes, or until the golden color you are looking for.
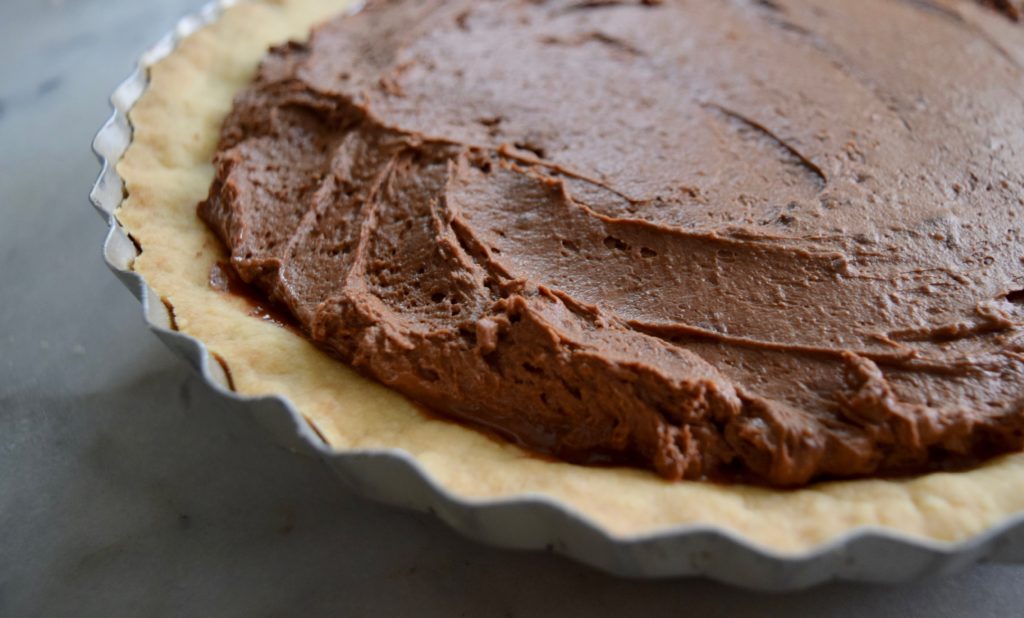
- Once completely cooled, you can use it for any filling you wish. If using for Chocolate Cream Pie for example, you would spoon in the chocolate mousse and use a slotted spatula to smooth it and form it. You are set to have this chill in the fridge until you are ready to serve.
For baking Cookies
- Preheat oven to 350 degrees. Line a cookie sheet with a silpat mat or parchment paper.
- Roll out all of the shortbread dough to cut later or roll out for cookie-cutter cookies.
- Bake for 10-14 minutes, depending on your own oven, and how golden and crisp you would like them.
This is as far as I got on day one – on the eve of Christmas Eve. It’s chilling in my fridge at home and ready to have fresh whipped cream and chocolate shavings on top. (My son is extremely excited and to see him happy about something I make because he loves it, makes me so happy. )
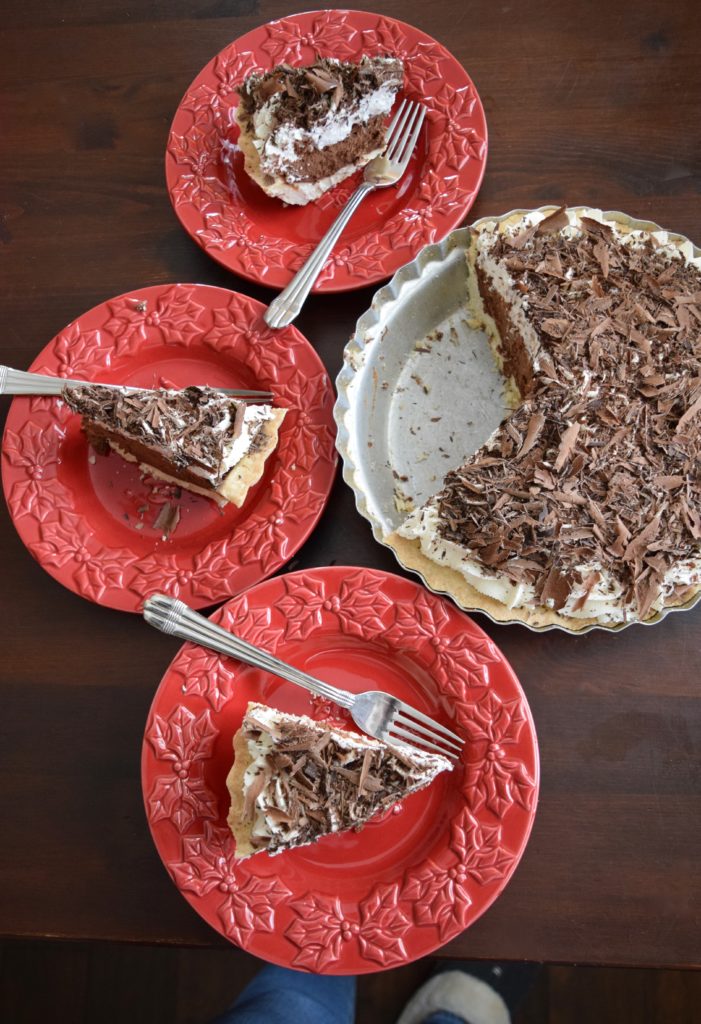
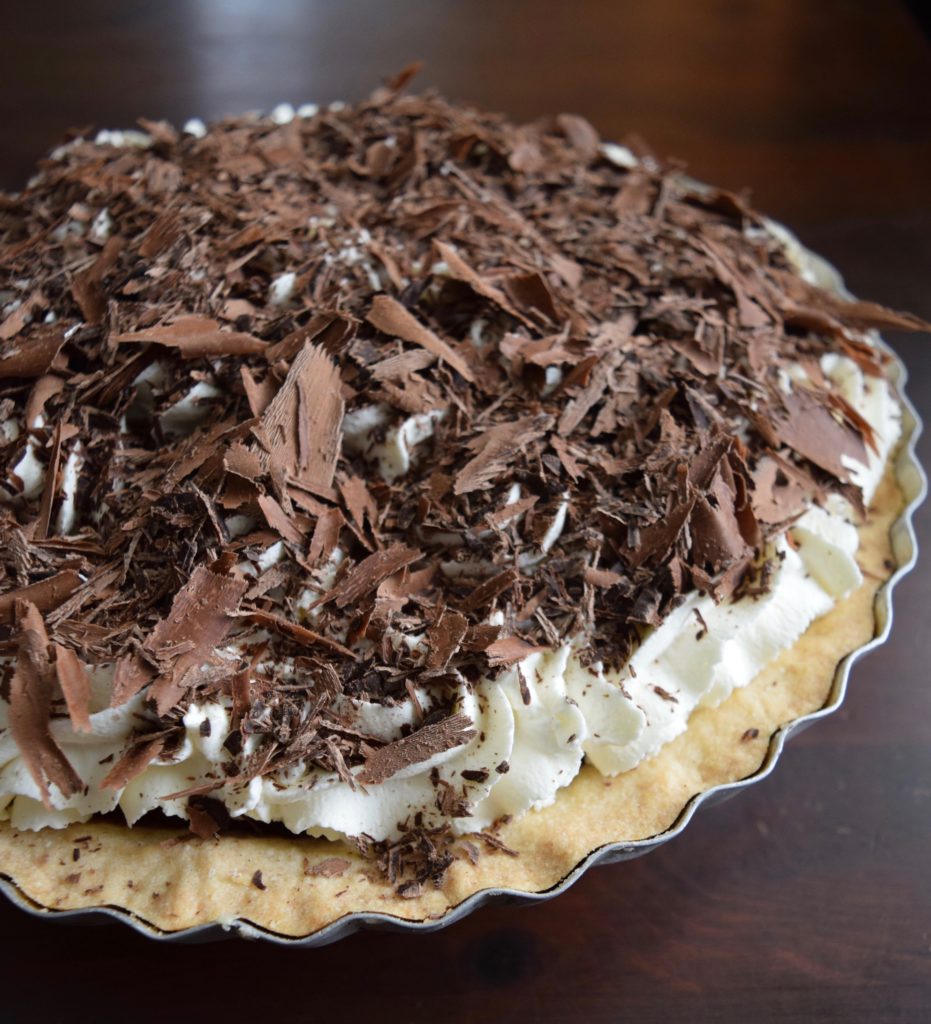
This is what it looks like when it’s all done.
Here’s my whipped cream recipe so you can make it happen too.
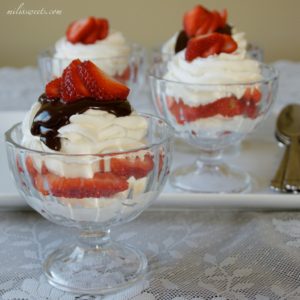
dreamy whipped cream
Ingredients
- 1 and a 1/2 cups heavy whipping cream
- 1/3 cup granulated sugar
- 1 teaspoon pure vanilla extract
Instructions
- Place all of the ingredients into the bowl of your standing mixer. Use the whisk attachment to stir the ingredients inside the bowl, helping to dissolve the sugar, for about 10 seconds.

- Attach the bowl and whisk to the standing mixer and gradually increase the mixing speed to 10, or the highest level. Use a stopwatch to time one minute and 20 seconds. It's done! You now have dreamy whipped cream, and it took about the same time would take (for me) to unwrap a prepackaged-version.
For chocolate shavings, take a block of chocolate, or a bar of chocolate. Use a pastry cutter or a veggie peeler to apply pressure and shave downward. Good chocolate will melt in your hand, so try to do it over a marble or cutting board surface and handle minimally to sprinkle on top of your finished pie. Place in the fridge until you are ready to serve. This pie will last about four days in the fridge.
