I’m sharing my “rad” coleslaw, paired with pulled-pork for sliders. This is a meal that my family gets excited about. I tend to bring it into our dinner-rotation when hotter weather starts to kick-in or when we’re watching sports on tv together. These two easy recipes are full of flavor and have everything you want in this meal: tender, juicy, melt in your mouth pork, paired with a fresh and crisp salad that is sauced with just the right amount of acidity and kick.
This recipe was slightly updated in May 2025.
I share how I make it all in one-take, via YouTube.
Sliders are fun-size, and easier for everyone at home to pick the portion they want, so when it comes to buns for this meal, sliders are my first-choice.
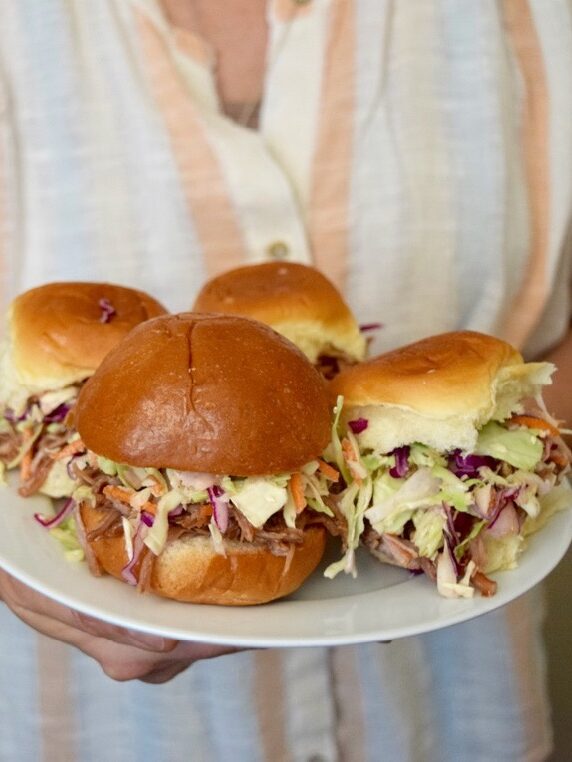
At home, we’re feeding five adult-sized humans, including a literally-ever-growing teenage boy. Bread is always in-high demand here, so if I don’t have enough of one kind, I supplement. The King’s Hawaiian Rolls seem to get opened as soon as the hit the kitchen counter from the grocery-bag, so it was to be expected that I didn’t have enough of them to serve with dinner this time around. I added-in my main go-to: brioche-slider buns.
I personally love these the most. They are tasty, less soft and less sweet, and hold up really well with anything I want to put in there: pulled-pork, burgers, my crispy chicken sandwiches (I’ll have to share that recipe later), and eggs and avocado for breakfast.
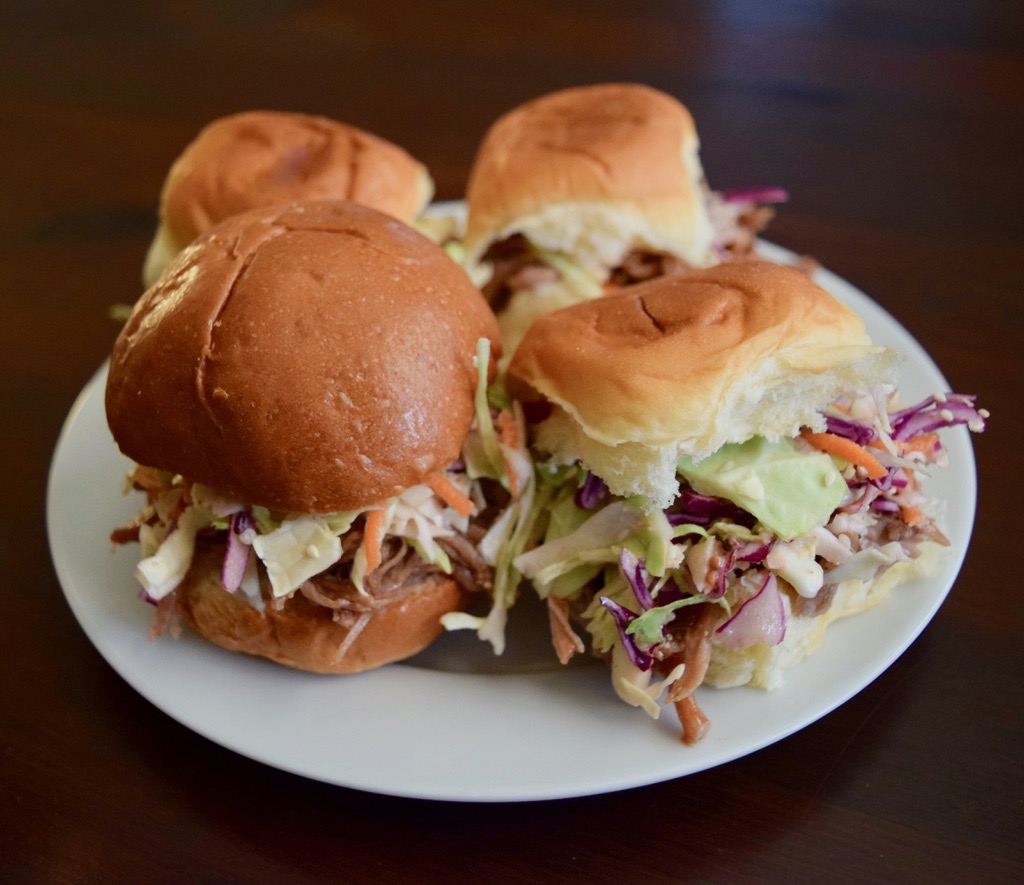
Please note that I’m not sponsored to use any one product. I’m sharing what is really happening, with the ingredients that I have on-hand in my kitchen at home.
Let’s start with the side-dish and this slider-topper: THE coleslaw.
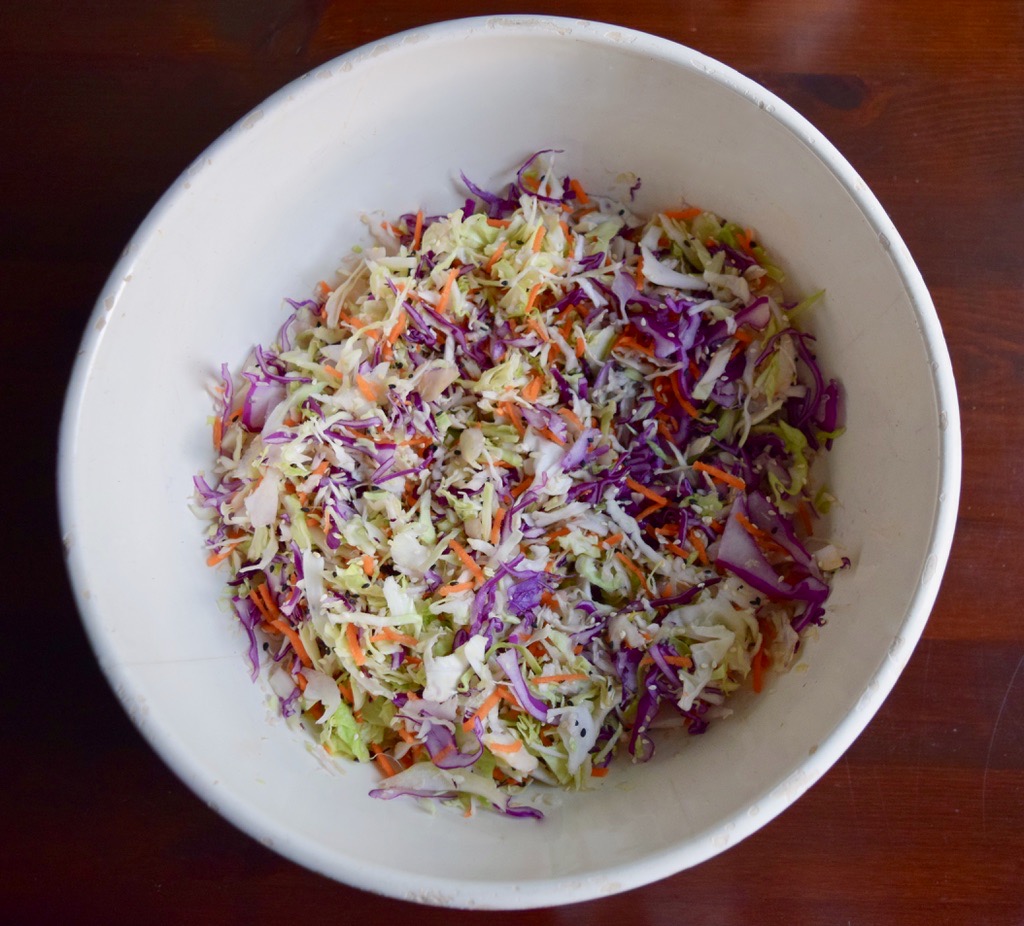
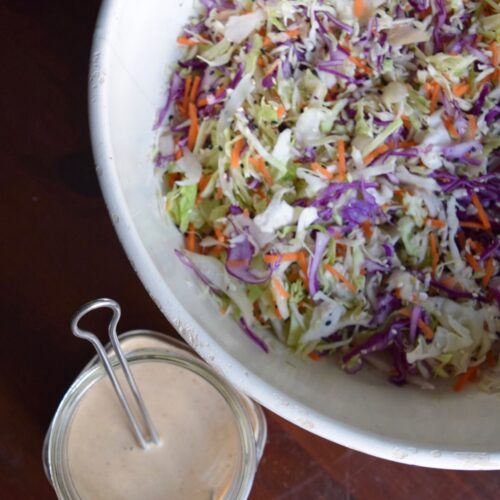
Mili’s (“rad”) Coleslaw
Ingredients
Coleslaw Sauce
- 3 tablespoons apple cider vinegar
- 3 tablespoons mayonnaise
- 2 tablespoons brown sugar
- 2 tablespoons either spicy brown mustard or dijon mustard
- 2 tablespoons buttermilk or milk
- 1/2 teaspoon coarse kosher salt
- 1/2 teaspoon fresh cracked black pepper
- 1/4 teaspoon cayenne pepper For just added flavor and no "kick", take this down to 1/8 of a teaspoon.
Coleslaw Salad – Vegetables
- 2 tablespoons white toasted sesame seeds
- 1 tablespoon black toasted sesame seeds optional
preparing veggies on your own
- 6 cups cabbage – either Napa, Round Dutch, or Savoy These are my choices, in order of what I prefer to use, or like best.
- 1 cup red cabbage optional or if you have mostly this item, make it the main veggie. With this slaw, you can mix and match, based on what you have.
- 1/2 cup carrots 2-3 large, peeled carrots
store-bought prepared veggies
- 1-2 packages prepared "angel thin" shredded cabbage
- 1/2 package prepared shredded red cabbage
- 1/4-1/2 package prepared shredded carrot
Instructions
Coleslaw Sauce
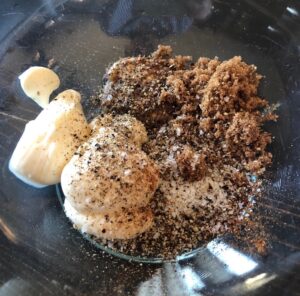
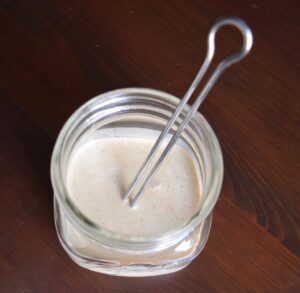
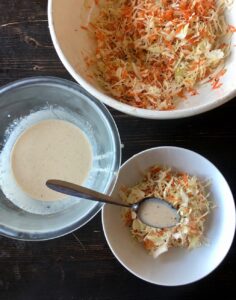
- In a bowl, add the brown sugar first, then the mayo, mustard, milk, salt and pepper.

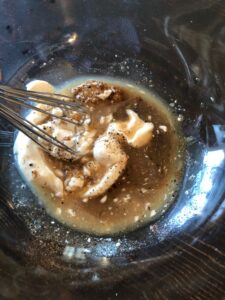
- Add the vinegar.

- Add your desired amount of cayenne pepper and whisk the ingredients together.

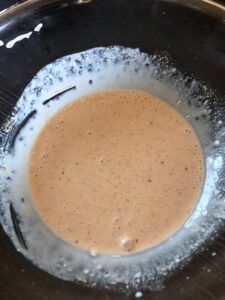
- Cover, and refrigerate until ready to serve. This is good in the fridge for a couple of days. I toss the sauce into the prepared slaw salad, once it is time to serve and eat. This keeps the veggies tasting fresh and crisp. If you sauce ahead of time, the salad will get soggy.

Coleslaw/Salad Veggie Preparation
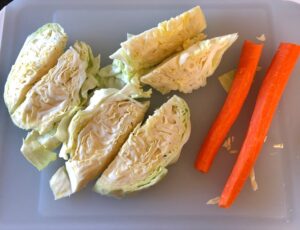
- Prepare the veggies of your choice. I always use a majority of a green/white cabbage variety, and a couple large carrots. At least one type of cabbage is mandatory for this recipe. More colors make it more beautiful. If I have two colors/types of cabbage, I'll go with it, but it's not necessary.
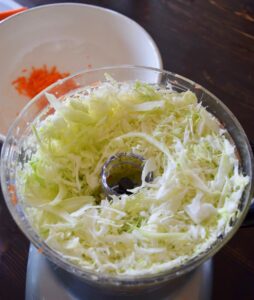
- Wash and clean the veggies. Cut them into pieces that will fit the slicer you're choosing to use. I have used a mandolin in the past and I currently use a food processor because it's the easiest, less messy, and takes the least amount of time.

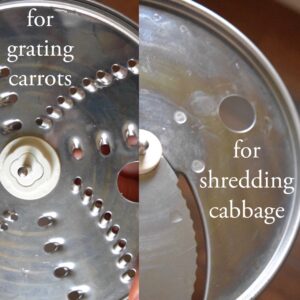
- For your reference, you will use a flat-slicer attachment for shredding the cabbage. You'll use the attachment with multiple holes, to grate the carrots.

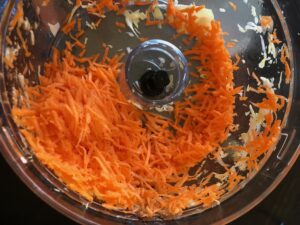
- Grate the carrots.

- Shred the cabbage. Add both to a bowl to combine.

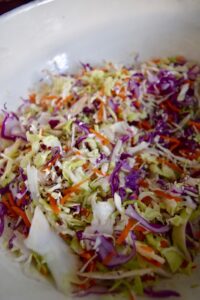
- Toss together with your desired amount or sesame seeds. I like to see them and taste them in every bite.

- This is an awesome and versatile salad mix and great if you do food-prep. If you're storing the slaw, it can stay fresh for at least a few days. Place the mix in an airtight container or storage bag with the air removed, and put in the refrigerator when not using. If you're ready to have coleslaw to top sandwiches or as a side-dish, toss in the amount of sauce you want, only when you are ready to serve/eat. If you want to re-purpose for a different meal, use them for a salad with a vinaigrette dressing, or top with fresh avocado, additional fruits/veggies, or another protein.

Video
Now it’s time to share how I make this easy-breezy, melt in your mouth pork for the sliders. This pulled-pork is so good, you may decide to forget about the coleslaw all together!
I only tweak this recipe slightly when I’m making carnitas for tacos or tostadas, so this recipe is versatile, and you can come up with awesome ways to re-purpose the leftovers for a totally different meal.
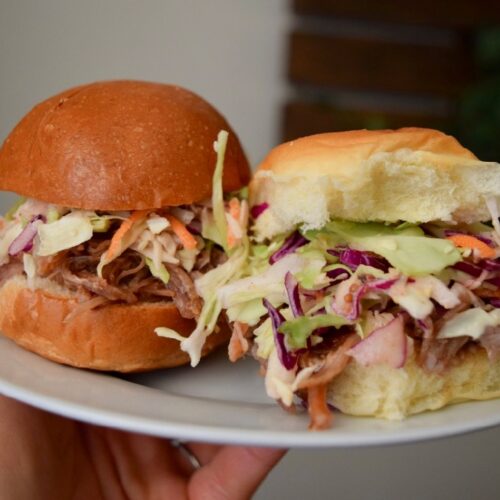
pulled pork
Equipment
- pressure cooker
Ingredients
- 1 pork lion roast (rounder cut) or pork tenderloin roast (long cut) both are boneless, cut into thick pieces
- 2 teaspoons black pepper
- 2 teaspoons coarse kosher salt
- 2 teaspoons granulated garlic
- 1 teaspoon ground cumin
- 1 teaspoon ground coriander
- 1 teaspoon chili powder I used dark chili powder.
- 3 tablespoons light oil – canola or avocado
- 1 tablespoon beef or chicken bullion (optional)
- 2 cups water – to fill to the top of your pressure cooker
- barbecue sauce (optional)
Instructions
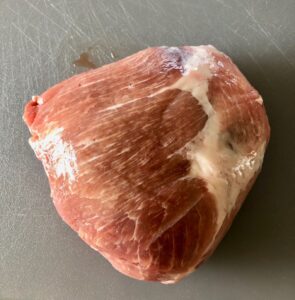
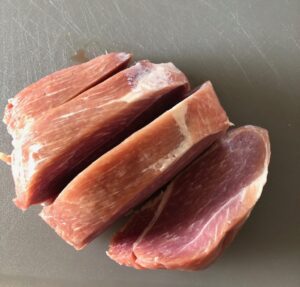
- For this recipe, I used one pork loin roast. They tend to weigh just over two pounds. If you are using pork tenderloin, they tend to weigh just over one pound each.

- Cut into thick slices.

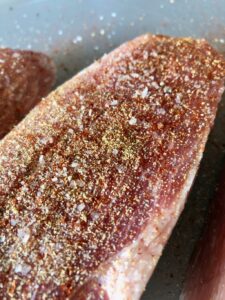
- Season on both sides, using salt, pepper, granulated garlic, chili powder, coriander, and cumin.

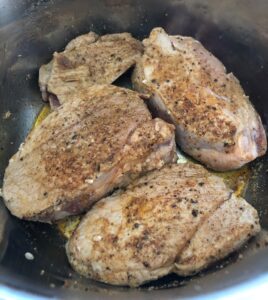
- Set your pressure cooker to saute. Once hot, add about three tablespoons of oil. Once the oil has been heated (maybe 30 seconds or so) add the meat. Cook/brown on both sides. You will not cool all the way through. Cancel/turn off.

- Note: If your pressure cooker does not have the saute function, no worries. Follow these instructions to top-cook in a separate pan. Place the browned meat (not totally cooked- just a few minutes on both sides) into the pressure cooker and deglaze your pan by adding water and turning your burner to low heat. With a wooden or softer spoon, lift up the cooked-in flavor. Add that water to the pressure cooker, and a little more if you need to. Just be sure that the water just-covers the meat and that you are not past the threshold line for your machine.
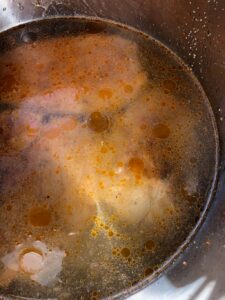
- Remove the inner bowl and add water to the top of the meat. It's your choice to add between one teaspoon and one tablespoon of bullion. Cover with the lid. Put the top on seal and set to "meat" and 30 minutes.

- Once the meat is cooked, release the pressure. The whole process should take about one hour. If you have made this in advance, be sure to select the "keep warm" button on the machine, so that you can get back to it when you are ready.
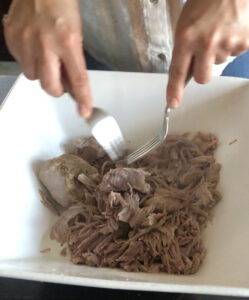
- Once you're ready to serve, place the meat into a bowl and easily pull apart with two forks. This is perfectly juicy as is. As a back up, in case it needs to be left out for a period of time – for parties or when serving a large group – I reserve/set aside a little bit of the cooking juices from the pressure cooker. Stir with a ladel and then pour a couple cup fulls into a bowl as back-up.

- Enjoy with no sauce, or toss with your favorite barbecue sauce before serving.
I take the pieces out of the cooking juices only when I’m ready to serve. One of the great things about this recipe, is convenience. The pressure cooker does most of the work. You season, brown, add water, and walk away until you are ready to eat. You can set your pressure cooker to the keep warm function, and make it in advance, or just set the machine about an hour before you want to eat dinner.
Traditionally, most people decide to barbecue-sauce their pulled-pork for these sandwiches, but know that this meat tastes awesome just the way it is. It’s super tender, full of flavor, and has just the right amount of juiciness.
My mom will not eat barbecue sauce or slaw sauce because she is an old school Italian lady that has always stuck with flavors she grew up with. That’s totally fine and easy. I get it. The rest of my family loves barbecue. In the fridge, we always have two different sauces for the two bbq flavor types. For my son, we have his favorite, which is a sweeter/richer style: Sweet Baby Rays. For the more vinegary-spiced style (my husband’s and daughter’s preferred choice), we have Famous Daves. I go with whatever I’m in the mood for when it’s time to sit down and eat. I’m good with all three options.
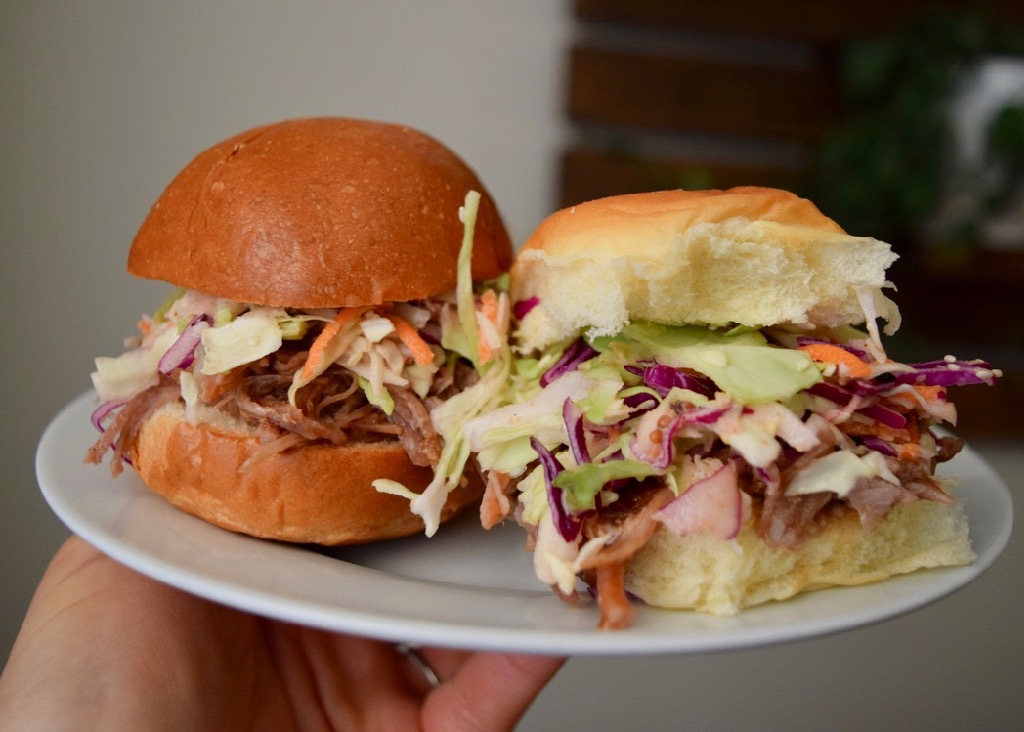
I can’t remember when I first came up with the radness that my family enjoys for this meal, but it was at least a decade ago. I really enjoy taking a moment or two to share these recipes.
Here’s a full-sized pulled pork sandwich from the past, when I had mostly red cabbage on-hand.
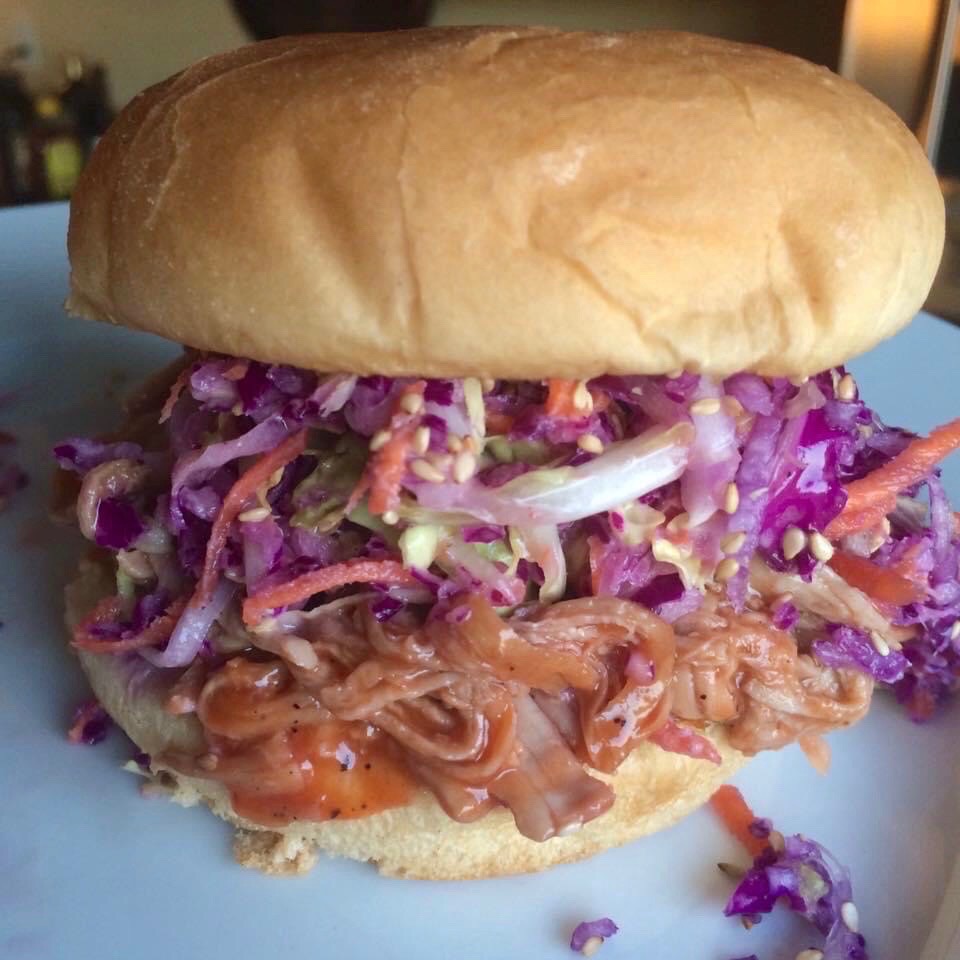
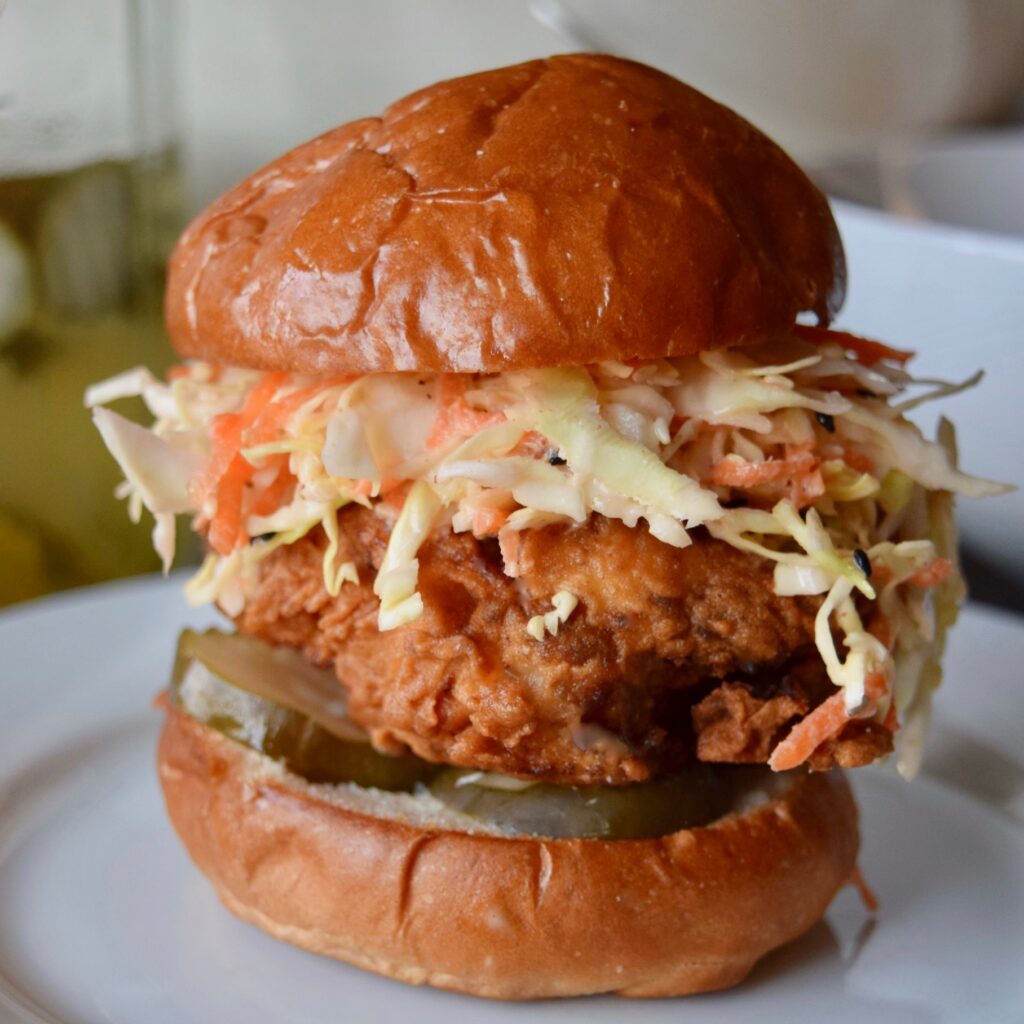
Here I’m using the slaw onto my crispy chicken sandwiches, on the same (my favorite) brioche slider buns. The chicken sandwich recipe will be something I hope to share in the future.
