I’m sharing an all-time favorite recipe post: making Frittelle. Here, I document my mom making a traditional Italian treat from her hometown, typically enjoyed special occasions like Christmas Eve, New Year’s Eve.
For this recipe, you’ll use dough made from either the traditional Italian Master Dough recipe and method that has been passed down for generations, or my simple no-knead dough recipe and method.
There are many versions of frittelle. Most of them found and scattered all over Italy are small and served as a donut or a fritter. This is the original. The tiny town of Tricarico, Italy, where my mom was born and raised, is known for inventing this food which is a fry-bread and peasant-food, made as the best that could be done to celebrate on Christmas Eve for many families. It was so delicious that it caught on and neighboring towns would develop their own takes on the treat. Generations of Italians have made their own versions of frittelle, based on where and how their family was raised.
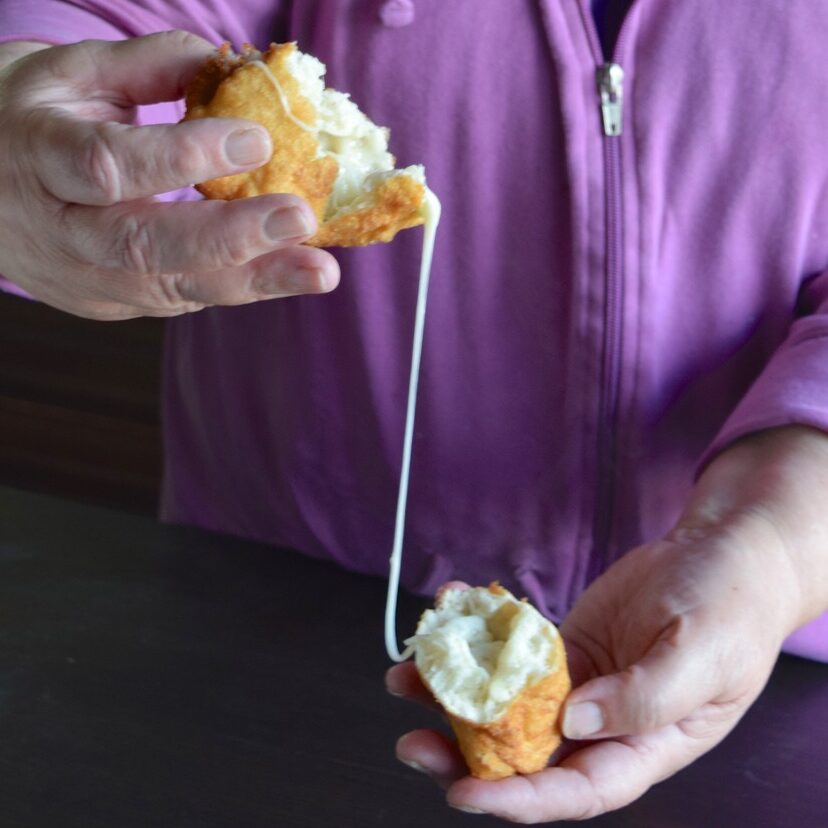
Traditionally, most everyone would enjoy them filled with a dried/cured Provolone cheese (the convenience of refrigeration was not always around) that was cut into cubes and would melt while being fried. This is how my Nonna made them. Frittelles are also commonly served without any filling.
Having them as a sweet-dessert was not really an option. In my mom’s hometown, many years ago, sugar was considered a luxury-item to most families. Because of my grandmother’s profession as a doctor, my mom’s family of eight was fortunate to have enjoyed sugar. I am proud to tell you that they shared their sugar and everything else that they had.
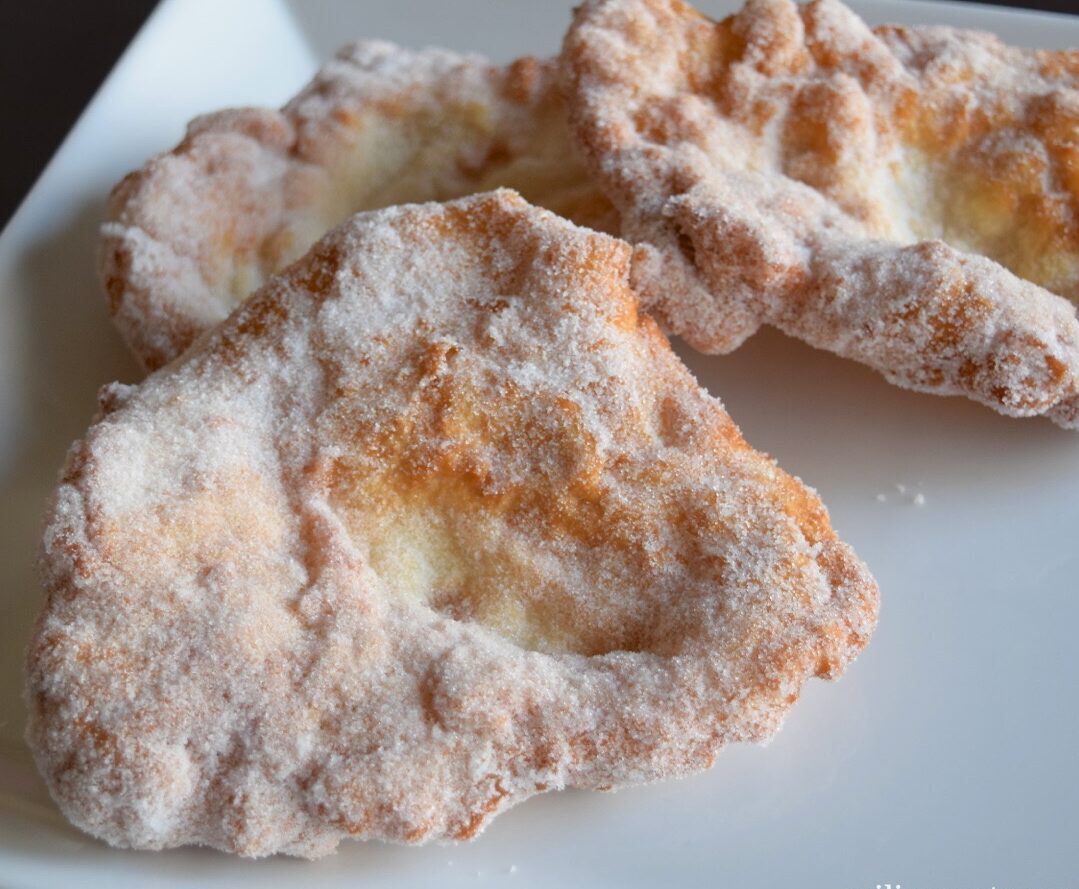
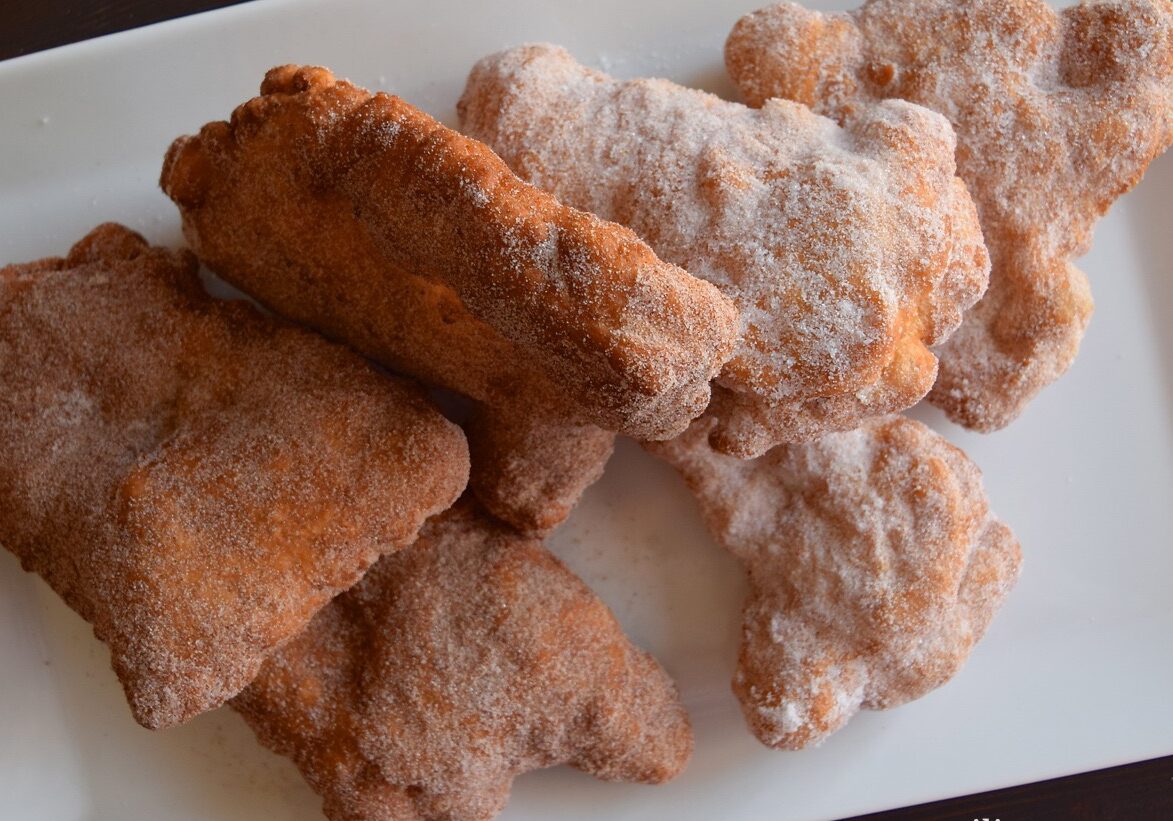
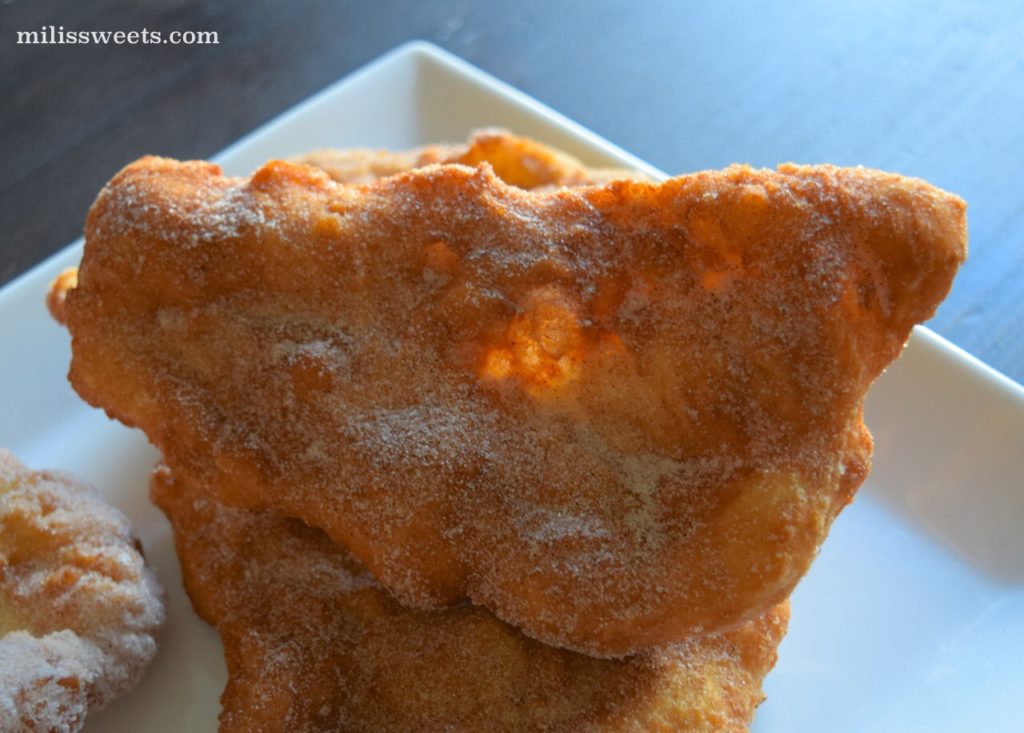
We are not going to miss out on the opportunity to make some dessert-frittelles! We have modified a few details for our recipe-options, substituting the dried Provolone for shredded Mozzarella cheese. Unfilled will always be an amazing option. And then there are the dessert versions, with freshly-fried frittelles, dipped into sugar or cinnamon-sugar.
Obviously, some details of how to make this recipe have been updated and simplified, so that you are able to conveniently heat the water for the dough preparation with the use of a microwave, and use the many other convenient tools, available in our modern kitchens.
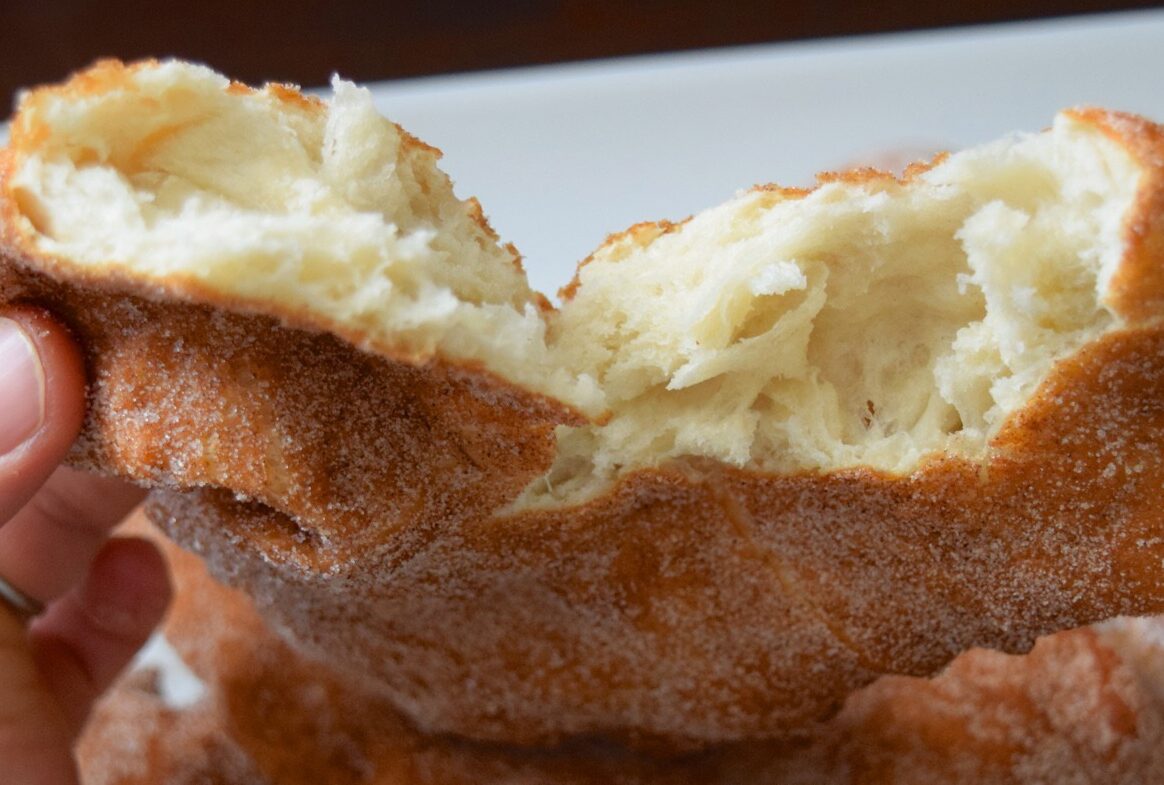
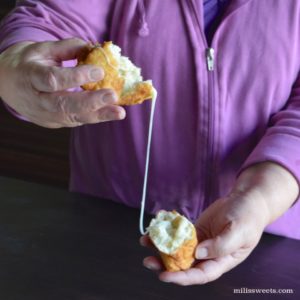
The air in the dough and the texture of the bread makes it taste like a delicious, fluffy, warm pillow. There is no way to not be satisfied with such a generous serving of fried-deliciousness. Every time I see them, smell them or pull one apart, it takes me back to some of the happiest days and memories of my childhood. It is a very good thing!
The recipe is actually very simple, but it will take some time for me to master bread dough the way my mom has. The way she prepares it blows my mind! Her hands are so fast, that my camera could barely keep up. I had to write down her notes quickly too. When hands have mastered a craft and are this skilled, there is no measuring or referring to recipes. Therefore, if I don’t write down her work, it might one day, be lost.
With that, I hope you can save and share this recipe!
Frittelle: Traditional Italian Fry-Bread
Ingredients
prepare your bread dough using either our traditional recipe or no-knead method
filling options: mozeralla, aged provolone, cracked pepper
coating options: cinnamon-sugar or just granulated sugar
Instructions
preparing the risen dough
- Once you have beautifully-risen bread dough that is ready to use, it is time to prepare it for fritelle.
- Make a prep-area on a table to work on the individual servings of dough. We put down some parchment paper or a tablecloth. Cut the dough into small pieces, that fit into the palm of your hand.
- Take the piece and stretch it so that it’s a nice and flat, with no holes but a good amount of light coming in without breaking.
- While this process is happening, you will want to prepare the frying-oil in a pan so that it can get hot enough to properly fry the bread. In a pan, heat the oil.
- The amount of oil you need, will depend on the size of pan you use. Our oil goes up to the little knobs in the pan. I’d say between 1/2″ and 1″ up, depending on the mood we are in. You will know what is best for you. When you are frying most any food, a trick to being successful, is to make sure that it has the opportunity to float. Set the stove to medium-heat.
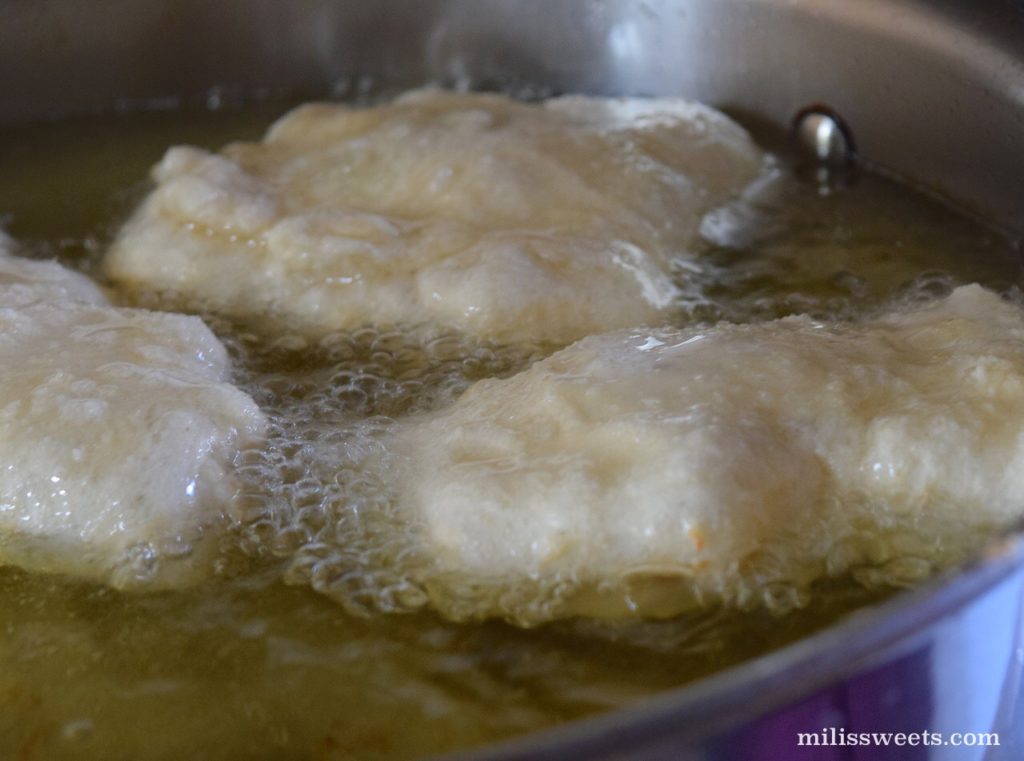
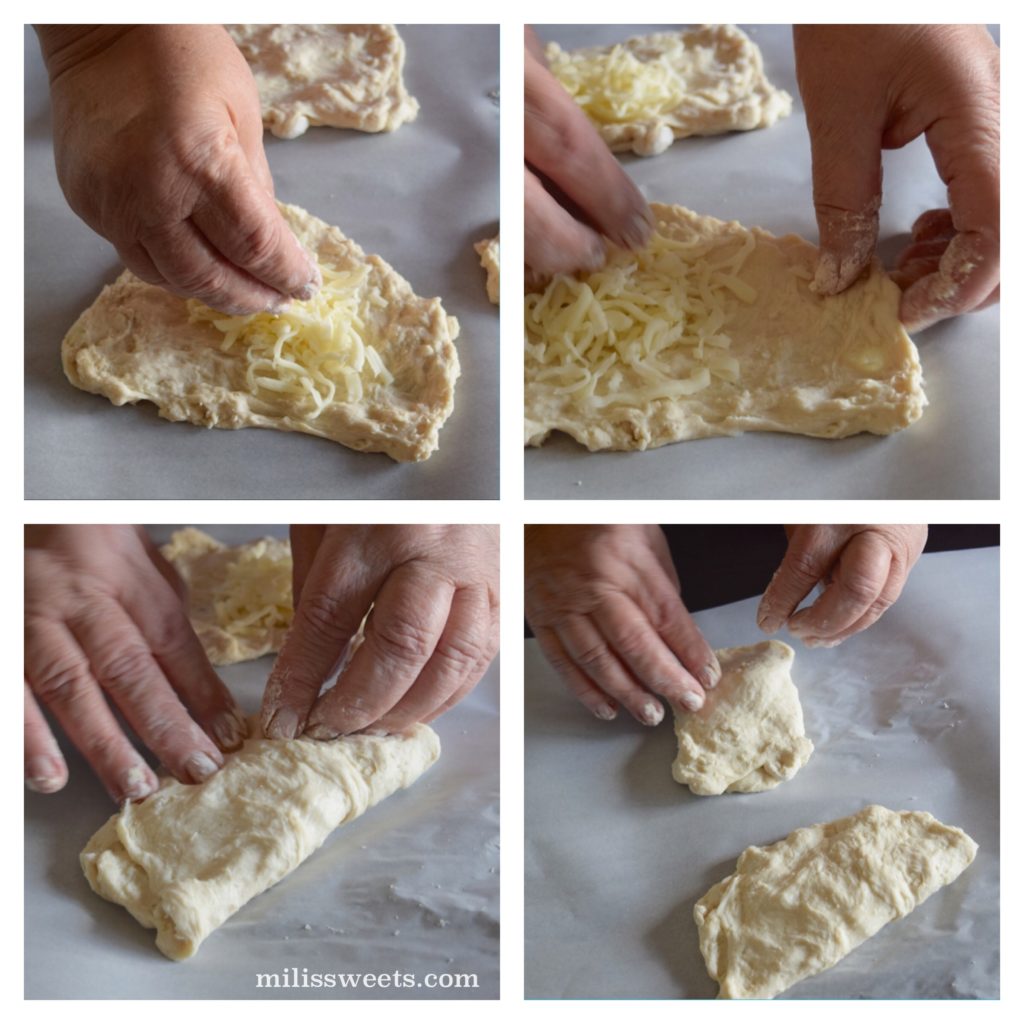
- Now it is time to fill (or not fill) and fold the pieces of dough.We are going to start with dessert-versions of frittelle, so they will not be filled. Once you have the dough flattened, fold it over to make a kind of taco. Seal the edges closed with your finger tips.When the oil in the pan has reached 350 degrees, you can start to fry the bread. Be prepared since this process will go quickly. You will want to have an area to dry and cool the frittelle and have a pair of tongs handy, to flip the pieces.
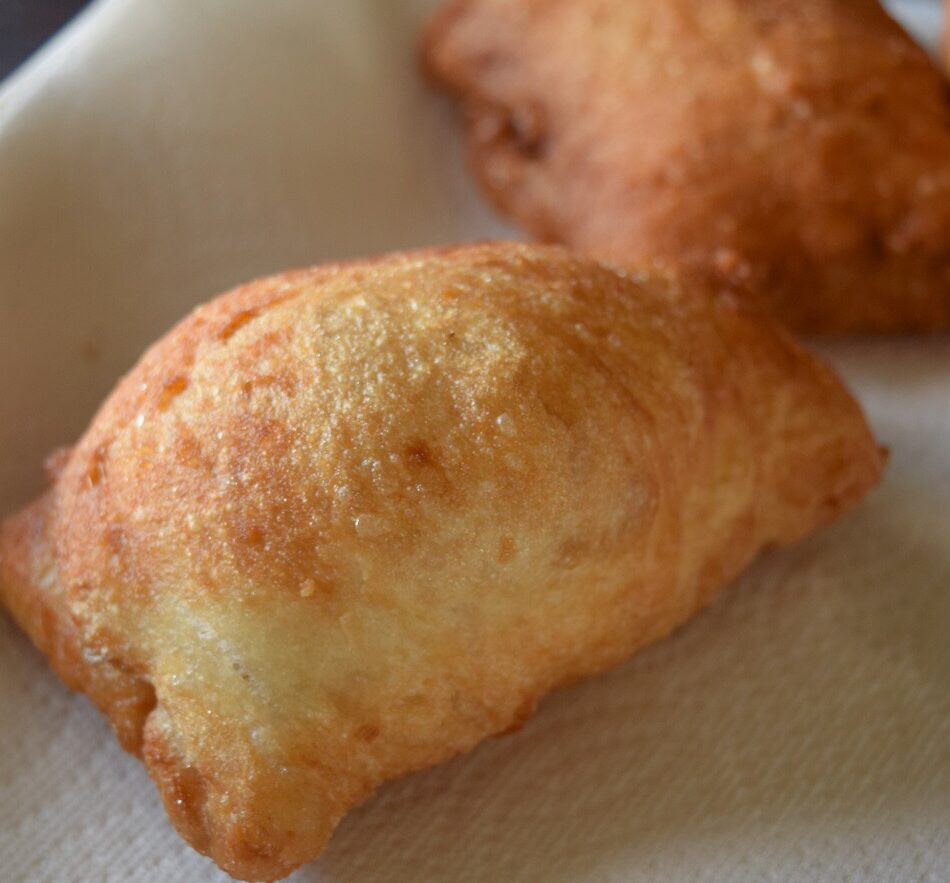
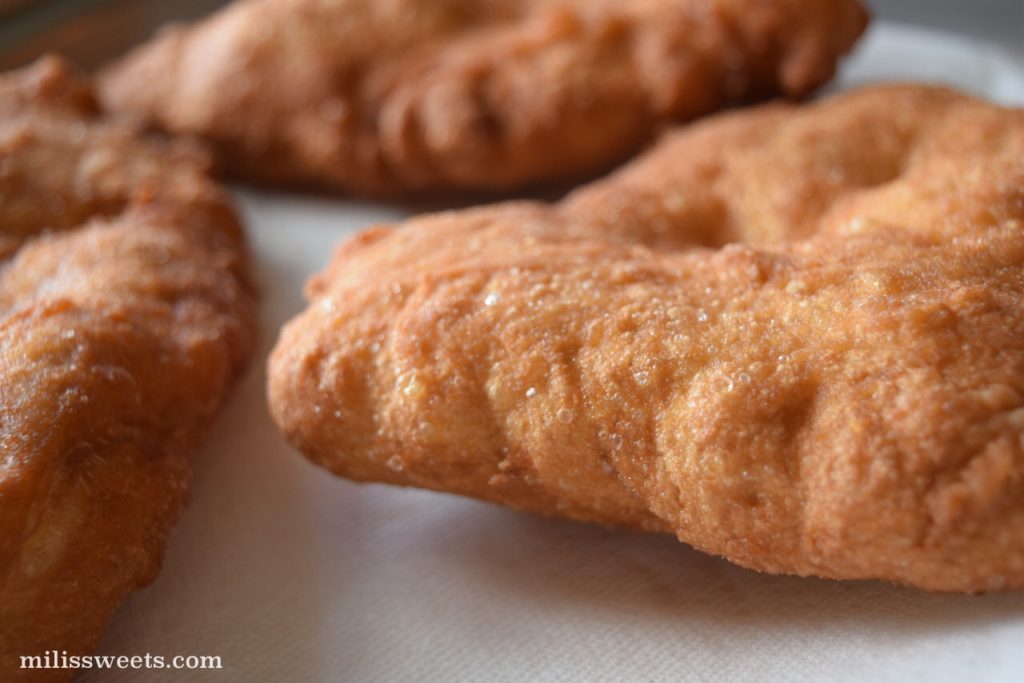
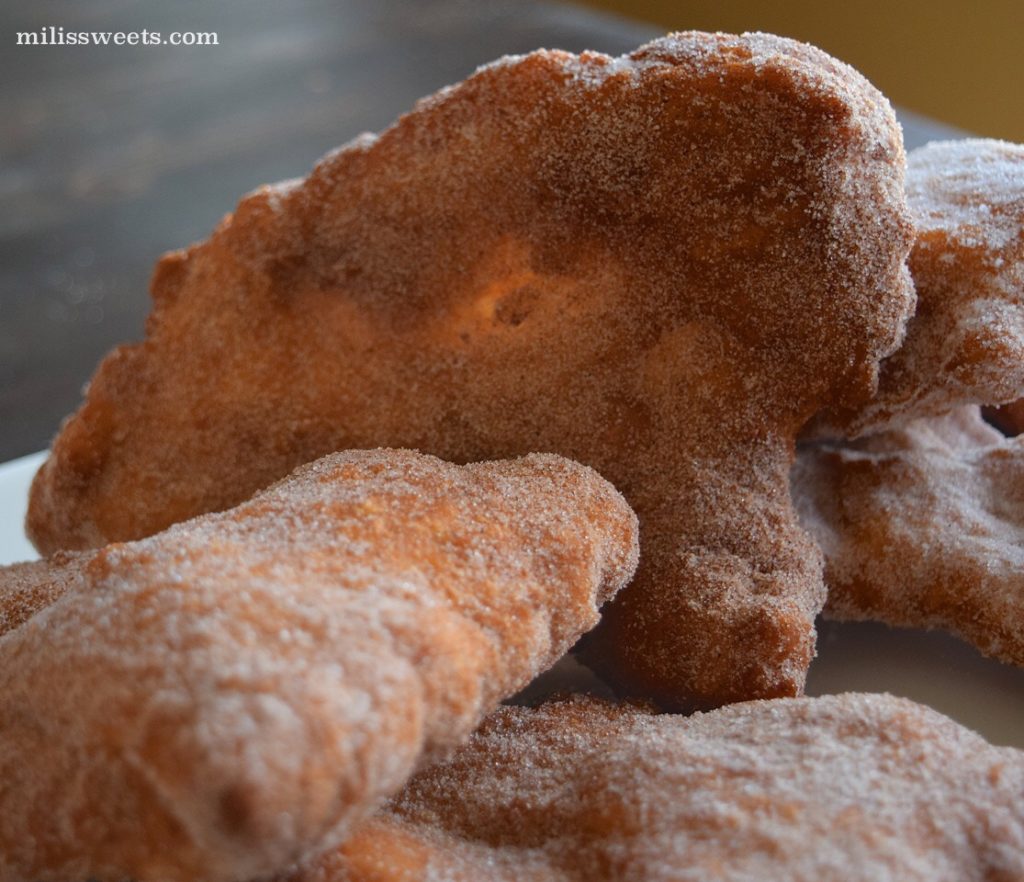
- You can flip the dough over and over, until it has become golden brown and is floating in the oil. I cannot give you an exact time since it depends on the quality and make of the pan you are using. For the first try or two, you will want to eyeball-it. They can be done frying in as little as two minutes. Here is what unfilled dough looks like, after it is fried. It is not as round as filled frittelle, but there should always be a lot of air and texture on the inside.
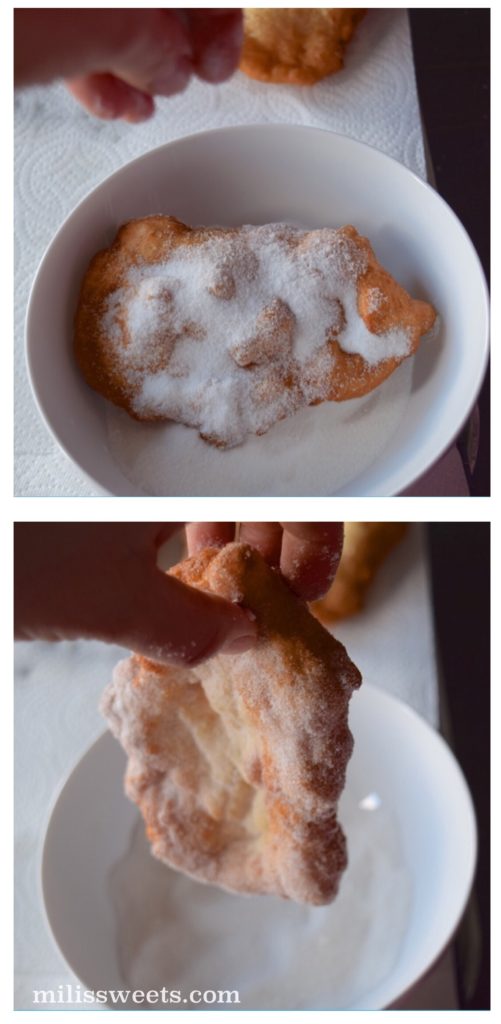
- If you are dipping into sugar or cinnamon-sugar, have a bowl prepared and ready. The best result for a sweet frittelle is to cover them when they are still hot and the oil is still warm on the bread.
- Here is how to fill them, if you want to make a more traditional, savory version, with cheese: Sprinkle one side with cheese. Fold over and lightly pinch the edges closed. You do not want the cheese to come through into the oil since it will burn. It will still taste good, but it won’t be pretty.
Here is Nonna preparing the traditional method for bread dough.
First, prepare the 1 and 3/4 cup of water by heating to 120 degrees . Set aside.
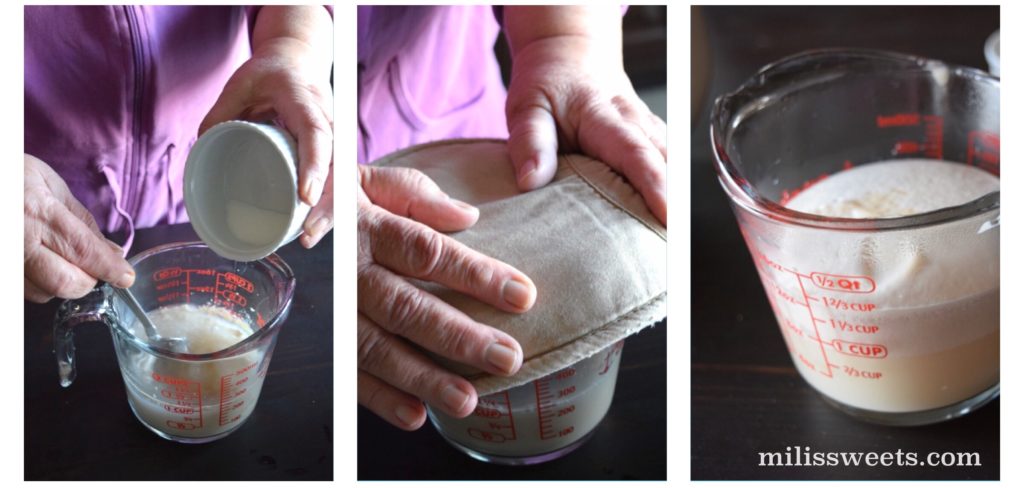
Next, prepare the yeast.
How to prepare yeast for making bread-recipes:
In a glass container, measure one cup of water. Heat in the microwave for 40 seconds. Stir in the dry active yeast and the 1 tablespoon of sugar. Cover for 10 minutes. The yeast will have activated and will be ready to use.
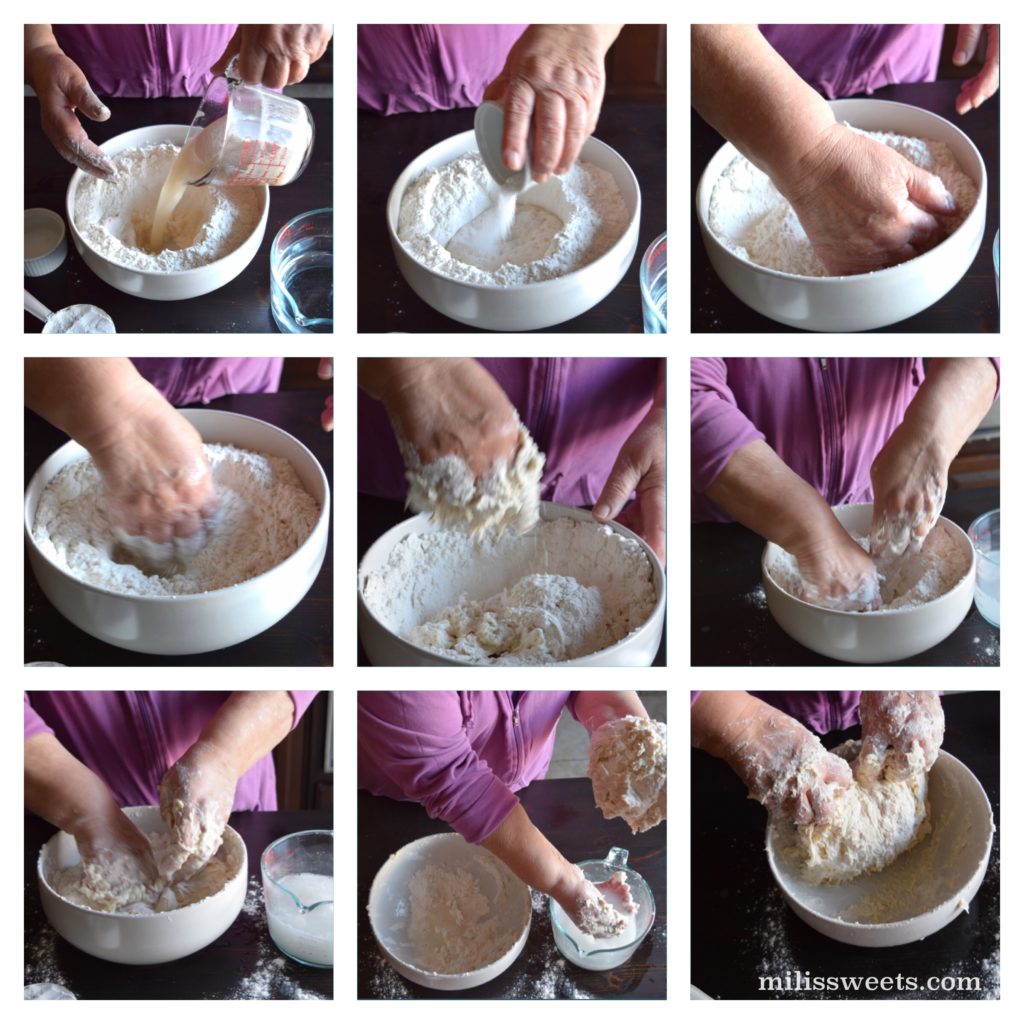
Now it is time to get to work and knead the dough by-hand. In a large bowl, place the 4 cups of flour and create a well in the center. Pour in the activated yeast-water mixture and pour on the salt.
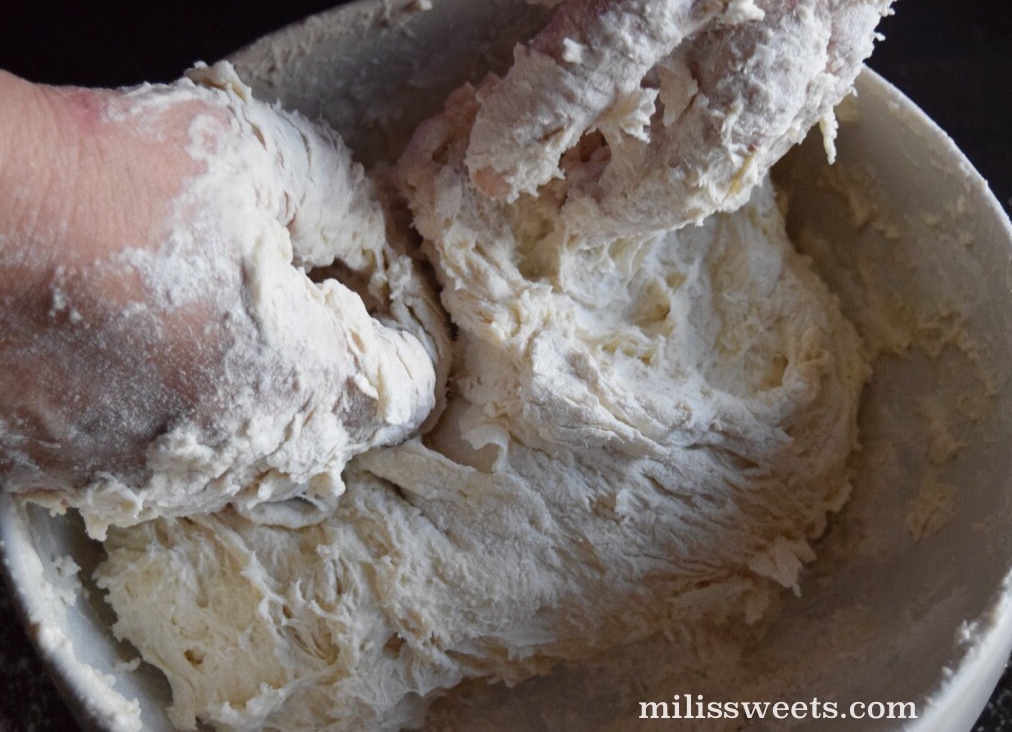
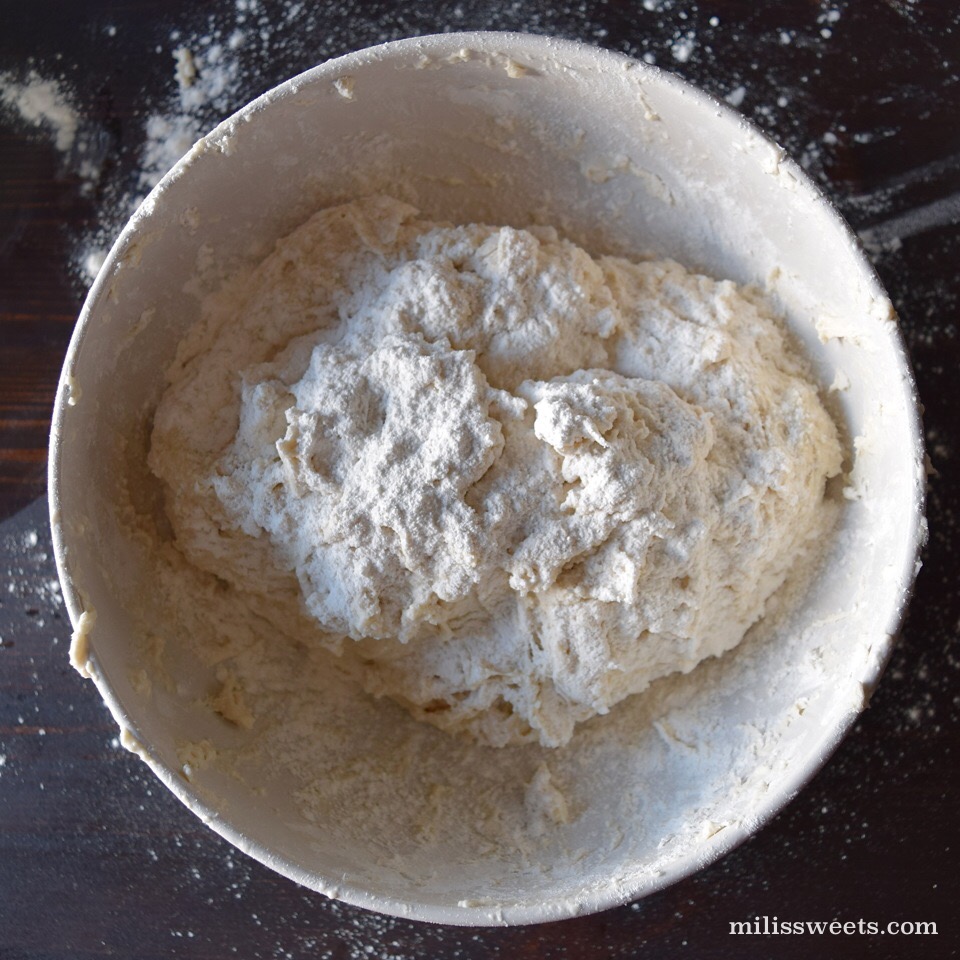
Watch my mom’s hands. I had to really edit down the photos so that you can see how she puts it together. After the well is filled, she brings her hands around to edge to let flour into the center. She moves her one hand in and out to get more flour into the center, a little at a time. Once all of the flour is combined into the moisture, she uses a little of the 1 and 3/4 cup of water that was heated and set aside, to dip in her hand and add the moisture. Next, she uses both hands. Her hands move up and down and “squish and squash” in the dough. It is sticky. She lifts the dough ball and takes a scoop of water with her hand, to grab the flour that is at the bottom of the bowl. With that, she works-in all of the dough together.
She takes the access dough from her hands and then gets a sprinkling of flour from the reserve that was set aside for dusting. She dries her hands with the flour as well. As tradition, she says a prayer over the dough and makes a sign-of-the-cross over the kneaded dough – just the way her mother did and generations before her have done. It is beautiful.
Now it is time to cover the dough and allow it to rise.
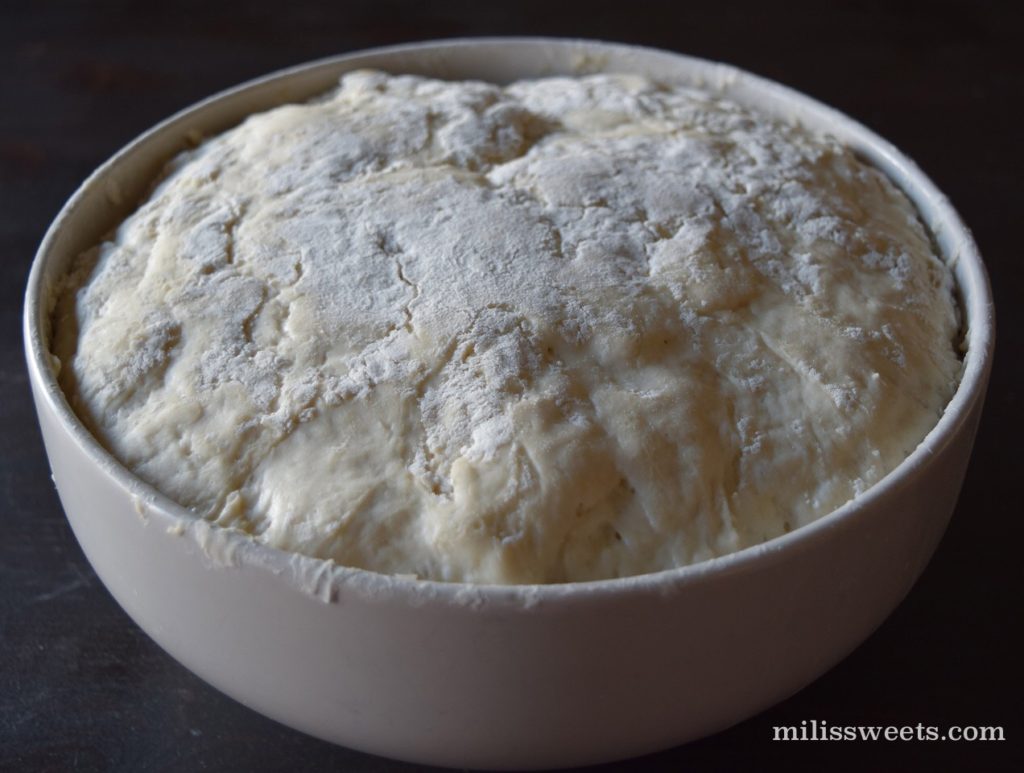
She covers the dough with a homemade blanket that she always uses. You can use a large dishcloth. Completely cover the bowl and keep in a dry, warm place. Allow to sit, untouched for one hour. Please set a timer so that you don’t forget.
When the one hour is up, you will have a beautifully-risen bread dough that is ready to use.
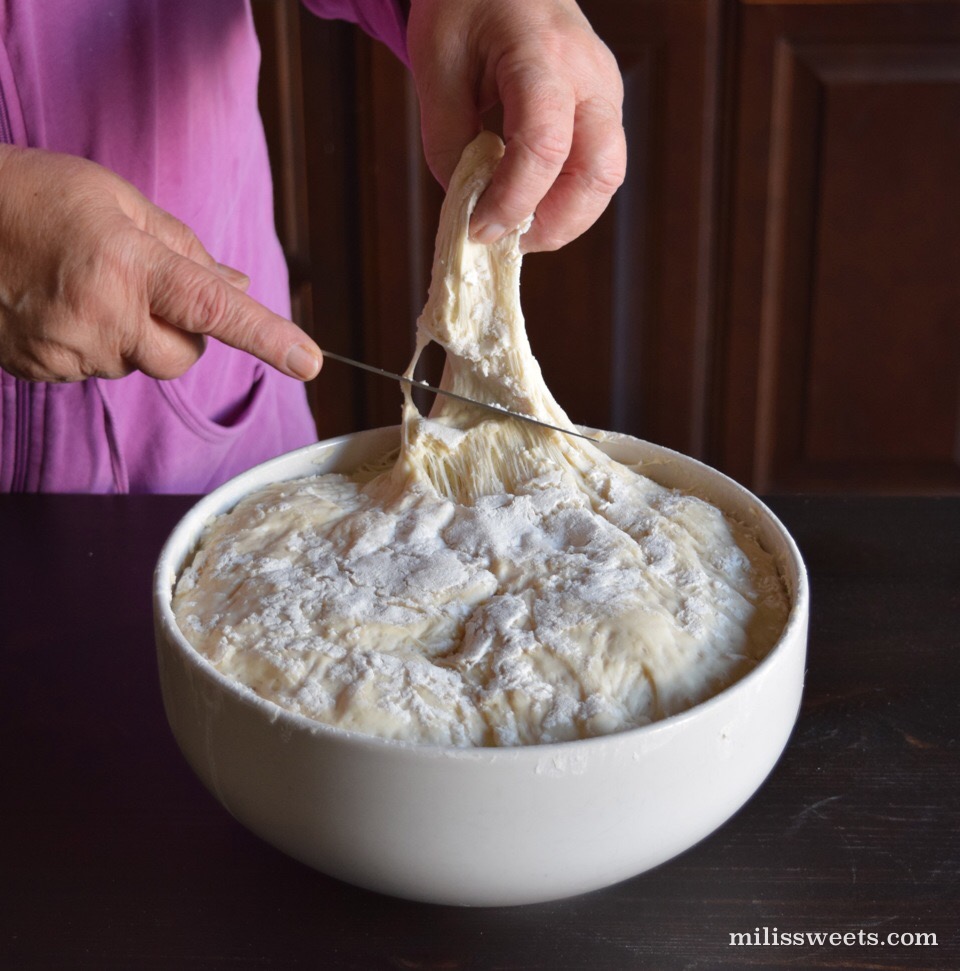
If you are ready to go, it’s time to prepare frittelle! Make a prep-area on a table to work on the individual servings of dough. We put down some parchment paper. Cut the dough into small pieces, that fit into the palm of your hand.
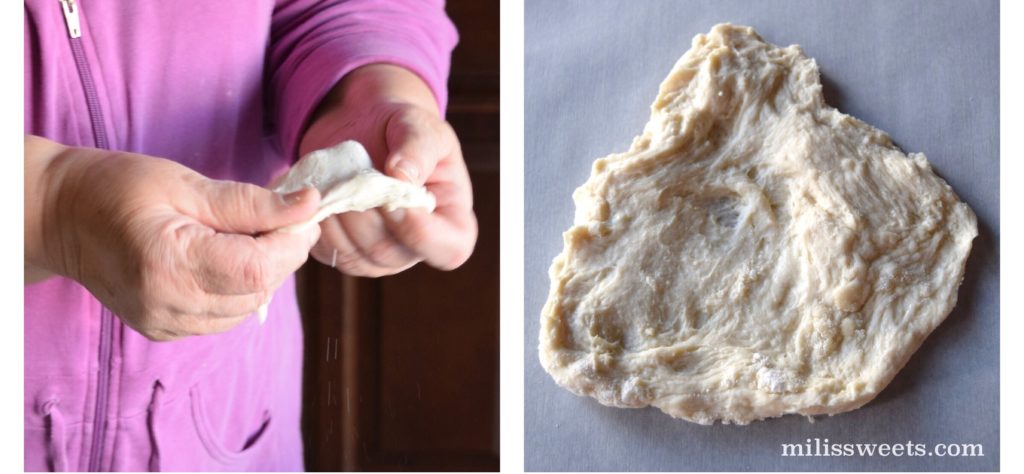
Take the piece and stretch it so that it’s a nice and flat, with no holes but a good amount of light coming in without breaking.
While this process is happening, you will want to prepare the oil in a pan so that it can get hot enough to properly fry the bread. In a pan, heat the oil. We use canola oil. The amount of oil you need, will depend on the size of pan you use. Our oil goes up to the little knobs in the pan. I’d say between 1/2″ and 1″ up, depending on the mood we are in. You will know what is best for you. When you are frying most any food, a trick to being successful, is to make sure that it has the opportunity to float. Set the stove to medium-heat.
Now it is time to fill (or not fill) and fold the pieces of dough.
We are going to start with dessert-versions of frittelle, so they will not be filled.
Once you have the dough flattened, fold it over to make a kind of taco. Seal the edges closed with your finger tips.
When the oil in the pan has reached 350 degrees, you can start to fry the bread. Be prepared since this process will go quickly. You will want to have an area to dry and cool the frittelle and have a pair of tongs handy, to flip the pieces.
You can flip the dough over and over, until it has become golden brown and is floating in the oil. I cannot give you an exact time since it depends on the quality and make of the pan you are using. For the first try or two, you will want to eyeball-it. They can be done frying in as little as two minutes. Here is what unfilled dough looks like, after it is fried. It is not as round as filled frittelle, but there should always be a lot of air and texture on the inside.
If you are dipping into sugar or cinnamon-sugar, have a bowl prepared and ready. The best result for a sweet frittelle is to cover them when they are still hot and the oil is still warm on the bread.
One of the most beautiful details of frittelle is the light that shines through from the parts of the dough that have been pulled to the point of almost-breaking.
It is a skill and a gift to have the confidence to stretch the dough before it breaks. If it does break, do not worry. You can patch it back together with your fingers before frying.
Here is how to fill them, if you want to make a more traditional, savory version, with cheese:
Sprinkle one side with cheese. Fold over and lightly pinch the edges closed. You do not want the cheese to come through into the oil since it will burn. It will still taste good, but it won’t be pretty.
I really hope you enjoy this recipe as much as my family does!
It is so important to me, that my family can hold on to traditions that I was raised with, so that they continue to thrive in my home and in my heart. I believe it is important for any family to continue the legacy of their culture(s). I honestly cannot imagine my world without the special foods and traditions that have helped to shape my life.
Being blessed with my mom living in our home means that my kids and I can learn about the food she has made most of her life. We can document it and always have it. The best part is, she loves to share how she does it. It brings her joy and another opportunity to be bossy. I love my mom so very much and I’m actually happy when she tells me to do something. It wasn’t always that way, but it has been for a very long time now. Her grandchildren totally get it and love every minute of her sharing with us as well.
Side note: My blog was originally on milissweets.com, and 10 years or so ago, “tagging” original photos with the blog-name was a thing. Sorry for any confusion now that this post is published onto my newly-named site of glorifiedhobby.com.
Thank you for being here!

