At home, once December hits and our Christmas tree is up, classic gingerbread cookies with royal icing will soon be made to enjoy and to share. Over the years, we have mastered this easy, stress-free recipe for rolling out and icing delicious bites that can be made gluten free, and are naturally made without eggs or nuts.
In this recipe post from years ago, I share how I have the kids make these traditional cut-out cookies, and the different ideas I have to assemble and decorate special, gift-worthy treats with gingerbread.
First the recipes, then the steps for a couple cute ideas for gingerbread pops.
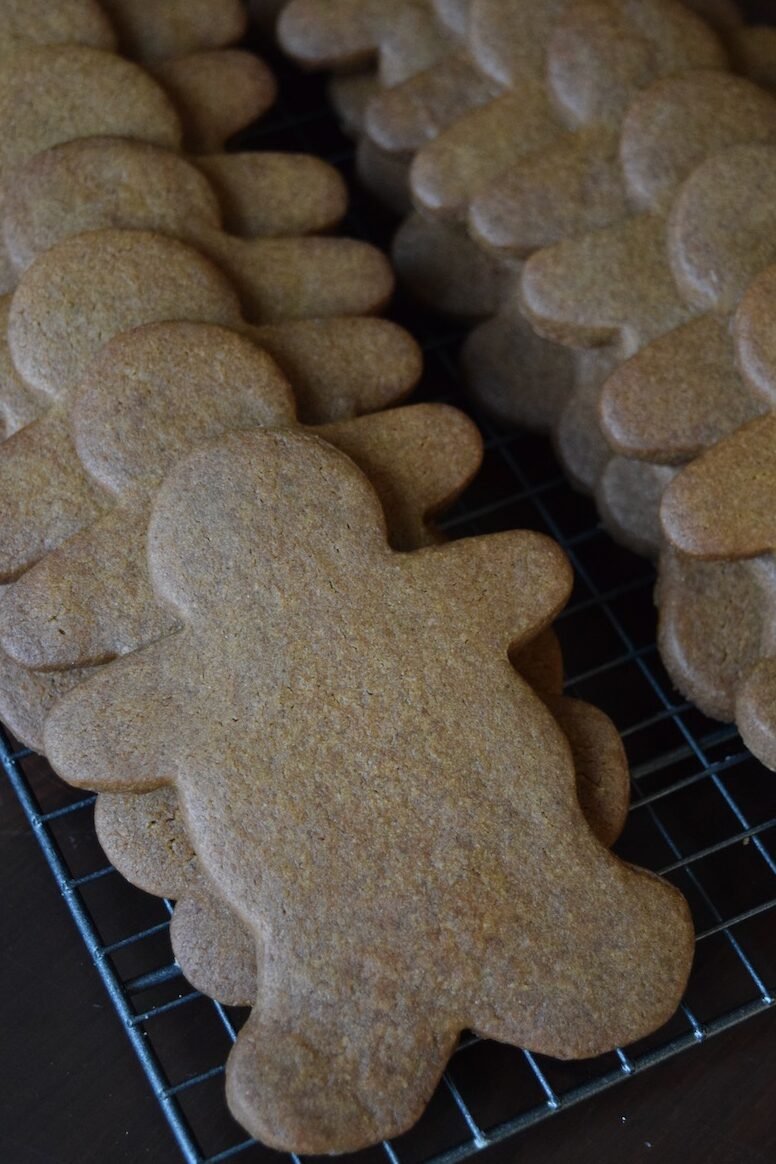

Gingerbread Roll Out Cookies and Royal Icing
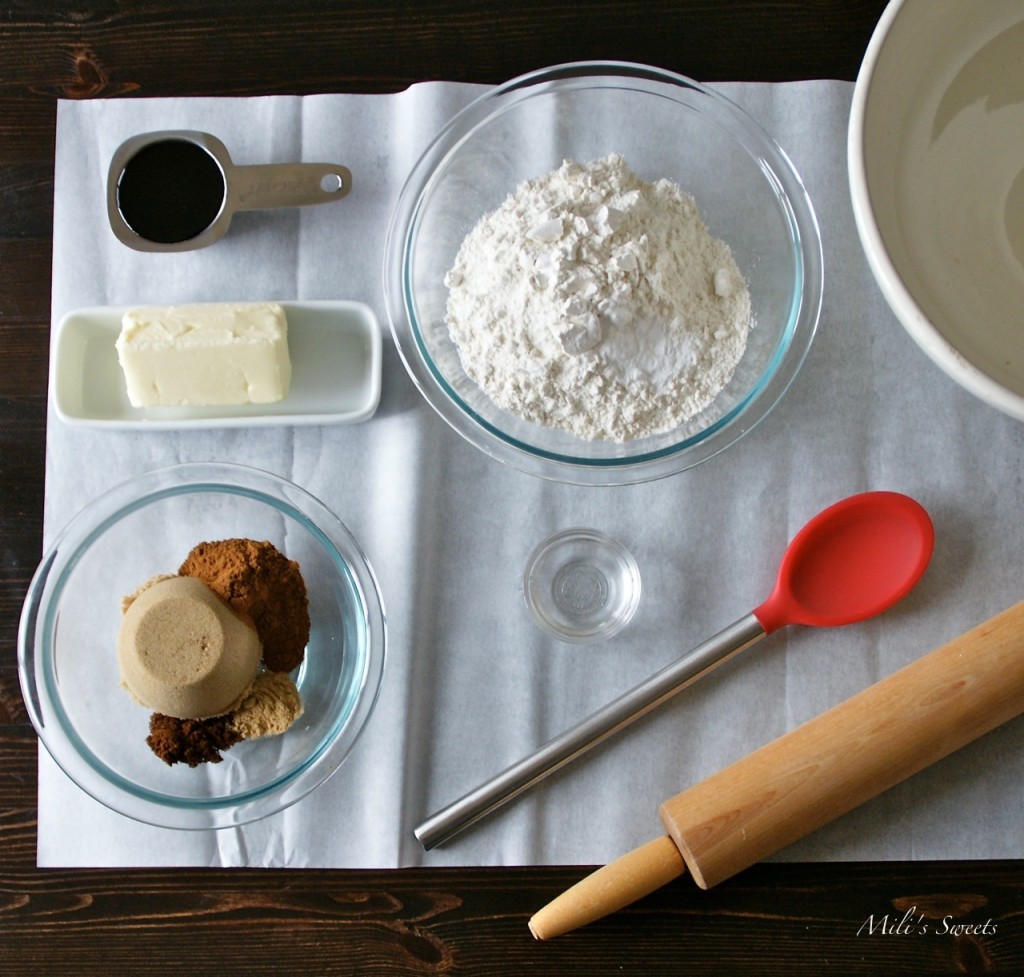
Ingredients
cookie dough
- 1/2 cup salted butter, softened 4oz./ 1 stick (substitute vegan butter for a dairy-free and vegan alternative-recipe)
- 1/2 cup brown sugar
- 1/4 cup molasses
- 2 tablespoons ground cinnamon
- 1 teaspoon ground ginger
- 1 teaspoon ground cloves
- 1 teaspoon baking soda
- 2 cups all purpose flour simply substitute a one-to-one ration gluten free flour mix if you would like this recipe to be made gluten-free. Please note that the cookie dough will be softer and will take fewer minutes to bake.
royal icing
- 4 cups powdered/confectioners sugar I do not sift.
- 3 tablespoons meringue powder
- 9 tablespoons warm, filtered water
Instructions
cookie dough prep
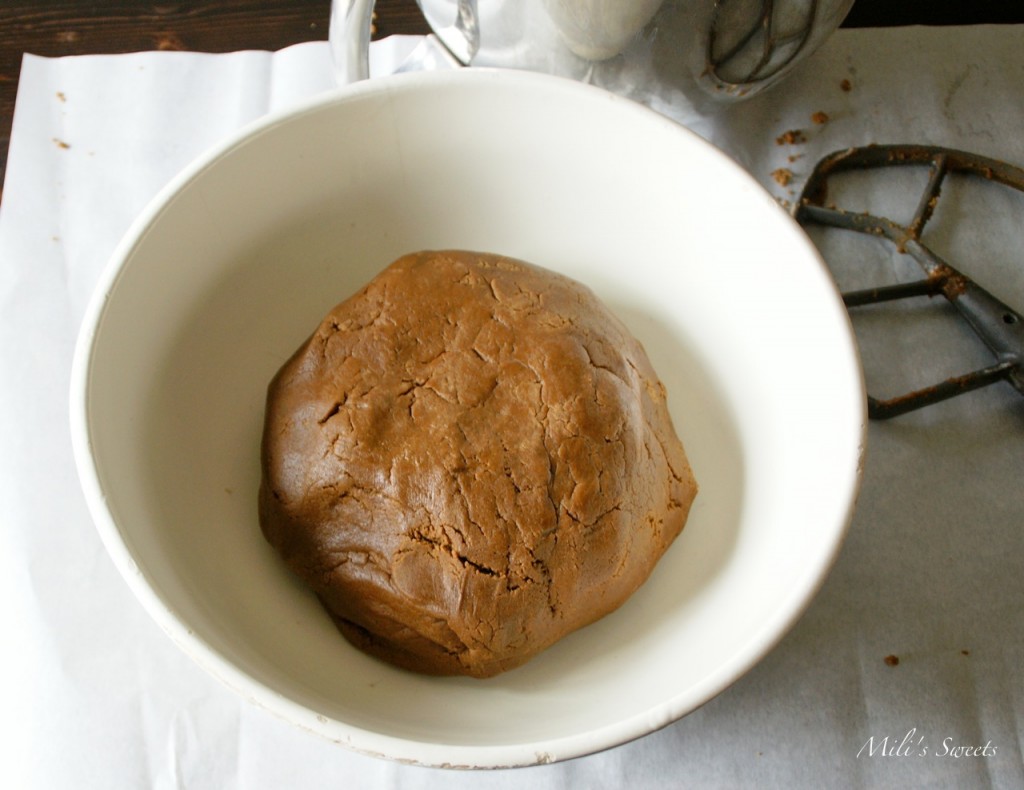
- In a standing mixer, with the standard paddle attachment, cream the butter, brown sugar, cinnamon, ginger, cloves and baking soda until mixture is smooth. Add molasses. Blend in flour to make a stiff dough. You'll know it is done mixing when the dough has completely lifted from the bowl.

- Cover the cookie dough in plastic wrap and refrigerate for at least 30 minutes, or until you are ready to start rolling out the cookies.

- preheat your oven to 350 degrees.
rolling out cookies for cutting
- Cut a piece of parchment paper to fit the inside of your cookie sheet. Lightly dust it with flour.
- Hand-kneed enough dough to cover your sheet and place in the center with a floured rolling pin.
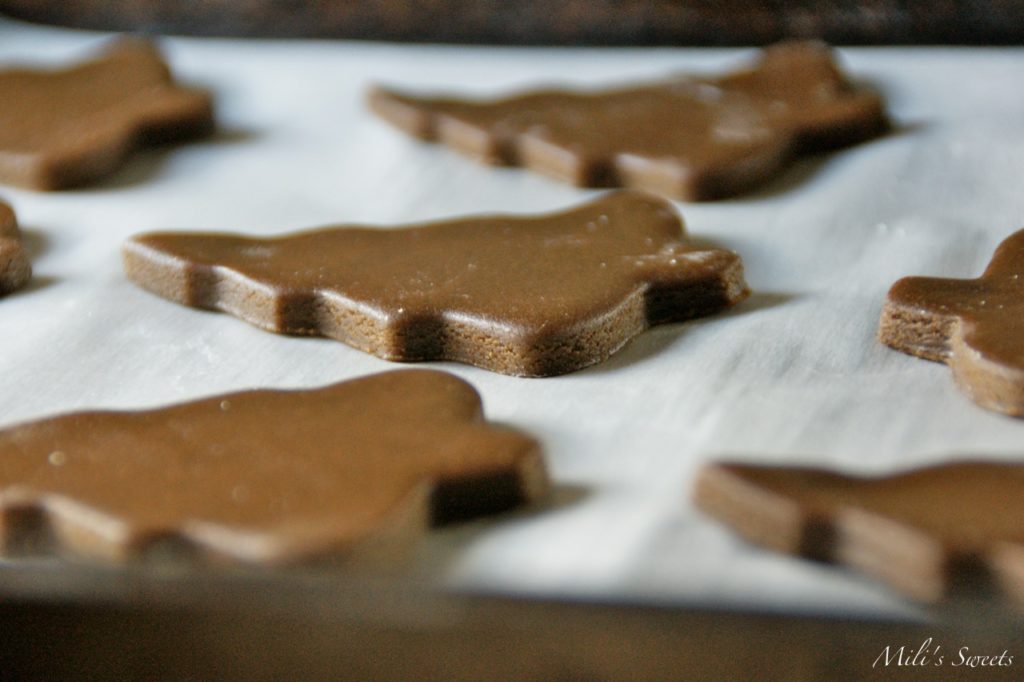
- Roll out your dough to fit inside the parchment paper. I like to have the dough down to a smooth, 1/8 of an inch.

- Place as many cuts with your cookie cutter(s), without having the cuts touch.
- Lift off and remove the uncut portions of dough from the parchment paper.
- Move the cut pieces, so that they can bake with enough room, and without touching.

- Hold the paper by opposite corners of the parchment paper and place it inside your cookie sheet.
- My cookies bake perfectly in my home oven for 13 minutes. You will want to check them after 11 minutes. It will also depend on how thinly you roll the dough. The number of servings will depend on the size cutter you use. Leave out to completely cool before decorating.
royal icing
- Using a standing mixer, with a scraping, paddle attachment, place all of the ingredients in the bowl and start mixing at a low speed until ingredients are incorporated together. Increase to a medium speed, for 5 minutes.
Here’s what you’ll do:
In a standing mixer, with the standard paddle attachment, cream the butter, brown sugar, cinnamon, ginger, cloves and baking soda until mixture is smooth. Add molasses. Blend in flour and water to make a stiff dough.
MIXING: As per the third photo below, you’ll know you’re done mixing when the dough completely lifts from the bowl.
Cover the cookie dough in plastic wrap and refrigerate for at least 30 minutes, or until you are ready to start rolling out the cookies.
Preheat your oven to 350 degrees.
ROLL TIME:
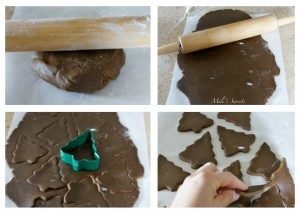
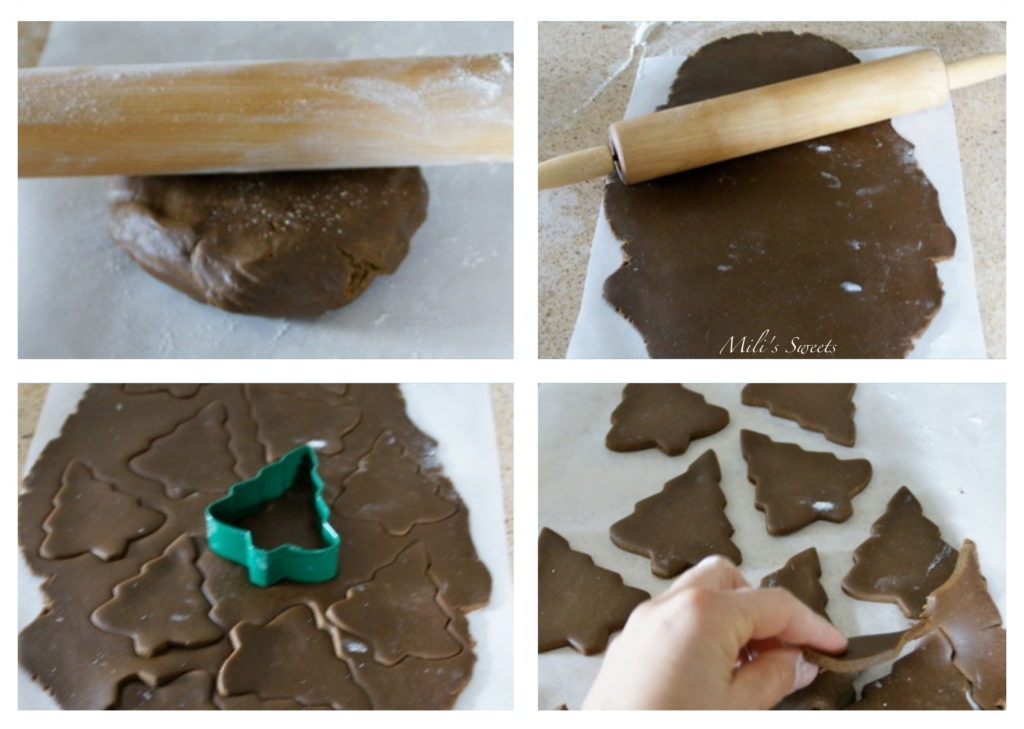
Here’s the easiest way to roll cookies, with less fuss, so that you don’t have to transfer cut cookies onto your cookie sheet, which typically leads to distorting the cut.
Cut a piece of parchment paper to fit the inside of your cookie sheet. Lightly dust it with flour.
Hand-kneed enough dough to cover your sheet and place in the center with a floured rolling pin.
Roll out your dough to fit inside the parchment paper. I like to have the dough down to a smooth, 1/8 of an inch.
Place as many cuts with your cookie cutter(s), without having the cuts touch.
Lift off and remove the uncut portions of dough from the parchment paper.
Move the cut pieces, so that they can bake with enough room, and without touching.
Hold the paper by opposite corners of the parchment paper and place it inside your cookie sheet.
BAKE TIME:
My cookies bake perfectly in my home oven for 13 minutes. You will want to check them after 11 minutes. It will also depend on how thinly you roll the dough.
The number of servings will depend on the size cutter you use.
Leave out to completely cool before decorating.
Making Royal Icing
Using a standing mixer, with a scraping, paddle attachment, place all of the ingredients in the bowl and start mixing at a low speed until ingredients are incorporated together. Increase to a medium speed, for 5 minutes.
Spoon icing into piping bags and use immediately. Royal icing dries quickly so anything not used should be placed in a air-tight container.
** ALLERGY TIP: If you are allergic to eggs, do not use Meringue Powder, as it’s made with pasteurized, dried egg-whites. Instead, I recommend substituting this ingredient with egg replacement powders and there are a lot of good options at the grocery store or online.
Cut-Out Cookie Pops
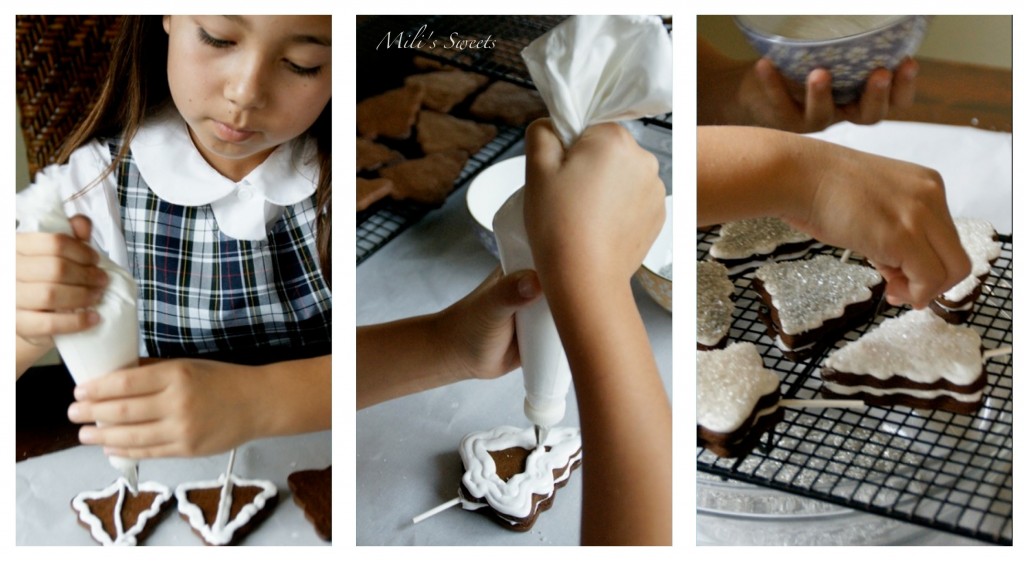
Now, let’s make something super cute for treat-giving or making. My daughter and I came up with the simple idea of creating a sandwiched cookie onto a pop, using royal icing and pretty sprinkles.
I love this as an idea for a gift the kids can make for their friends at school, since it’s a treat most anyone (even those with food allergies) can enjoy. This recipe is nut-free, egg-free and can be made gluten-free.
Here’s what you’ll need:
Baked and cooled gingerbread cookies in the same shape, two for each pop
Lollipop sticks – I use ones sized 4 1/2″ x 1/8″
Prepared royal icing – classic recipe listed on this post, or vegan recipe
Sprinkles – for this project, we used white and silver crystalized sugar.
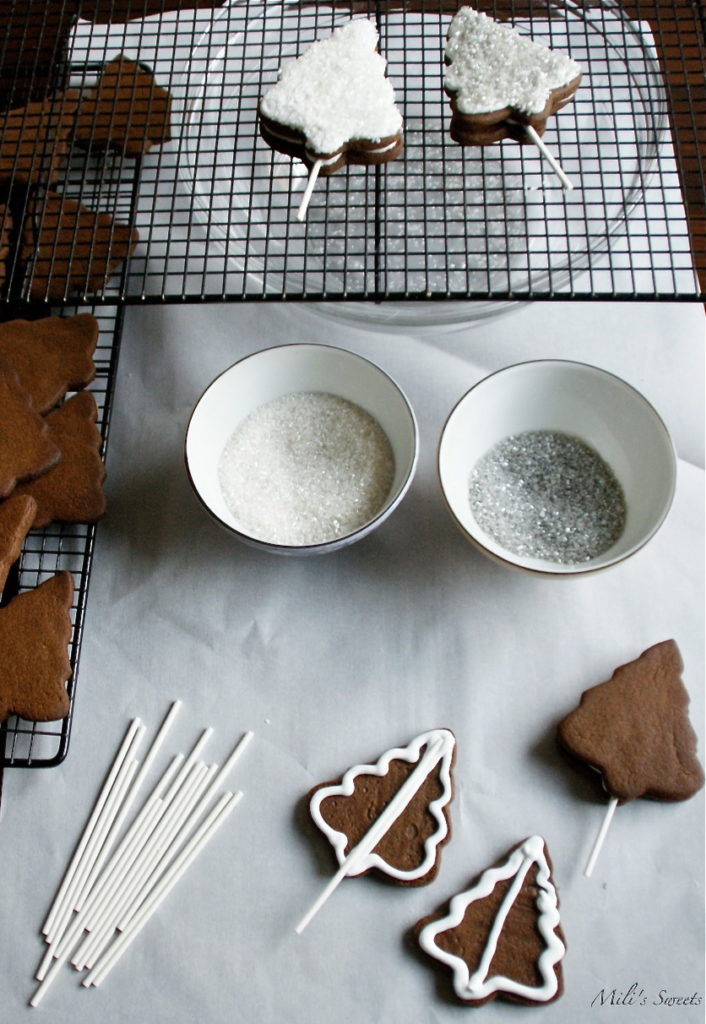
Your work station should have parchment paper, with a cooling rack to allow your cookies to set and receive their sprinkles, and a bowl under the rack to catch the extra sprinkles.
How to assemble:
This is super fun and simple. I allowed my daughter to do all of the “work.” I recommend making one pop at a time.
First, place the two cookies upside down. Pipe an outline and center line on each. Place the stick on one of the lines and then put the cookies on top of one another, creating a lined-up sandwich.
Next, pipe royal icing to completely cover one side of one of the cookies.
Place the pop on the cookie rack, over a bowl. Completely cover the royal icing with sprinkles. Allow to set until firm to the touch. (The drying process should take no more than 5 minutes.)
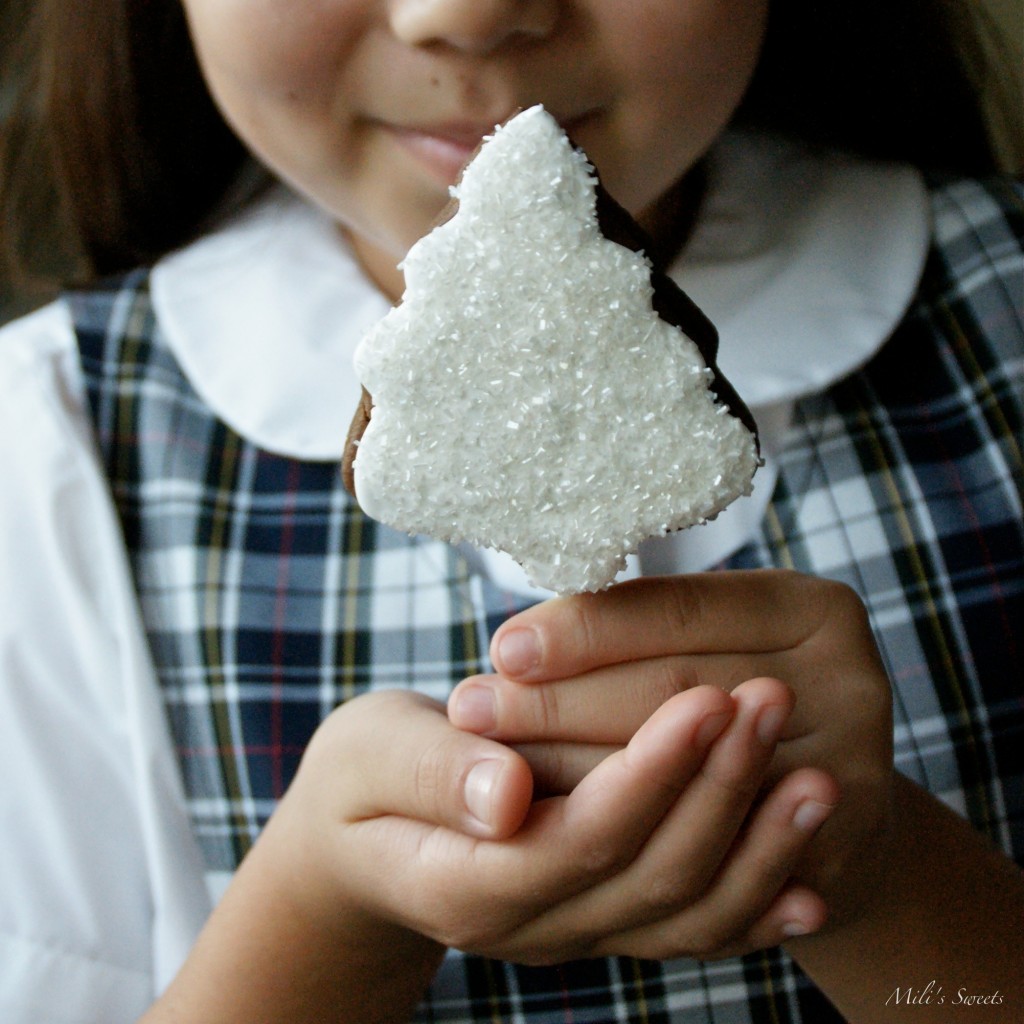
The end result:

Gingerbread Decorating Tradition
It’s time to make a memory. Once you introduce the joy of decorating cookies with your loved ones, you will want to be sure it’s an annual holiday tradition.
When you are decorating cookies with kids, remember that you’ll need a broom. There’s no way to do this without making a sweet mess, so be prepared for it and remember to enjoy this precious time! They are only kids once, so simply embrace it and have fun!
The trick to succeeding with this project, is to let go of total control. Each child should have their own piping bag, with royal icing. If you don’t have piping bags, I recommend gallon-sized, plastic freezer bags, cut down to size for small hands.
Using piping tips is too complicated and unnecessary. I recommend cutting a very small hole at the tip of the bag. Show the kids once, how to get the icing out of the small hole, with having as little as possible come out of the “big hole” on top. They’ll figure it out.
It’s great to offer as many sprinkles as possible. This was a nice way to share my stash of way too many sprinkles and candy decorations. They were so excited! You have to allow the kids to “test” them, to make sure they are yummy.
Make sure to have your camera ready. There are going to be a lot of smiles, pride and joy in their little creations! You’ll have to snap quickly, before the cookies magically disappear. I adore all children and these are the moments that I just want to hug and kiss each of them for being so adorable!
Gingerbread Cookie-Ball Pops
Another idea for this recipe is to make cookie ball pops. I understand the desire to have a pretty treat on a stick so I came up with cookie pops, as a nod to cake pops that come and go in popularity.

Here’s what you’ll need:
9 x 13 pan
non-stick cooking spray
lollipop sticks
royal icing or melted/tempered white chocolate
small bowl of crystalized sugar sprinkles
parchment paper
Here’s what you’ll do:
Prepare the Classic Gingerbread recipe (above) and without refrigerating the dough, flatten it into a 9×13″ pan, prepared with non-stick cookie spray. Bake at 350 degrees for 15 minutes, or until completely baked through.
Do not allow it to completely cool. Use a butter knife to cut serving-sections of the baked cookie. Roll one section of dough into your hands, to make a ball. Place the lollipop stick in the top center and onto the parchment paper to cool. This is the tricky part, as most people can’t handle the heat to their hands that I can endure. If you aren’t sure and do not want to burn your hands then don’t attempt it. If you wait too long, or allow the cookie to cool, then it will not roll and cool in a ball.
Dip the ball of cooked dough, cooled onto a lollipop stick, into prepared royal icing or melted/tempered white chocolate. Cover with sprinkles.
I hope you take care, and enjoy this precious time!


