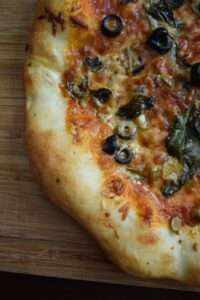
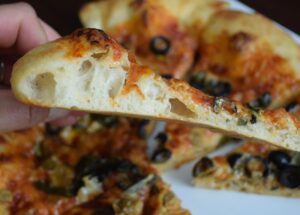
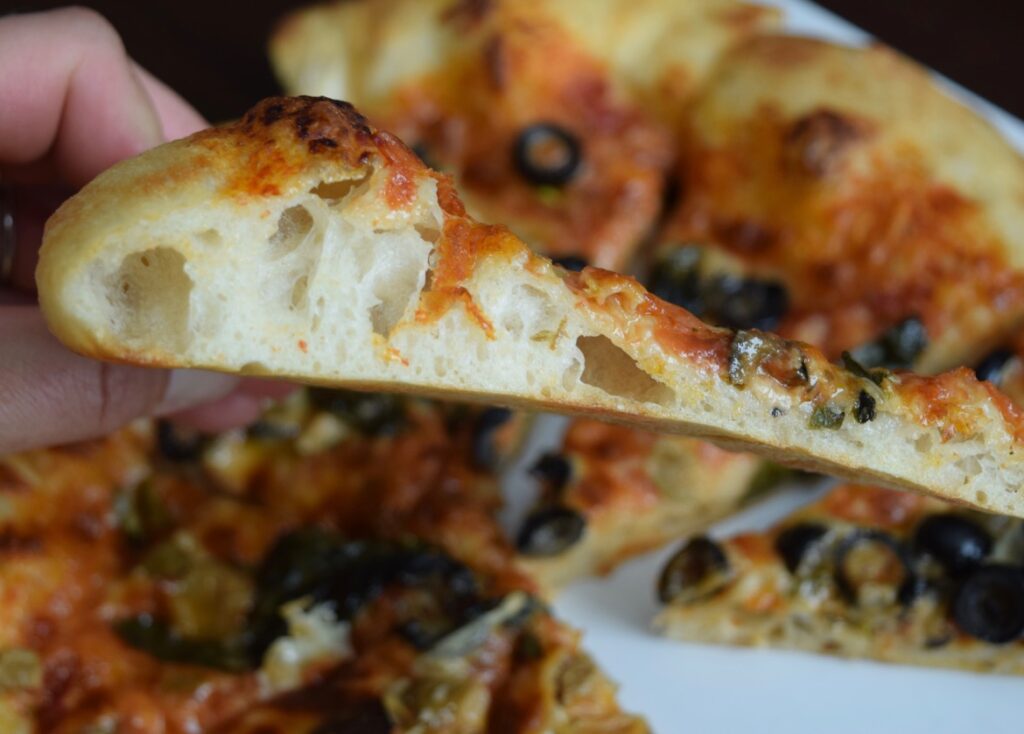
It is time I show you how making pizza is done at our home. I’m using either our Italian master dough recipe passed-down to us by Nonna, or my simple no-knead dough recipe, with outstanding results every time. You’ll enjoy the bite of a crisped outer crust, golden bottom, satisfying air pockets throughout, an awesome texture and chew, for amazing flavor, made with any toppings you can dream-up.
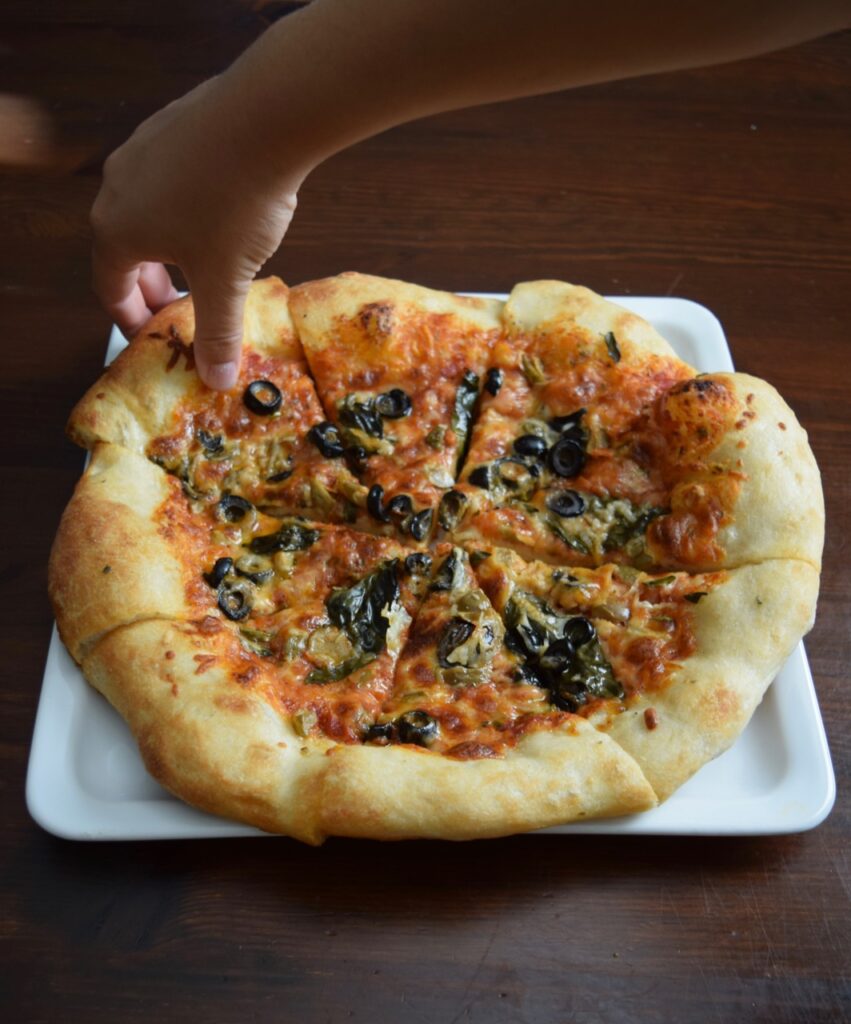
We love to make pizza at home. It always makes for a happy time, and memorable meal where everyone is totally satisfied. It can become a little pizza party – even if it’s just us for lunch or dinner. We do it so that everyone gets a personal-pizza sized ball of dough, and we lay out a spread of toppings to choose from. Everyone can trade and share slices. Or, we make different, bigger pizzas as a family and we share them all. I love hanging out a little longer in the kitchen together. We make it fun.
The key to pizza so well made at home, are a couple of the techniques I use, and this pizza dough. Here I’m sharing my step-by-step tutorial and brief YouTube video, along with suggestions for finishing off a baked-pizza.
I suggest you watch the video to se my hands in motion, as it will help. Also, please scroll down to look at the more-detailed notes I’ve provided, that go beyond the recipe how-to for making pizza.
making pizza, using our Italian master dough recipe
Equipment
- home oven
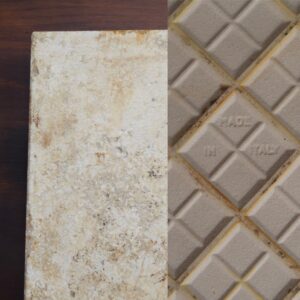
- food and oven-safe ceramic – pizza stone or large tile
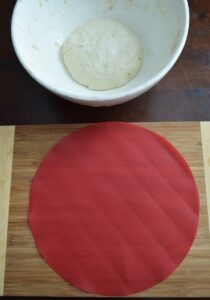
- baking mat: reusable non-stick like a Silpat mat, or on-time use parchment paper
- pizza dough: make Mili's recipe for Italian Master Dough
- extra virgin olive oil
- pizza toppings of your choice
- other tools: ladel, food safe brush, oven mits, knife
Instructions
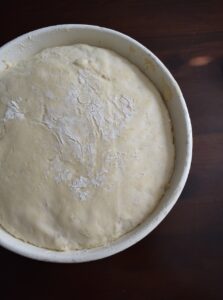
- Prepare the Italian Master Dough. Prep and making the dough takes about 20 minutes. Proofing the dough takes one hour.

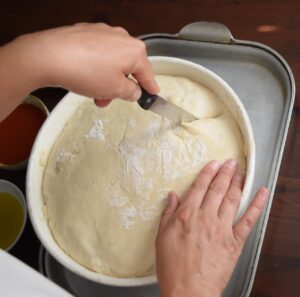
- If your dough has not risen after and hour and a half, it cannot be used to make pizza, and you will need to try again. Once the dough is ready, cut it into pizza-sized portions.

- One batch of the master dough will render enough to make between four to eight pizzas. For this step-by-step, I'm using 1/4 of the dough. Baked at 500 degrees, it takes between 10-15 minutes to bake, depending on how well-done you'd like the golden bottom. My favorite size dough for making pizza at home, is 1/8 of the total batch, so half this size. It takes between 9-12 minutes to bake, depending on your golden-bottom preference.

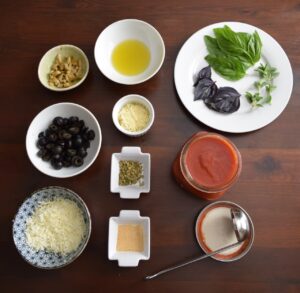
- Have your toppings prepared before you're ready to bake,

- Place your ceramic tile or pizza stone on top of the middle or bottom-half oven rack. Pre-heat your oven to 500 degrees.

- On a flat surface, place your baking mat.

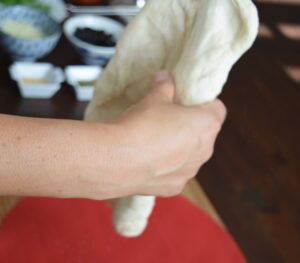
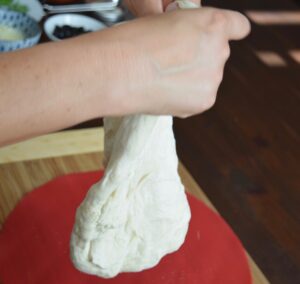
- Take the ball of dough and firmly but gently, with both hands, and press it down to lightly flatten it. Then use slight tension to stretch it apart.

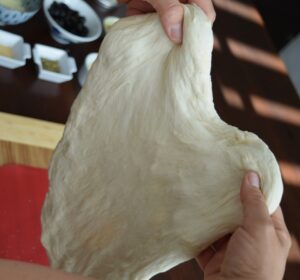
- Keep your hands in a position that holds the top of the dough slightly apart. Allow gravity to pull the dough downward to stretch it.

- With your hands in place, turn the dough in a wheel-like motion, so that gravity has the opportunity to pull and stretch the dough downward, all the way around.

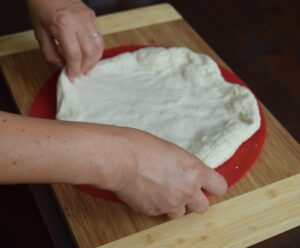
- Place the dough and stretch it so that it fits the shape you want, onto your baking mat.

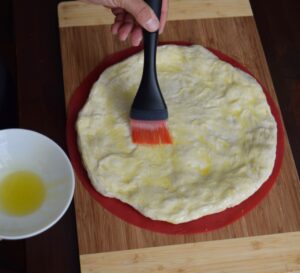
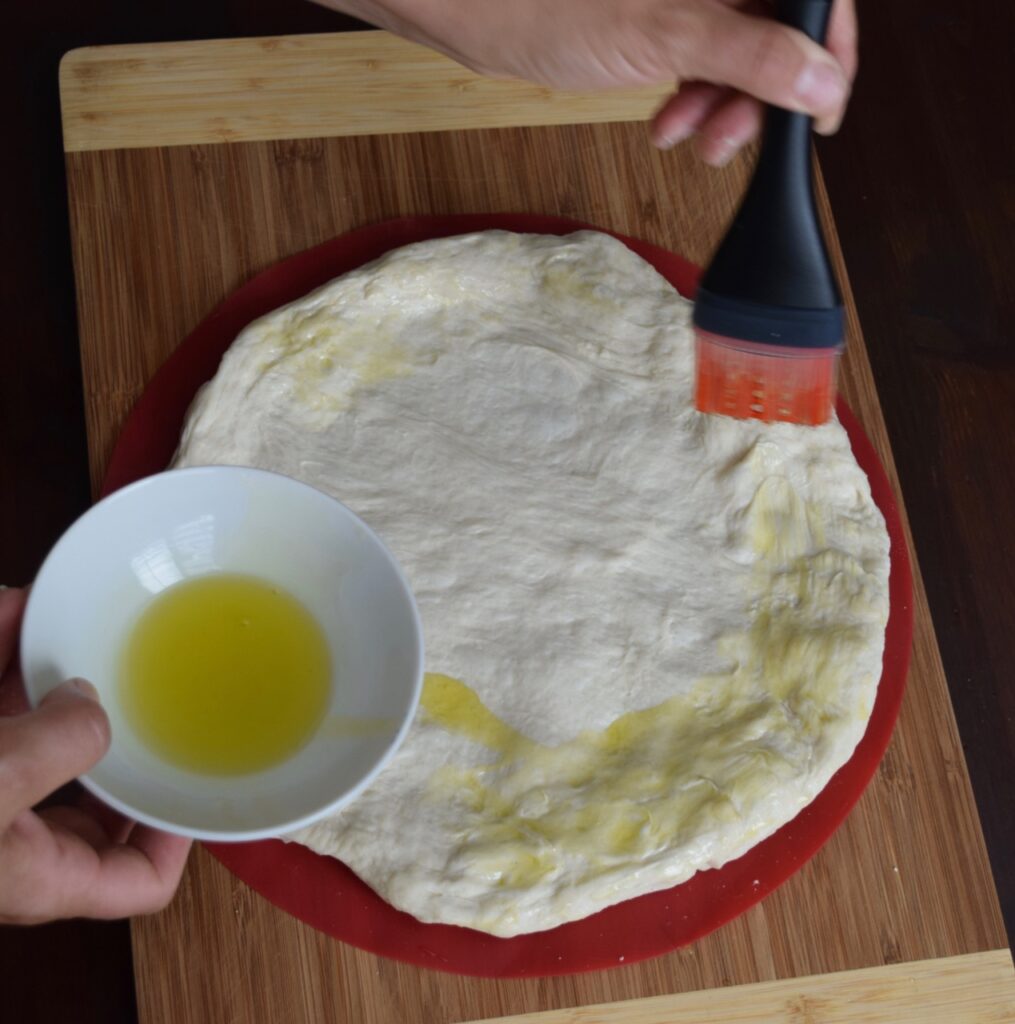
- Brush on extra virgin olive oil. I evenly brush over the entire top. At the very least, you should cover the exposed crust that will not have toppings.

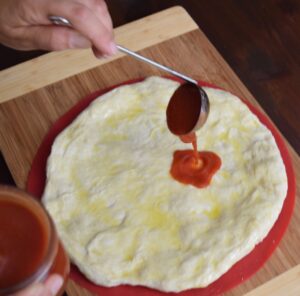
- If you are using sauce, pour it on now.

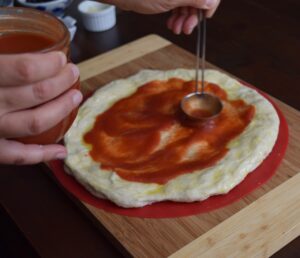
- I use the bottom side of a small ladel to spread it evenly, with an exposed crust. Wherever I placed sauce, I'll place other toppings.

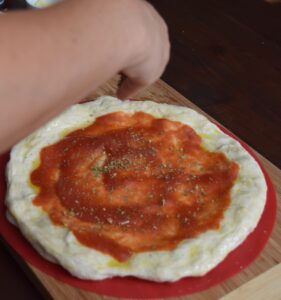
- This is the time where I season – adding granulated garlic and either a mix of dried Italian seasonings, or just dried oregano.

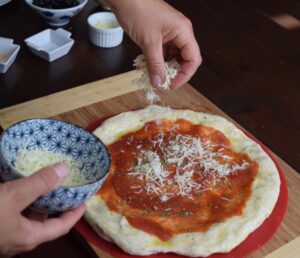
- You can lay down cheese more than one time onto your pizza. For cheese lovers, I recommend laying it down after the sauce, and again on top of your toppings. Here I placed shredded Mozzerella. To the top of everything, I placed grated Parmesan. I don't use a lot of cheese. It's completely up to what you like best. You can creative and come up with your own method.

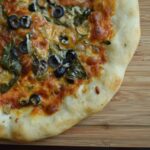
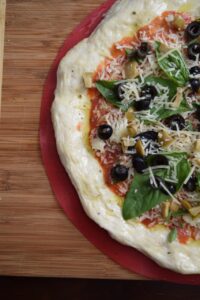
- For this simple pizza, I added fresh herbs from my garden, including two kinds of Basil, and fresh Oregano leaves.

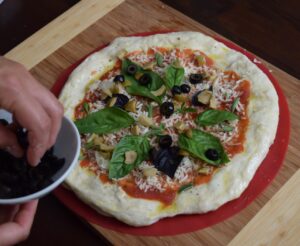
- Next were the two kinds of olives and a sprinkling of Parmesan. It is ready to bake.

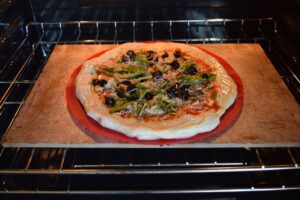
- Place the baking mat, onto the center of the stone, once the oven is pre-heated.

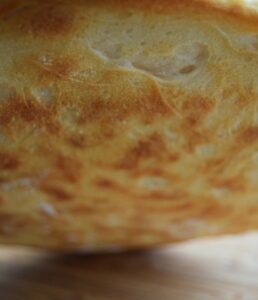
- After 8 minutes, check to see that your pizza is as golden as you would like. It should be at least this color, for it to be completely cooked.

- Take out your pizza. Use the baking mat, or slide the pizza onto a cutting board.

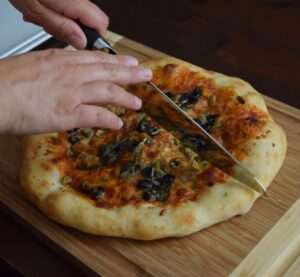
- Use a sharp knife or pizza cutter to cut. Hot from the oven pizza will give you a crisped crust that sounds awesome when you slice in.

- Enjoy the air, texture and flavor. If you're having a pizza party, have everyone make thier own, or make a variety of flavors so that you can mix, match and trade slices.

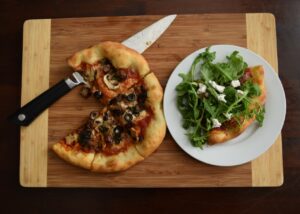
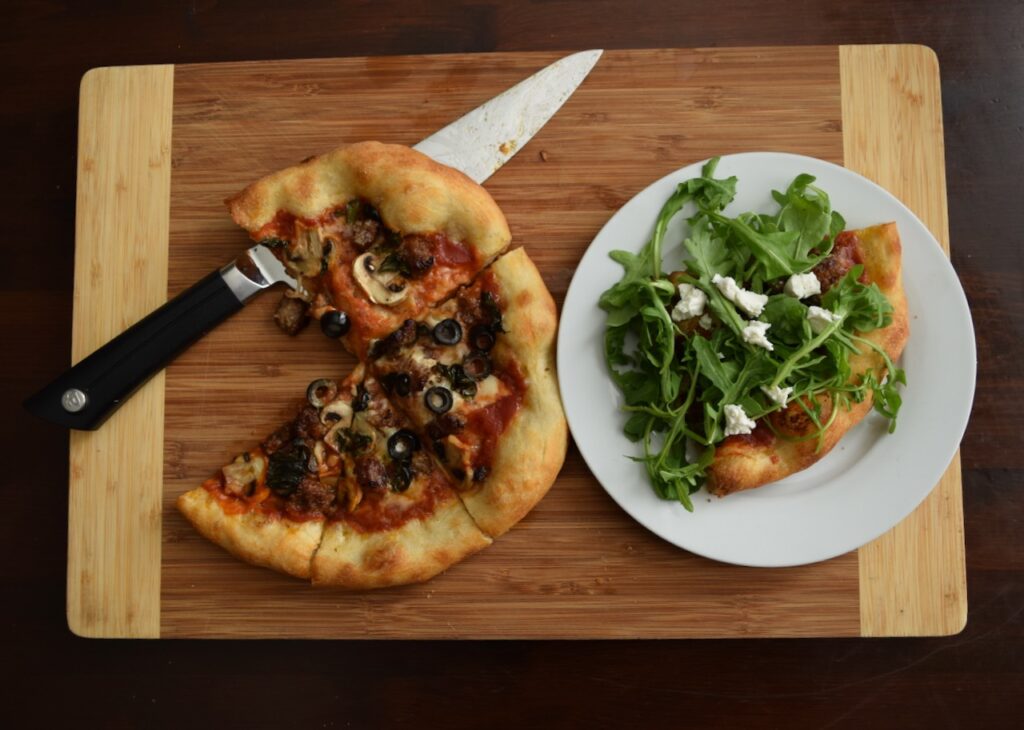
- Eat as it is, or offer prepared-toppings to go on-top of your fresh-baked pizza. My suggestions: fresh arugula, soft cheeses like either goat cheese, or Burrata, cured Italian meats like Prosciutto, Capicola, or Mortadella, vegetables that are either fresh, marinated, or pre-roasted. Of course, we always have a little grated Parmesan, and red chili flakes on the side to sprinkle on top.

Video
First thing is first. If you’re ready to make pizza the way I do, you have to start by preparing our Italian Master Dough Recipe. This recipe will yield approximately eight individual-sized pizzas, or four large pizzas. It’s really up to your desired serving size. In the Master Dough-recipe post are instructions on how to save/store any extra dough you that do not use.
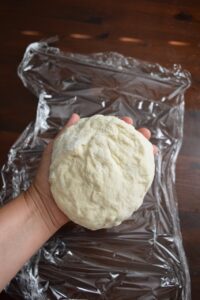
If you want to make day-of pizza making prep a little easier, I suggest making your dough ahead of time, or a day or two in advance. You can keep the dough in the bowl it rose/proofed in, covered and refrigerated, or cut into individual pizza servings, cover, and refrigerate.
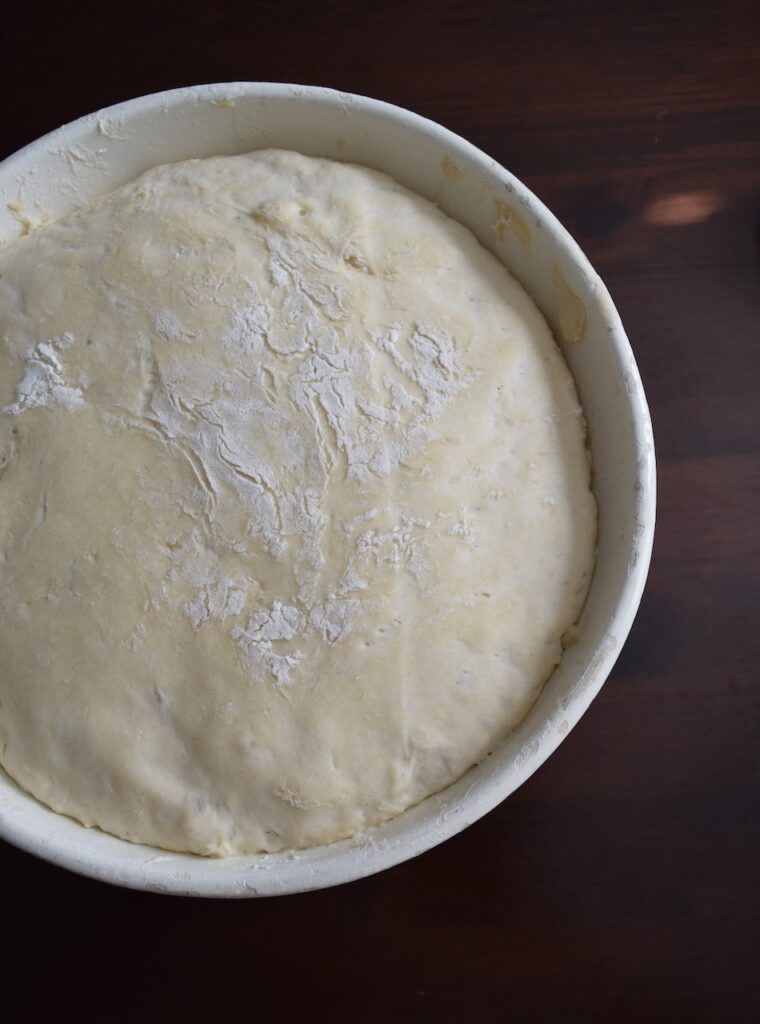
When you are ready to bake, take the wrapped dough out to room temperature for about 30 minutes to an hour before preheating your oven. You may need a slight amount of dusting flour to make the pieces a less sticky and ready to work with.
To photograph this post, I used 1/4 the amount of dough yielded in one Italian Master Dough recipe. It is therefore thicker and larger, requiring a few extra minutes to bake. Bake time for pizza will be between 10-15 minutes, depending on how thinly you placed the dough down before topping, and your desired brown at the bottom.
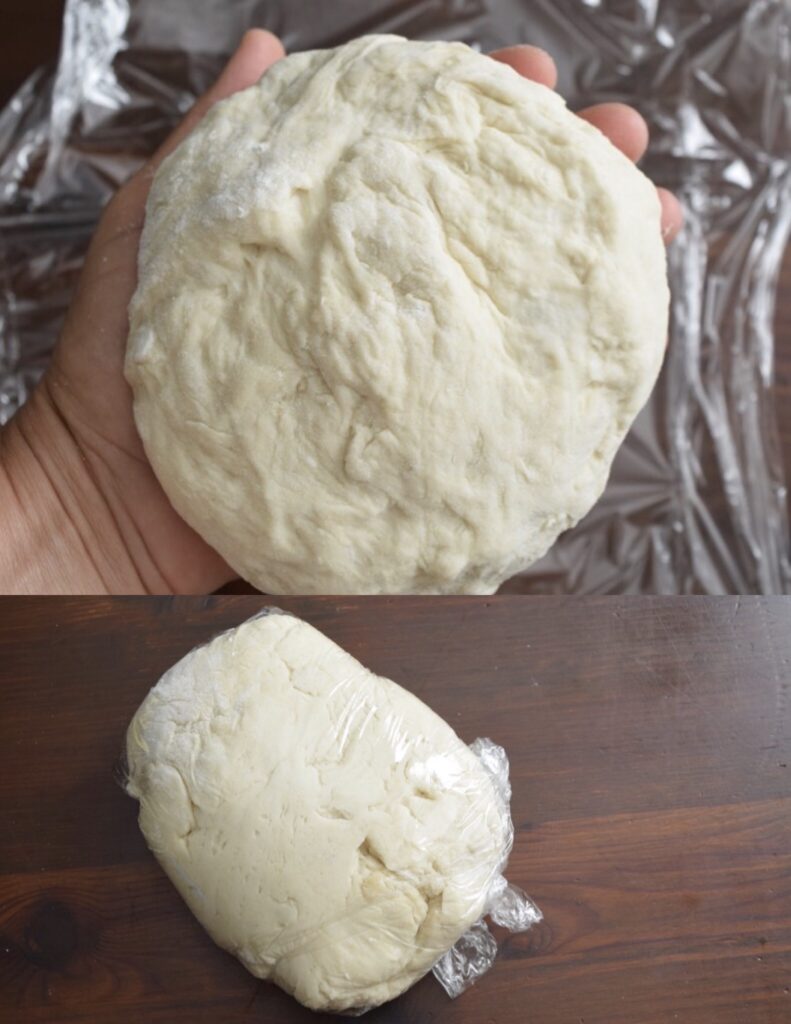
This will yield a large pizza. For optimum pizza results, I recommend cutting this in half,
using 1/8 of the risen master dough per pizza.
For the YouTube tutorial, I cut this amount into half, so it is 1/8 of the total risen master dough recipe. This is my preferred amount of dough for my best-result pizza. This smaller amount of dough takes a few less minutes to bake, approximately 9-11 minutes, depending on your oven.
To properly bake pizza at home, you need a pizza stone. You do not need to go out and purchase anything special. All that is required his a ceramic, oven-safe surface. At home, we use an extra rectangular tile that was left over from our kitchen floor. It is large enough to practically cover an oven rack. A good size for your stone/tile is great, as it helps to keep your oven clean.
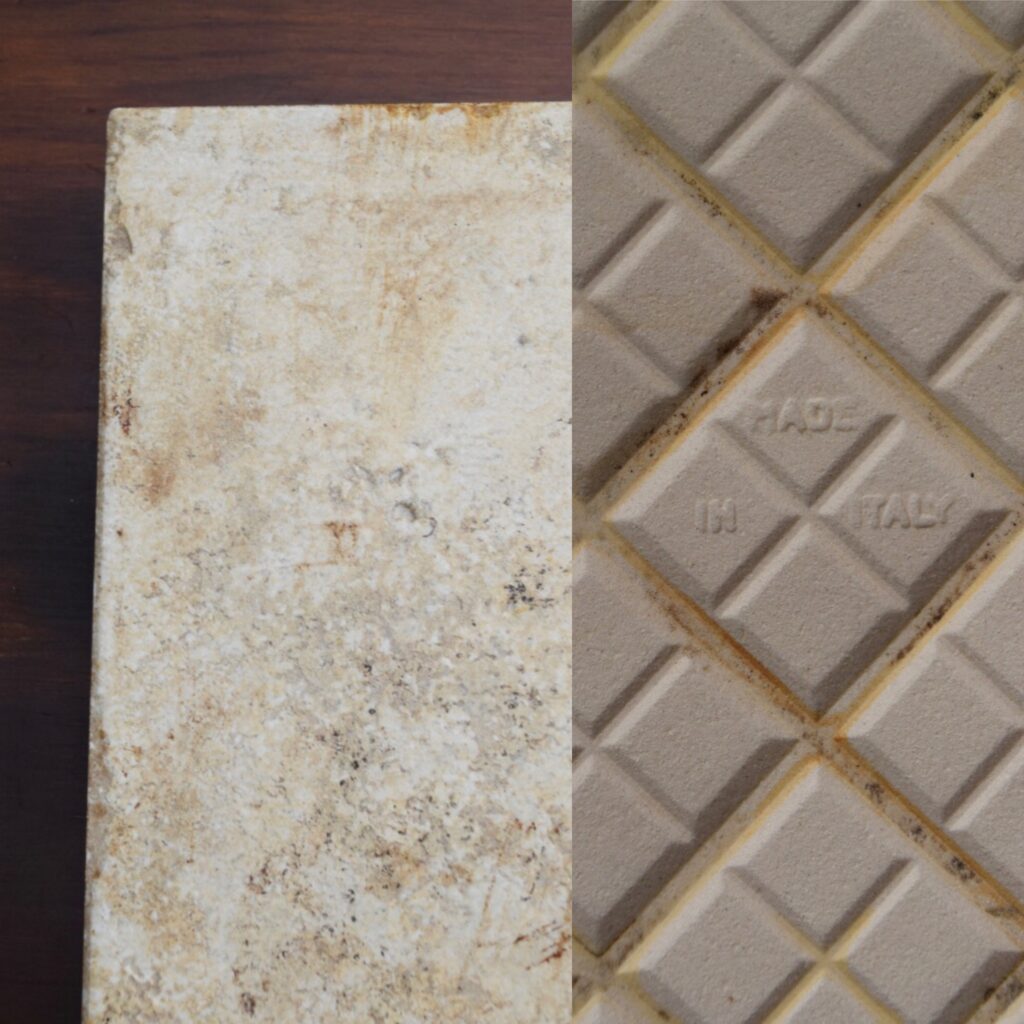
All that is required is a ceramic, oven-safe surface. At home, we use an extra, rectangular kitchen-tile.
Another technique, and tool necessary for optimum results, is the use of extra virgin olive oil. As a first-topping, after laying down the dough onto a baking mat, you will brush it along the crust edge, where other toppings will not be. This should be the very least of your coverage. You can also do what I do, which is brush on the olive oil for full-coverage. I lay down an even coat, along the entire top of of the dough before placing any other toppings.
The 500 degree heat used onto this particular pizza dough, you’ll be able to achieve a perfectly-crisped, golden-bottom, that should not sag or sog, if baked for the right amount of time. Because of how this pizza is built, you should be able to add any toppings that you’d like, without compromise.
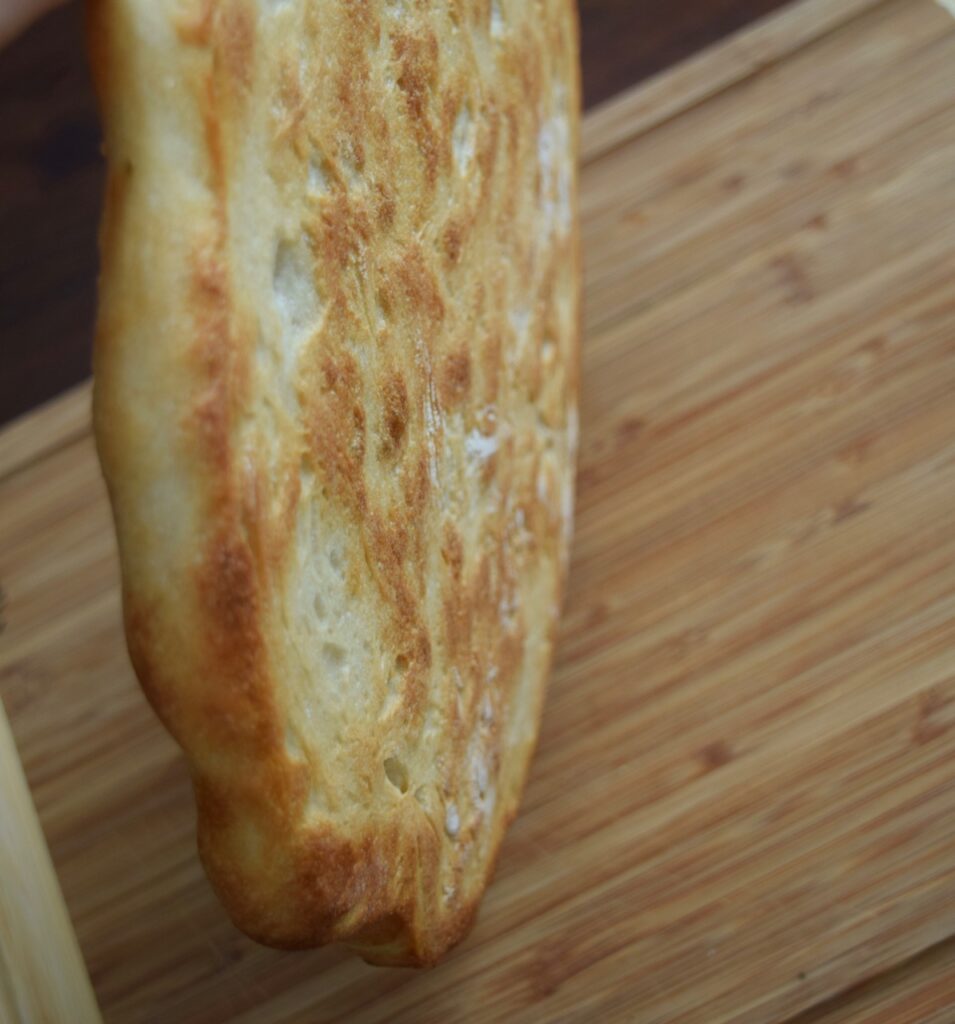
I love a rustic-style pizza crust. With all of the air inside the dough, you never know what part will lift. I always go for these bubbled-up slices as my first-pick.
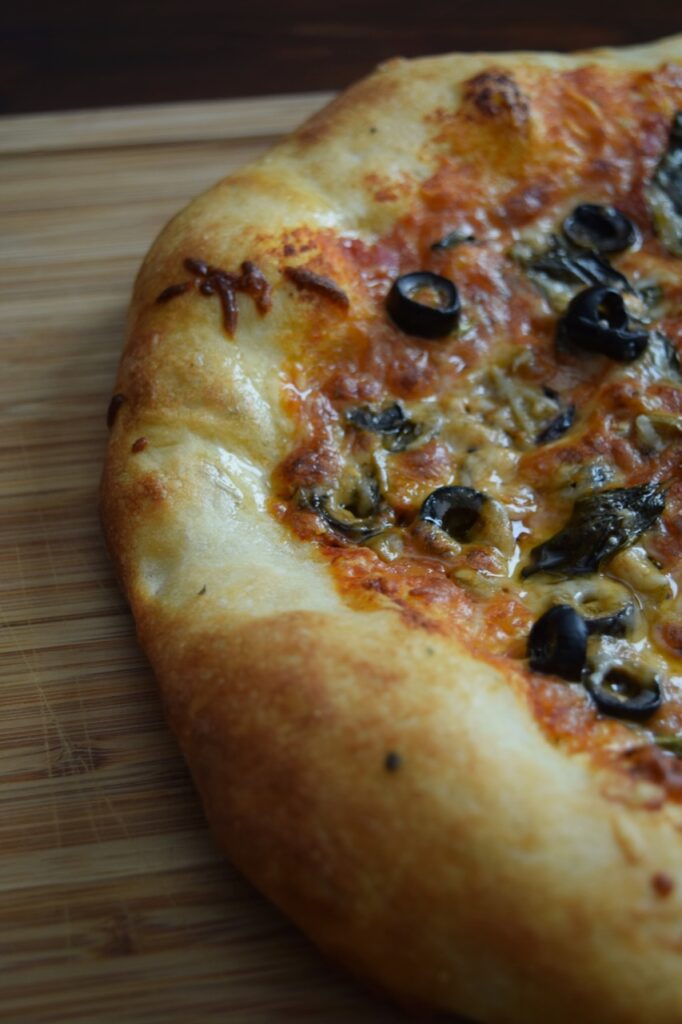
Toppings are key. One of the best parts about making pizza is how creative you can be. You could never have the same pizza twice if you wanted to! There are an endless array of options, making the possibilities anything you can dream up.
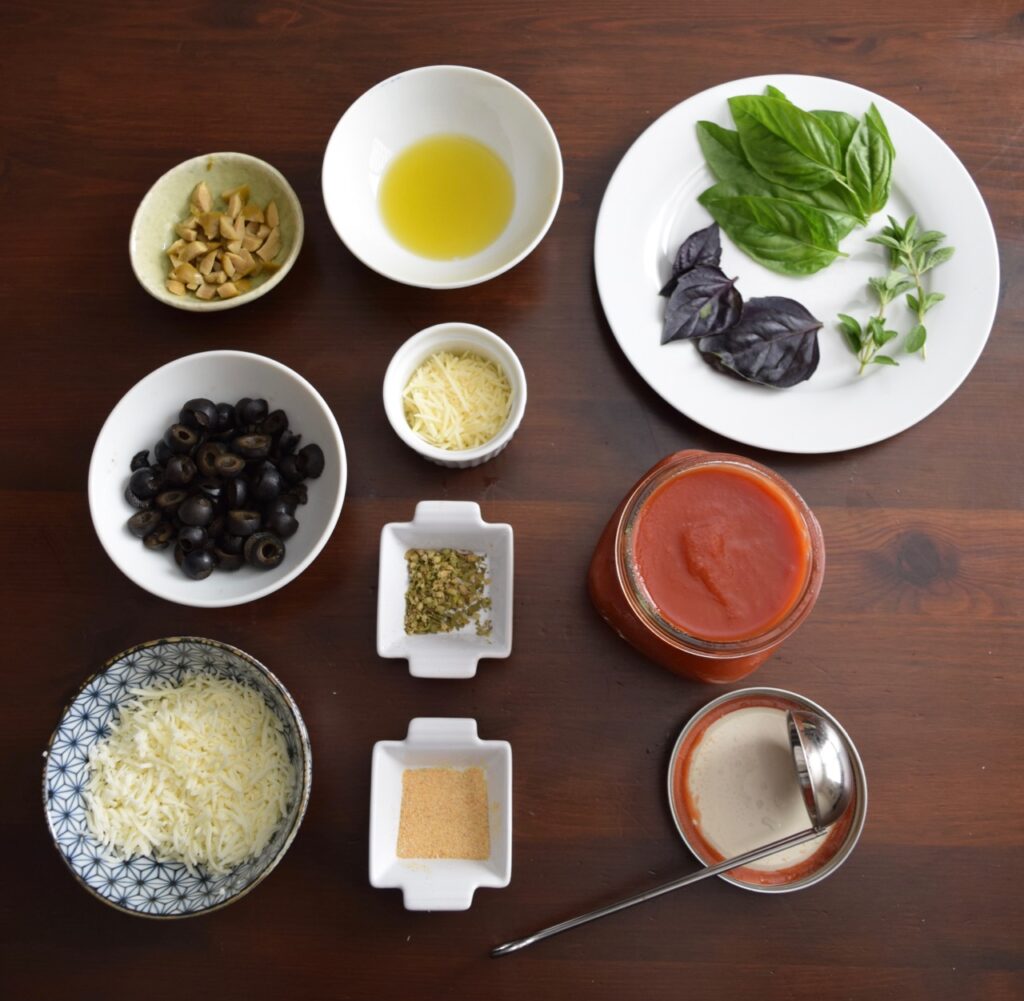
Making the best pizza is all about balancing the salt and fat you use to top it. In the toppings I’ve chosen here, salt is very present in the cheeses, granulated garlic/garlic salt, the olives, and it would be in the tomato sauce if it was pre-cooked. The fat present for this pizza, is in the olive oil and cheese.
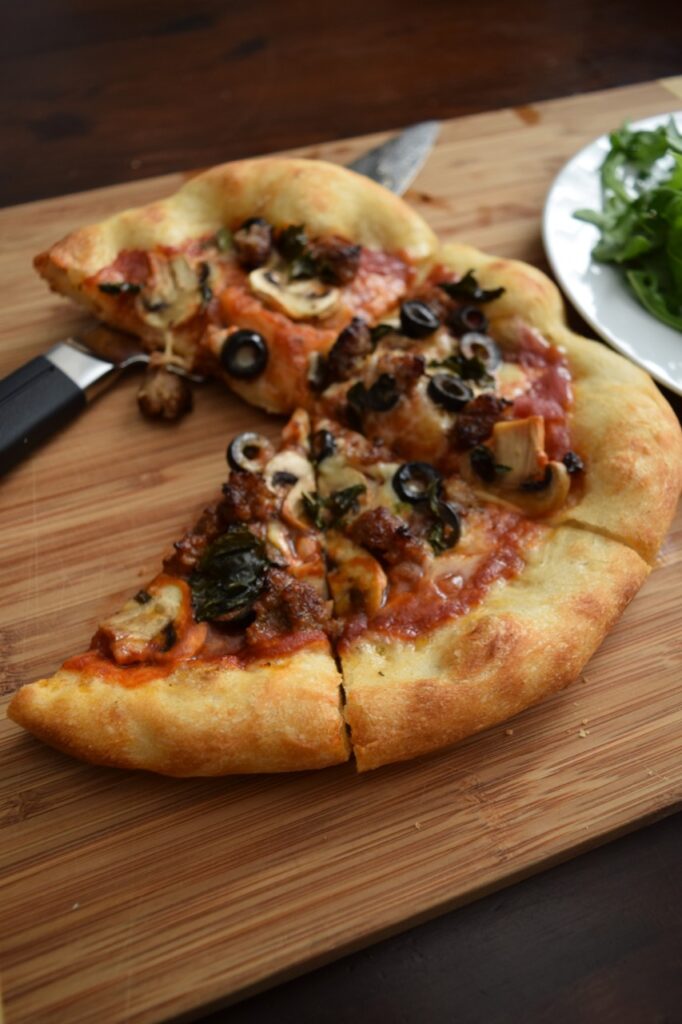
I rarely make the same pizza twice. The pizza I made for the YouTube video, added meat, providing another dimension for both fat and salt. The pre-cooked sweet Italian sausage is prepared by removing the casing and fully-cooking over the stove. I like this kind of meat’s fat to be rendered down a bit before entering the oven. For me, pizza meats taste best when slightly crisped, not greasy, and not overly-chewy.
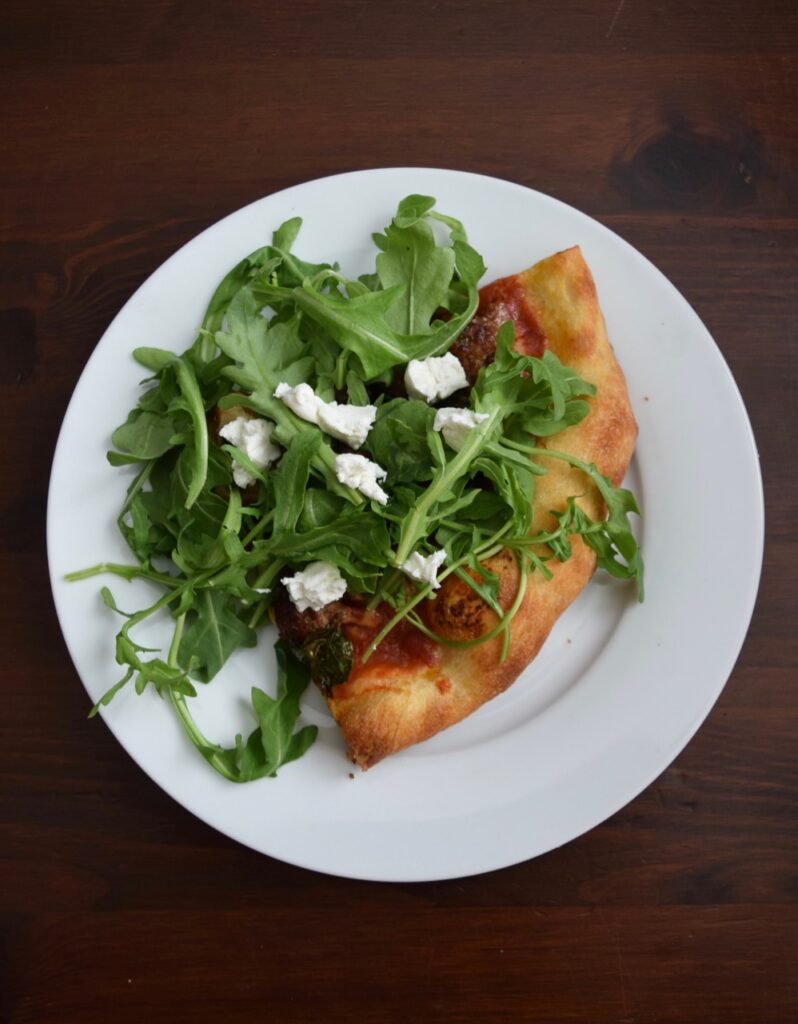
In the video, I talk a little about offering additional toppings as an option for a fresh-baked pizza. This makes the experience a little different and extra special.
Some of my no-bake topping suggestions: fresh arugula, soft cheeses like either goat cheese, or Burrata, cured Italian meats like Prosciutto, Capicola, or Mortadella, vegetables that are either fresh, marinated, or pre-roasted. Of course, we always have a little grated Parmesan, and red chili flakes on the side for anyone to sprinkle on top.

The very best tasting pizza, is a fresh-baked pizza. There’s really no other way to get the slight crunch and chew offered by the heat of cooking.
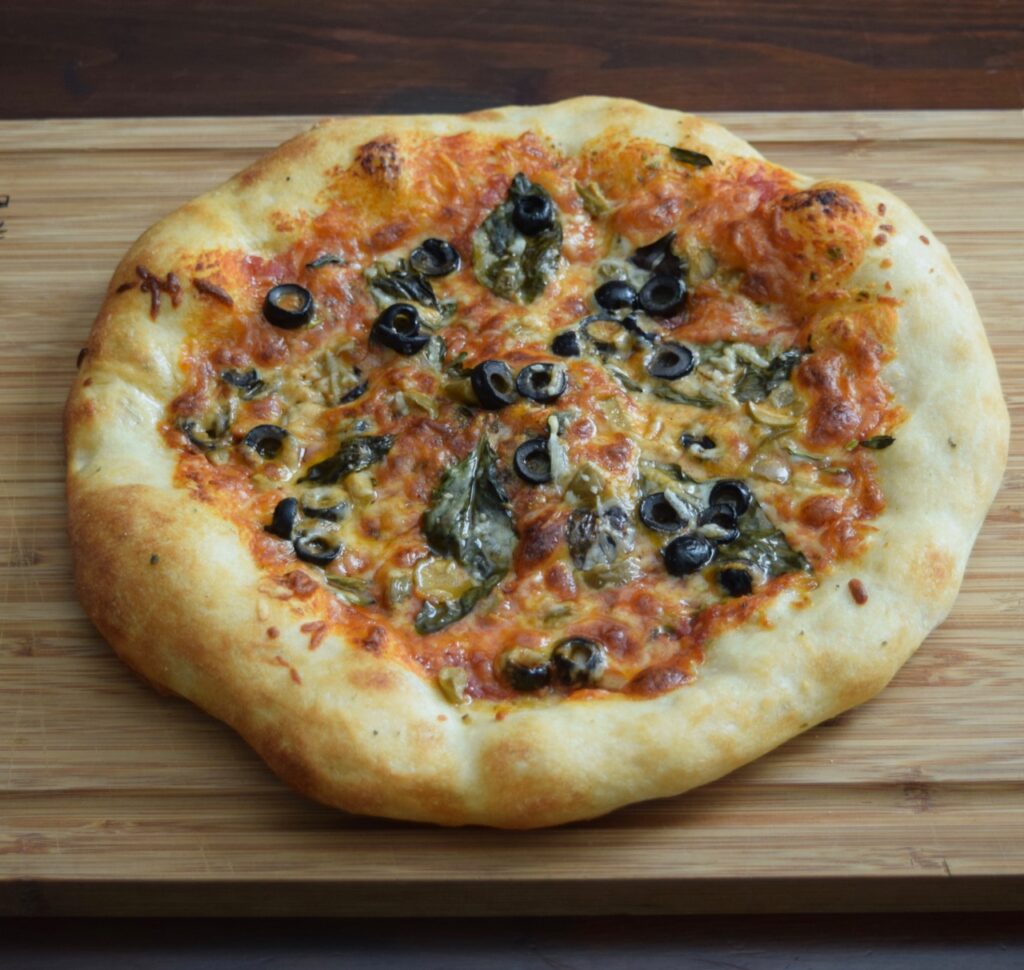
However, if you’re like me, I bake too much at one time and there are always leftovers. These are welcome for ready to go meals or snacks. Place slices arranged in a single-layer, into a sealed container for the refrigerator. At home, pizza leftovers disappear within a couple of days. Some of us in the house like cold leftover pizza. Some like to warm-up slices. The decision is all about mood, so one way is not better than the other.
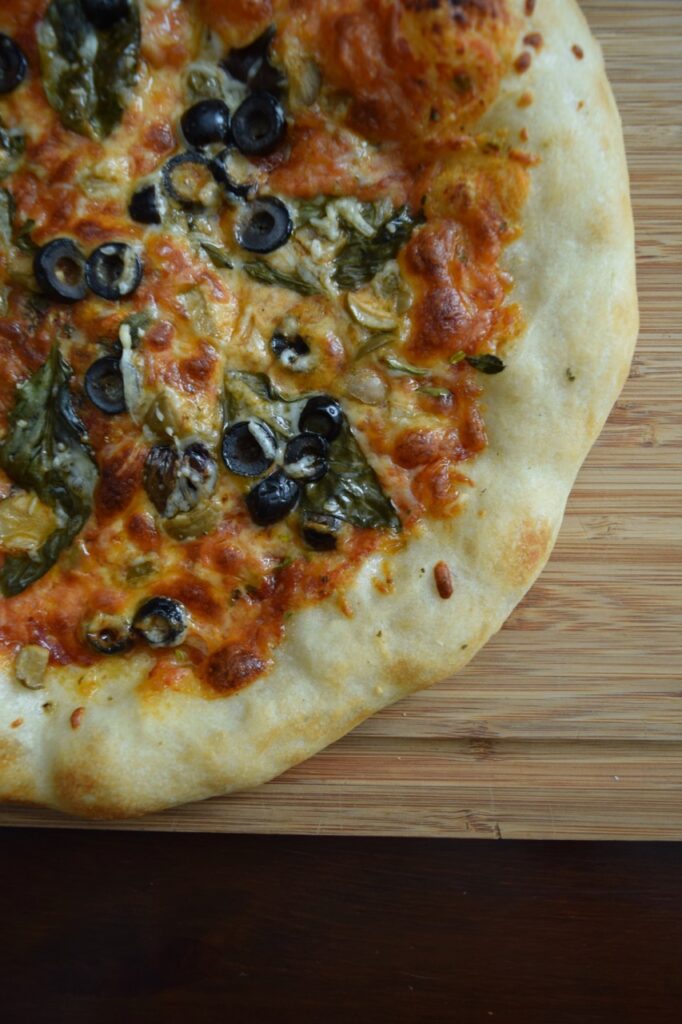
That’s it. Now you can master pizza, using my techniques! Now that I have mastered making the dough on my own, my mom (the Italian Nonna of the house) self-certified me as a “Fornaia” so I do believe that makes me finally, and officially a master-baker in her eyes. It feels good! My own Nonna would be proud.
Thank you for being here. I’m so happy to share this part of my life and home-kitchen with you. The time here is really fun and fulfilling for me. When you work it out to make pizza happen at your home, let me know how it goes. I would love to see what you created.
Take care,

