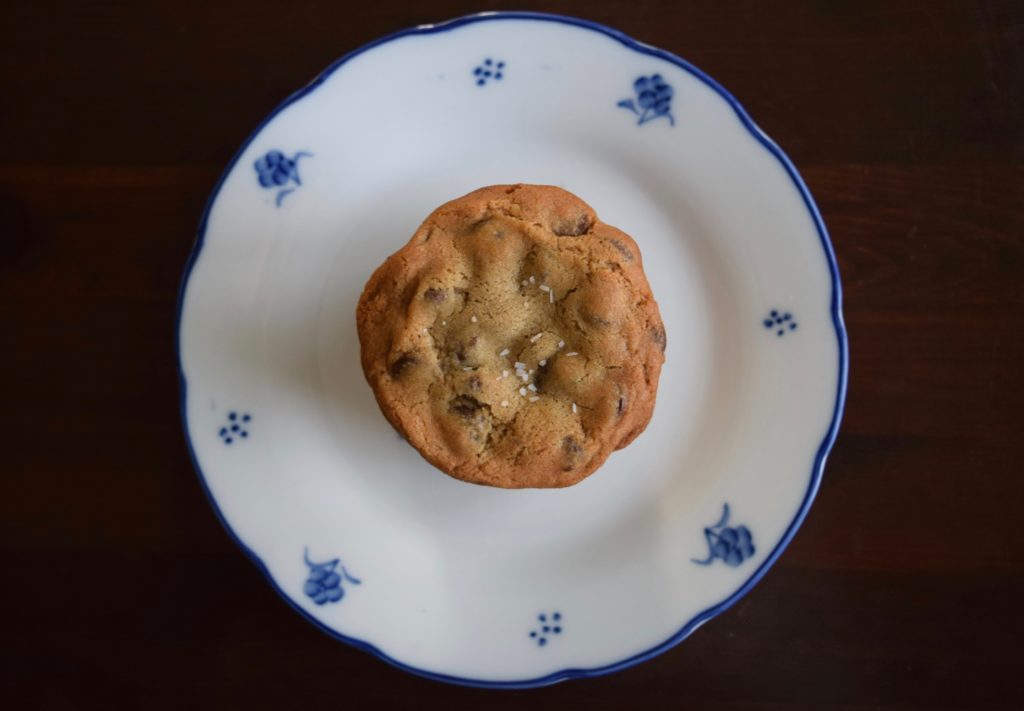
I always want an awesome baking-result, especially when it comes to putting in time to bake for my sweethearts at home. I’m a firm believer in achieving an excellent chocolate chip cookie, with the use of the best possible ingredients, in the best possible ratios. This recipe amplifies, and accentuates all cherished parts of this homemade classic, taking it to the next-level.
So let’s do this!
I have tried adding salt to the top of chocolate chip cookies before, but I wasn’t impressed because it tasted like an after-thought. And to make this truly next-level, we need to add more chocolate, and just the right combination. The ingredient tweaks I focused on with this recipe really work. They feel spot-on and easy to do. My family is absolutely in love with these cookies! The only real trick to this is prep. When you’re ready to make the cookie dough, be sure to have the proper, quality ingredients on-hand. Trust in my experience, that ingredients matter. Good chocolate and real vanilla, for example, are extremely important to achieve next-level chocolate chip cookies!
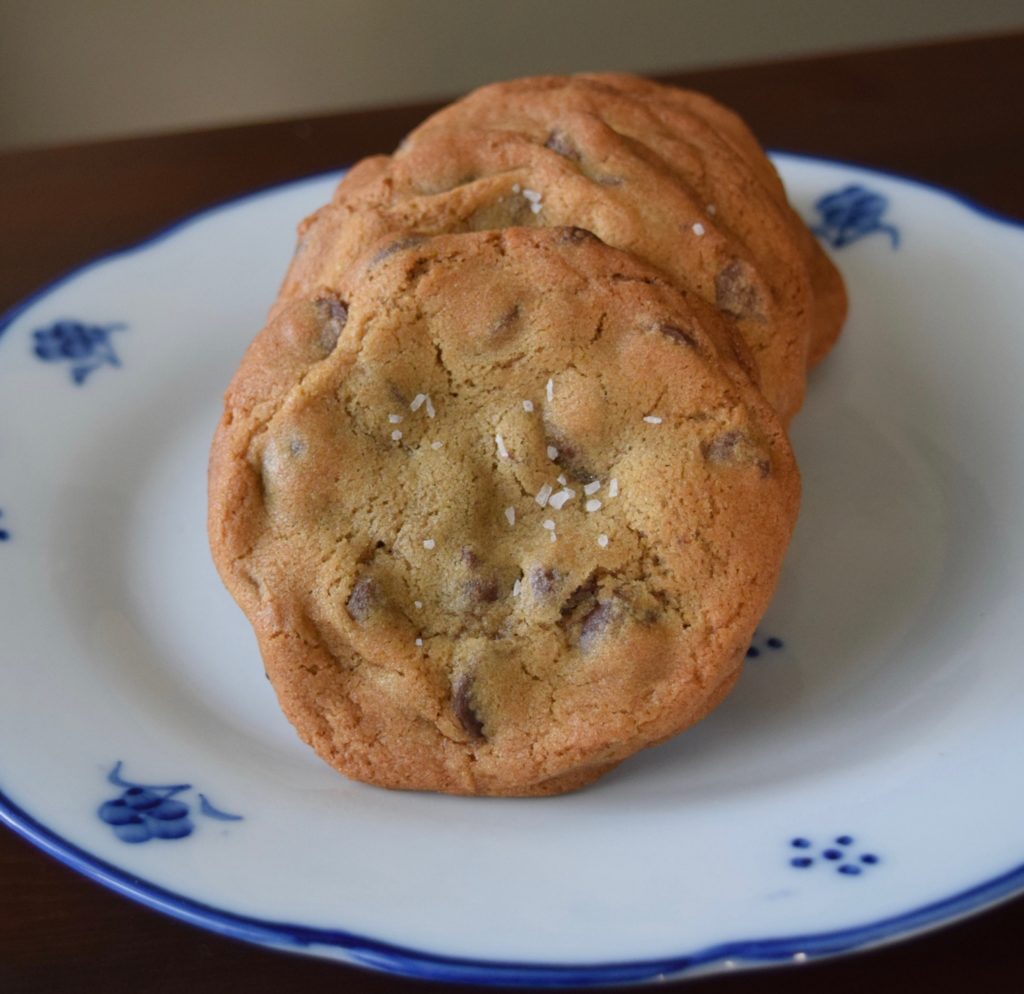
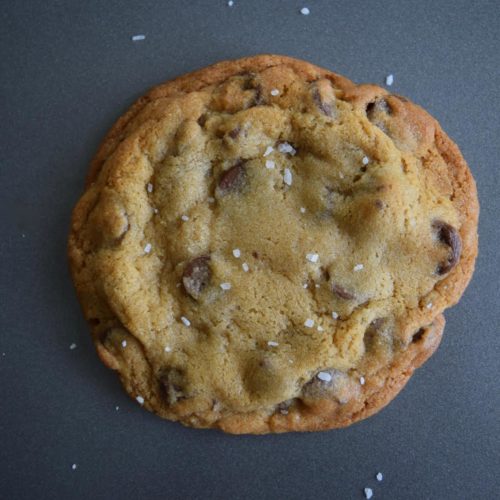
Mili’s Next-Level, Salted Chocolate Chip Cookies
Ingredients
- 1 cup salted butter, softened two sticks (For dairy free cookies, substitute for 1 cup vegan butter.) If using vegan butter, the cookie dough must be refrigerated for at least an hour before baking.
- 1 cup packed dark brown sugar
- 3/4 cup granulated sugar
- 1/8 teaspoon pure vanilla bean powder
- 2 teaspoons pure vanilla extract
- 2 whole eggs
- 1 and 1/2 teaspoons coarse kosher salt
- 1 teaspoon baking soda
- 2 and 1/2* cups all purpose flour (For gluten free cookies, substitute with gluten free flour mix, with a 1:1 ratio.) *adding 1/4 cup was an edit-update since 2024
- 1 and 1/2 cups semi sweet chocolate chips (40% cocoa or higher)
- 1 and 1/2 cups dark chocolate chips (50% cocoa or higher)
- pinch more coarse kosher salt or Himalayan sea salt to top the cookies after they are baked. for after cookies are baked
Instructions
- With the use of a bowl and wooden spoon, hand mixer, or standing mixer with a metal mixing attachment, smooth out/cream the softened butter. Add the brown sugar and the granulated sugar, pure vanilla bean powder and pure vanilla extract. Cream and mix until totally combined.
- Add the eggs, one at a time.
- Combine the salt, baking soda, and flour. Mix until smoothed-out.
- Mix in all three cups of chocolate chips.
- If you are ready to bake now, preheat your oven to 350 degrees.
- Scoop and form the cookie dough into individual "pucks" that are the desired size. Line them up with parchment paper and seal and bake right away. I recommend refrigerating the pucks for at least one hour or over night before baking. This helps develop the ingredients. Keep "3" in mind for freshness-sake. So, if you want to have the pucks ready to go in the fridge to bake on-demand, keep them sealed for 3 days. If you want to have the pucks ready to go from the freezer to bake on-demand, keep them sealed for up to three months.

- Bake for 9-11 minutes, depending on your own oven.
- Once from the oven and before they are cooled, take a pinch of coarse salt and sprinkle over each cookie.

It’s time to talk “cookie pucks.”
When I’m a home-baker, I always implement the tricks of the trade that I’ve learned over the decade of being a professional. When it comes to catering, timing and prep are keys to a job well-done. Saving time and money is valuable no matter where you are baking or who you are baking for – even if it’s just for yourself and you’re looking to enjoy one or two homemade cookies after the kids are in bed on a Wednesday night. Of course, this pro-tip is only a suggestion. With that, I want to introduce you to the world of what professional caterers call “cookie pucks.”
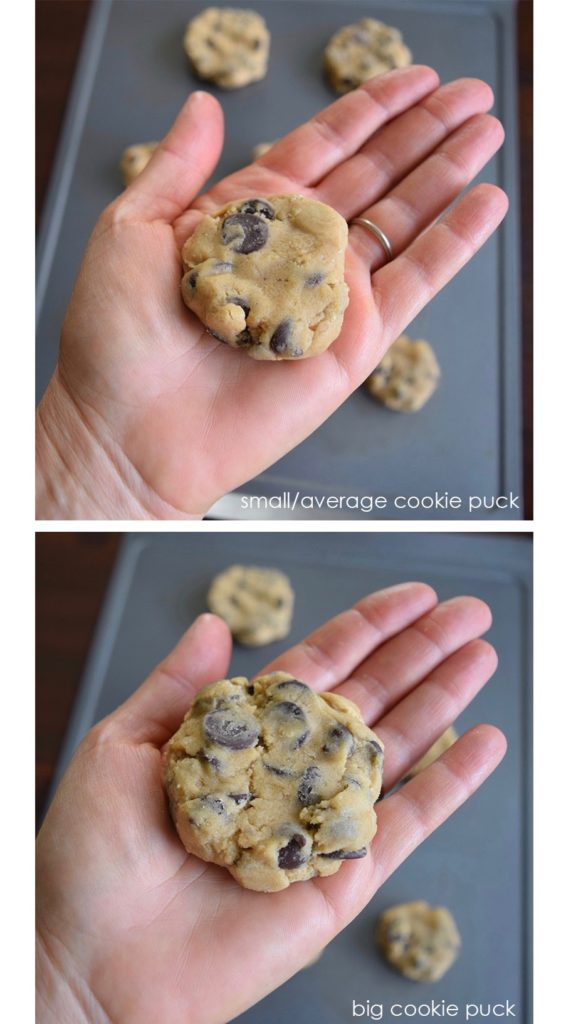
Cookie pucks allow you to prep for homemade cookies ready to bake on-demand. You do the basic prep work in advance, allowing you to bake exactly how many you want, whenever you want. This is what bakeries and food retailers use. Pucks allow for the satisfaction of a fresh-bake, and (hopefully) no waste: a win-win.
You won’t put the mound of prepared cookie dough in the fridge right-away. Once the dough is combined, you’ll lightly handle it, and hand-create ready to bake portions. As you go, you’ll line them up onto parchment paper, cover in a sealed container or bag, and refrigerate the quantity you want, for at least 1 hour or overnight, until you are ready to bake.
Think of the number “3” for freshness sake. Cookie puck/dough kept in the refrigerator is fresh for three days. Cookie puck/dough kept in the freezer is fresh for three months.
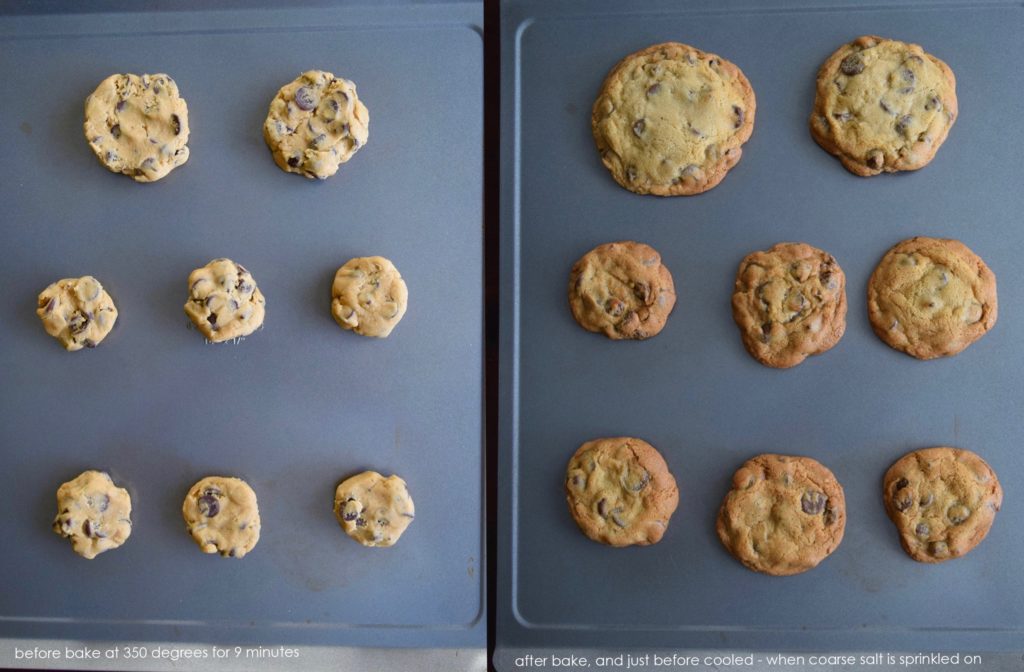
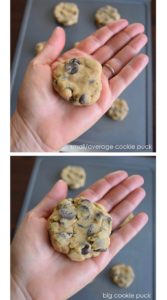
When you’re ready to bake, you can arrange up to nine small/average sized pucks onto a 14″x17″ inch cookie sheet, or up to six large-pucks. Here’s the before and after bake, with two large shown at the top, and the small-average at the bottom – baked at 350 degrees for 10 minutes. All ovens vary so I recommend taking a peek inside your oven at 8 minutes to see how much longer a batch will take. Bake-time will most likely not exceed 12 minutes per cookie sheet. In a conventional oven, I only bake one sheet of cookies in my oven at one time.
Note that thawing cookie pucks is not a thing. You’ll use them as-is. Preheat your oven. Place pucks strait from your fridge or freezer, onto a cookie sheet, and bake for the same time when the oven comes to temperature. It’s that easy.
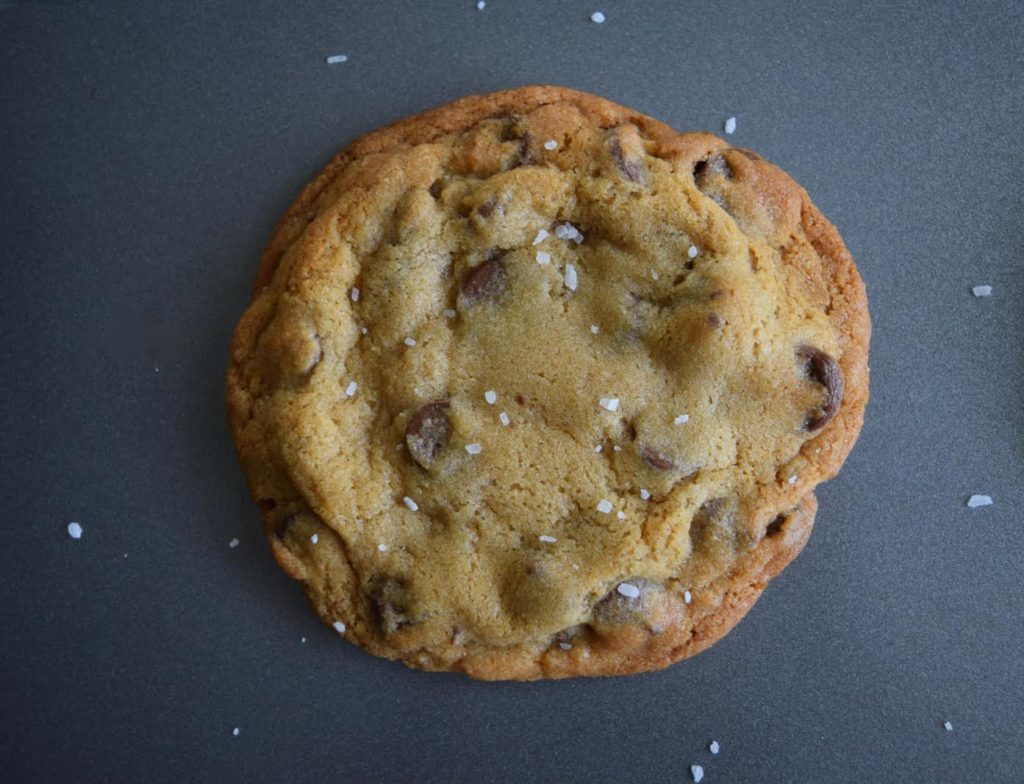
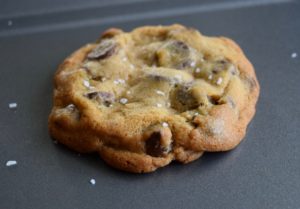
After they are baked, it’s time to place a pinch of coarse salt onto the cookies. This is how much I’m using for each.

Literally just a pinch of Coarse Kosher Salt or Coarse Sea Salt is used for the top of each cookie. Sprinkling when they first come out of the oven and before they have cooled is key to keeping the salt onto the cookie.
You may be wondering about what exact ingredients I’m using at home for this recipe. At home, I’m baking just like you. No one is sponsoring me or paying me to use the ingredients in my pantry. I get my ingredients and pay the same prices you pay, purchased at the same stores you shop. Here’s my list and some notes about what I tend to have:
All Purpose Flour: King Arthur, King Arthur Organic
Granulated Sugar: C&H or generic brand organic cane sugar
Brown Sugar: I always buy dark, and prefer the larger-crystalized, generic store offering versus name-brand. It has a richer flavor (more molasses) and is made less clumpy.
Pure Vanilla Extract: Look for sediment at the bottom of the bottle. I always buy a larger bottle, and currently, it’s quite an investment. If no sediment is found stuck to the bottom of the product, with the need to shaking before use, don’t bother. Pure vanilla is a good baking investment, but you should be aware that pure vanilla is being offered in varied qualities, and at the same price point.
Pure Vanilla Bean Powder: Your best bet is online. Buy a small amount, as a little goes a very long way.
Gluten Free Flour: Bob’s Red Mill All Purpose Blend, or Pamela’s All Purpose Blend.
Vegan Butter: If you can have soy, the classic version of Earth’s Balance, made with soy, provides the best butter substitute. Organic and soy-free versions of this brand have different textures and require ratio adjustments to dry ingredients.
Chocolate Chips: Guittard has consistently been my favorite brand for chocolate chips. It’s always nut free and high-quality. Whether or not you choose this brand, I have other tips. Go for a higher percentage of cocoa. I prefer chips with no soy additives. Be aware of what ingredients don’t work well for you. For example, I personally cannot eat any amount of the sweeteners erythritol, or stevia extracts, found in “sugar free” chocolate chips, without getting a headache and a stomach ache, so if I’m planning on eating what I bake, I won’t use them.
Eggs: I use free range, plus organic.
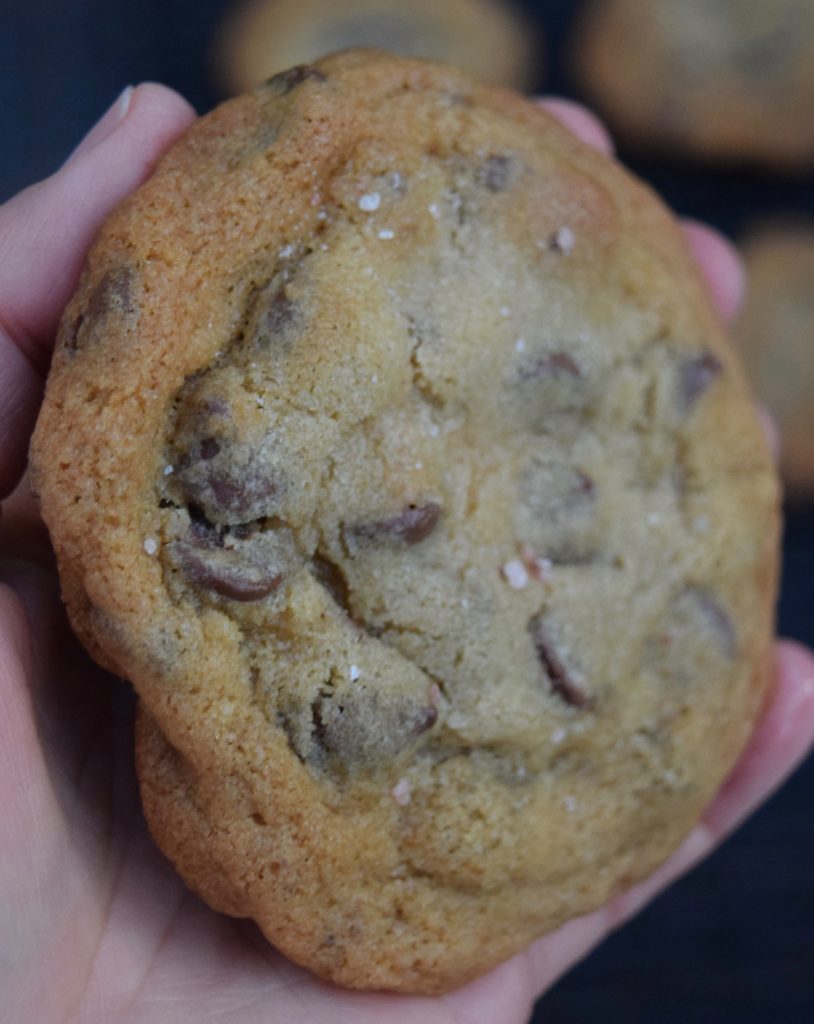
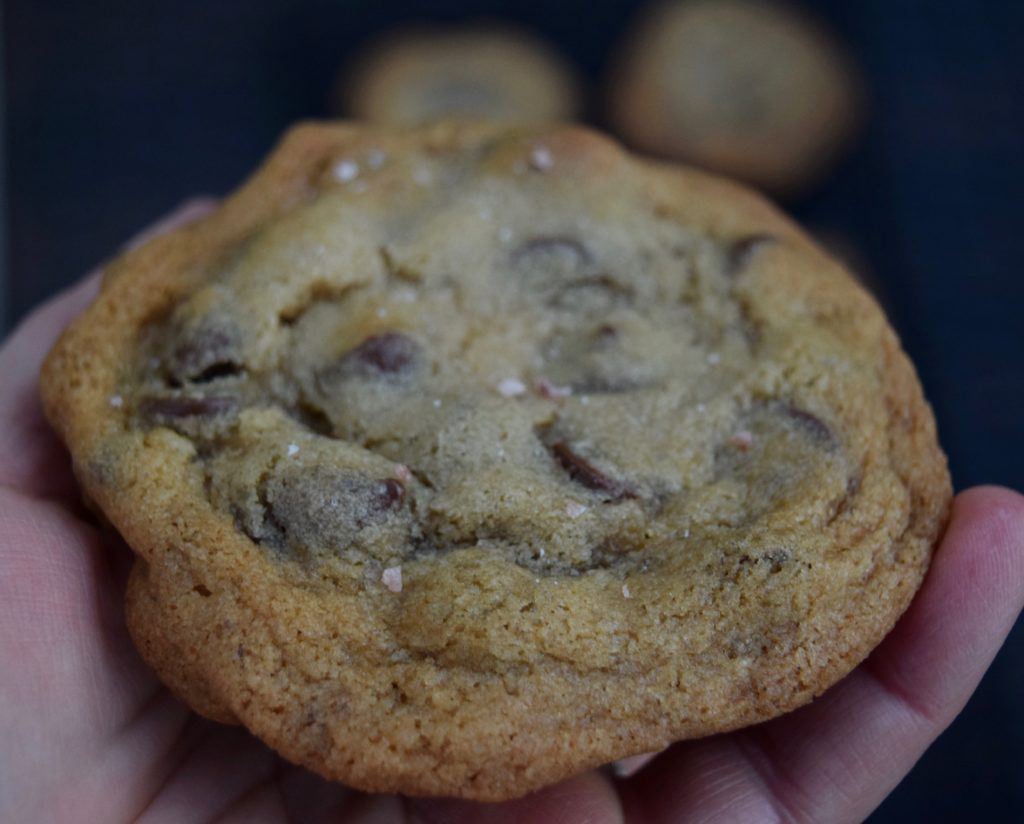

I hope you truly enjoy making and sharing these cookies, along with what I have shared here for baking on demand like a pro, with the use of cookie pucks.

