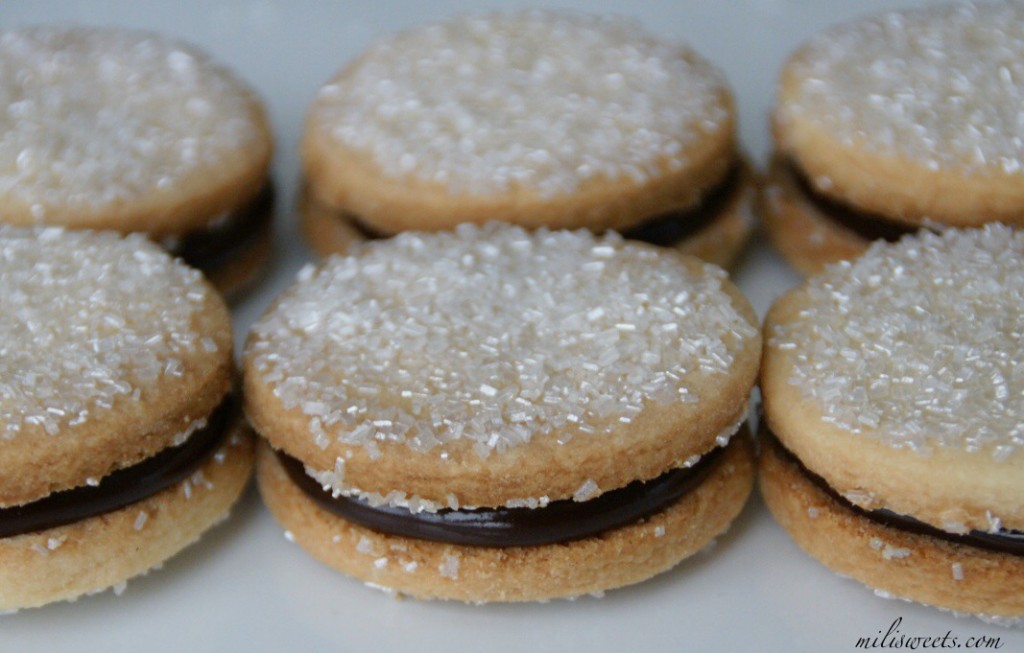
I’m sharing my recipes for the three wonderful ways to enjoy shortbread: as classic sugar cookies, iced cookies, and the “Milano” (a decadent take on the Pepperidge Farm, store bought cookie) – taking firm-set ganache filling and piping it into a shortbread cookie-sandwich.
My shortbread recipe is also great for classic sugar cookies and decorated iced cookies. I’m going to give you all of my tricks and recipes so that you can make this happen on your own. First, let’s talk about the Milano! xox
Milano Cookies by Mili’s Sweets
To prepare the Milano cookie, the first thing you’ll need to do is prepare the ganache filling so that it can cool before it is piped in between the cookies.
This recipe is different from the ganache I typically make to drizzle onto cupcakes and other desserts. This is a richer, thicker version perfect as a center for these cookies and for other dessert fillings.
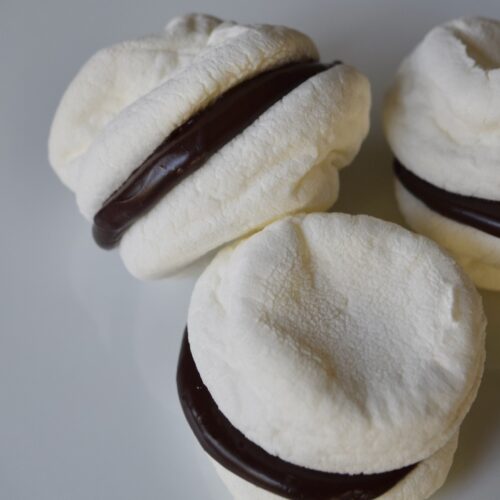
Mili’s Thick Firm-Setting Chocolate Ganache
Ingredients
- 1 cup heavy whipping cream For vegan, try a non-dairy milk that has approximately the same fat percentage as the dairy version.
- 2 1/2 cups chocolate chips This ratio is only for real chocolate – not white chocolate. I tend to use a combination of dark and semi sweet chips, that do not have soy additives.
Instructions
- Place chocolate chips in a large bowl.
- In a saucepan, heat one cup of heavy whipping cream, at medium heat, until you see bubbles along the edge of the cream.
- Remove heavy cream from heat, and pour strait onto the top of the chocolate chips. Allow to sit untouched for 30 to 60 seconds.
- Whisk by hand constantly, until the chocolate has melted and you have a smooth ganache. This process will take no more than two minutes.
- Allow it to cool a bit by placing plastic wrap over the top and having it out at room temperature. In an hour or so – once whatever you have baked has completely cooled, you'll be ready to work with it with a piping bag.

- Allow it to come to room temperature before storing in the refrigerator. For up to 5 days, you can spoon amounts into a glass bowl and re-heat when you want to use it for topping ice cream or piping as filling into more desserts.
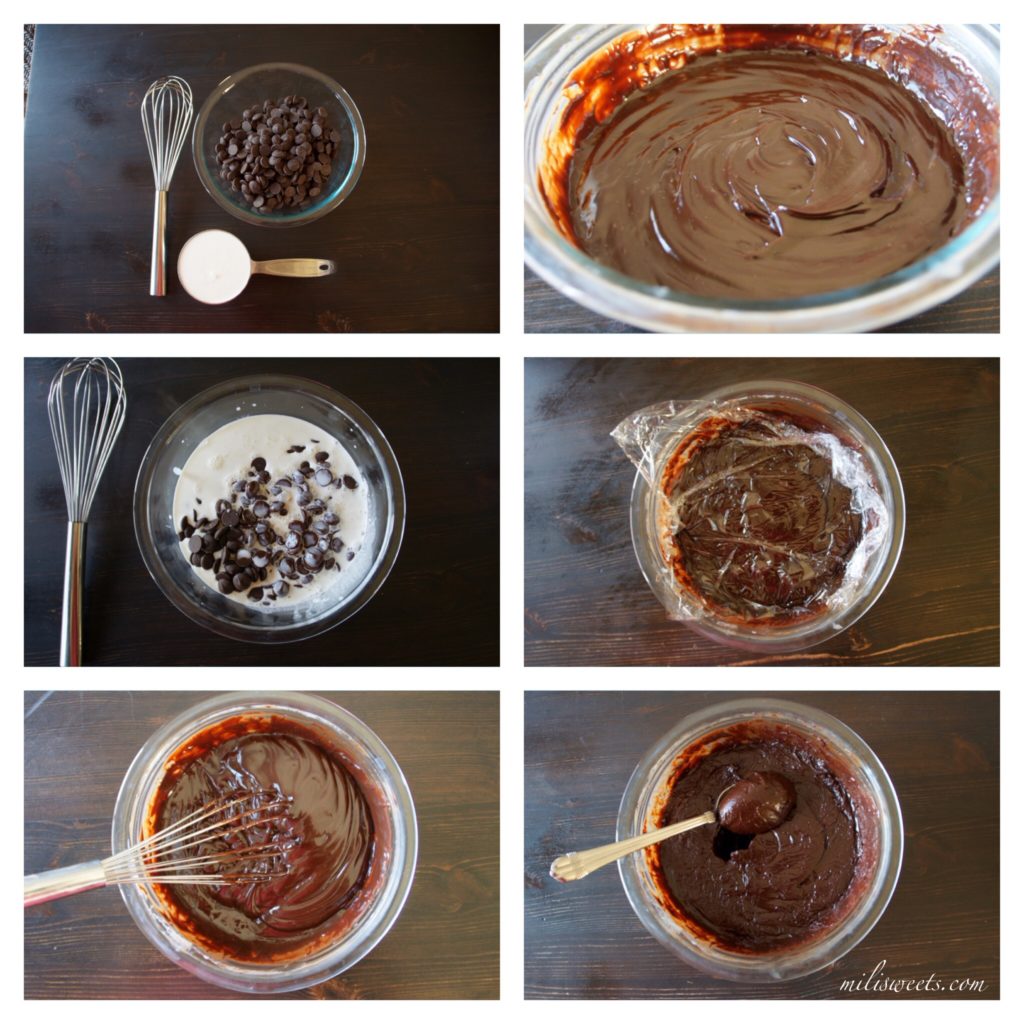
Here’s what it looks like. Now, if you want a quality result, you have to start with quality chocolate. I don’t recommending using chocolate that has soy-lectin as an additive. If you want or need to be nut free, I recommend what I use: Guittard or Enjoy Life brands.
Here’s what you’ll do:
Place your chocolate chips into a large bowl.
In a saucepan, warm the one cup of heavy whipping cream until you see bubbles along the edge of the cream. Remove from heat and pour on top of the chocolate chips. Allow to sit for 30 seconds.
After 30 seconds, whisk constantly by hand, until the chips have melted and you have smooth ganache. (This process will take no more than two minutes.)
Cover with plastic wrap and allow to cool to room temperature.
The end result is thick, rich ganache filling that you can use to pipe into your cookies.
Mili’s Sweets Shortbread Cookie Recipe
While your ganache is cooling, you can prepare your shortbread dough (used for both pie crust, bar crust, or cut-cookies).
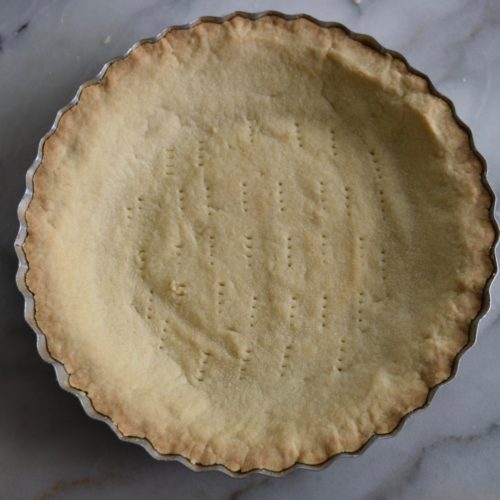
Shortbread for pie crust or cookies
Ingredients
- 1 cup salted butter, cut into pats and melted (2 sticks/16 tablespoons)
- 2 and 1/2 cups all purpose flour use classic or gluten free blend
- 1/3 cup granulated sugar
- 1/2 teaspoon salt
- 2 teaspoons pure vanilla extract
Instructions
For Pie Crust
- Preheat your oven to 350 degrees
- Have a pie pan prepped and ready to go.
- In a glass bowl, melt the butter pats. I use a microwave and go 20-30 seconds at a time, but please use whatever method you prefer. I'm looking for mostly liquid, and some very soft little pats in there. Pour in pure vanilla extract. Set aside.
- In a mixing bowl, combine all the dry ingredients: flour, sugar, salt. Pour in the wet ingredients. Mix with a paddle attachment until it comes together in crumbles.
- Take the ingredients by the hand and squeeze them together to form a ball. Put the mound into the center of your pie pan and manipulate the dough to cover the pan. It's very easy to work with and form together from the pieces. I use the bottom of a measuring cup to apply pressure and smooth it all out so that it's even and nice. Take a fork and poke some uniform holes at the bottom portion of the dough.
- Bake for 15-20 minutes, or until the golden color you are looking for.
- Once completely cooled, you can use it for any filling you wish. If using for Chocolate Cream Pie for example, you would spoon in the chocolate mousse and use a slotted spatula to smooth it and form it. You are set to have this chill in the fridge until you are ready to serve.
For baking Cookies
- Preheat oven to 350 degrees. Line a cookie sheet with a silpat mat or parchment paper.
- Roll out all of the shortbread dough to cut later or roll out for cookie-cutter cookies.
- Bake for 10-14 minutes, depending on your own oven, and how golden and crisp you would like them.
Here’s what you’ll do:
Preheat your oven to 350 degrees.
Place all the ingredients into the bowl of your standing mixer. Using the standard paddle attachment, (Never use a plastic, scraping attachment for cookie dough, or the attachment will break.) on medium-low speed, mix until the ingredients have formed a dough that completely lifts from the bowl. This mixing time will take less than two minutes.
Shortbread cookies are best when they are rolled out and cut.
Dust parchment paper or a silpat mat with all purpose flour. You can quickly form a ball with the dough and it place at the center of the paper or mat. Dust a rolling pin and roll to the desired thinness. I recommend rolling the dough to around a quarter of an inch.
Place your cookie cutter(s) as many times as you can within the mat, allowing for enough space for your fingers to go in-between the dough, to remove the access around the cut pieces.
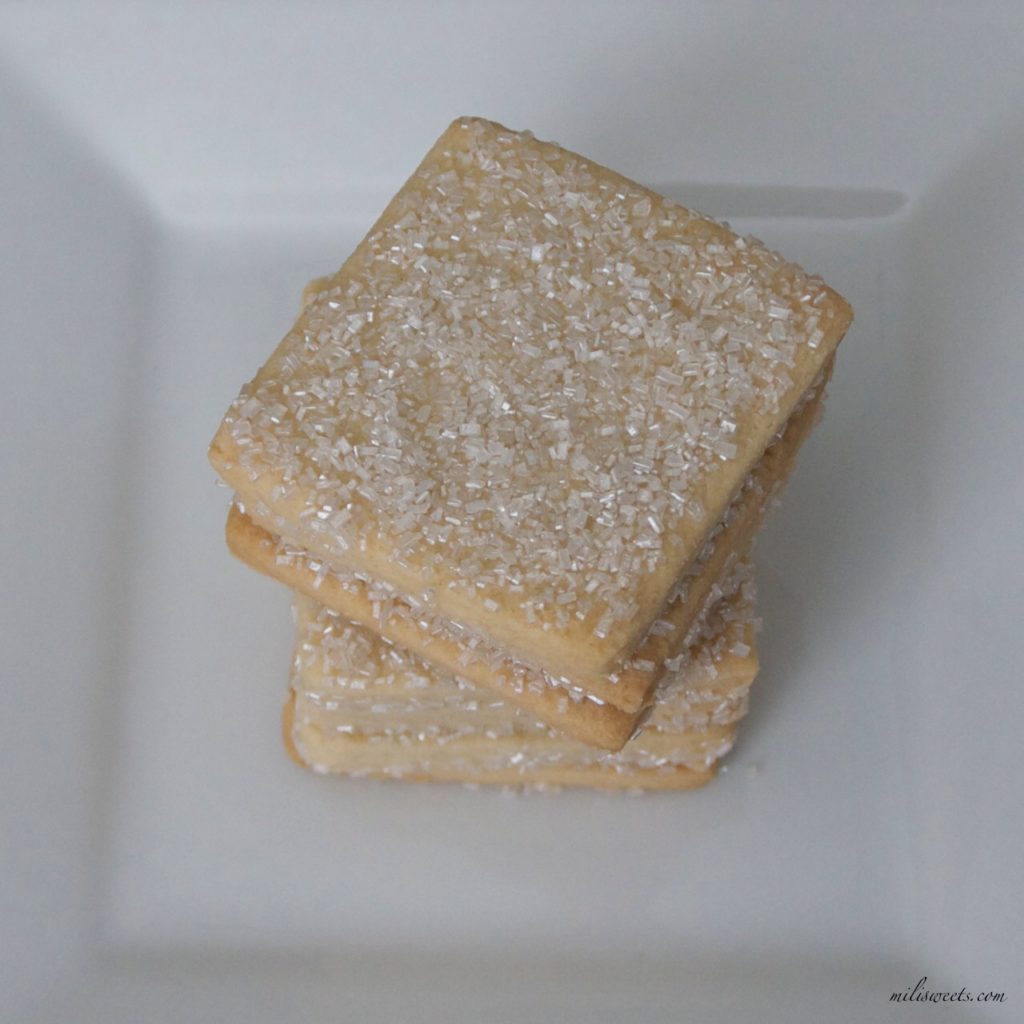
I prefer the look and taste of crystalized sugar sprinkles on my Milano cookies. If you’d like to have them, add them before they go into the oven. I’ve also tried using a texture matt to create a pattern onto the cookie dough, without the sprinkles, and the end result is lovely.
Save the reserved dough, to form another dough and start all over. The more you handle the dough and the more you have to dust with flour, the more dry the dough will become.
Bake each batch for about 15 minutes, depending on your oven. If you want an even golden bake, you may need to rotate your cookie sheet about 8-9 minutes into baking time.
Once your cookies have cooled completely, and your ganache has cooled completely, you can put the Milano cookie sandwiches together.
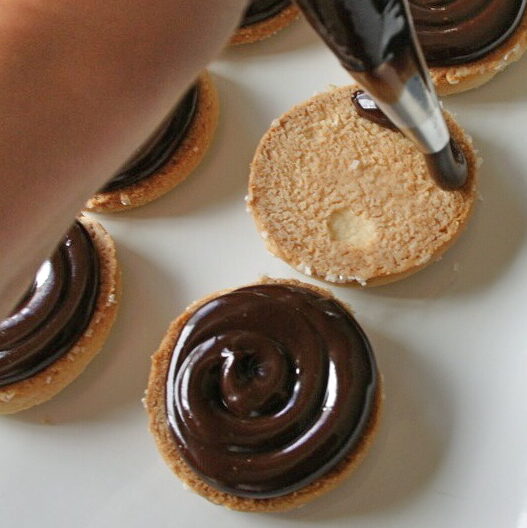
Spoon the ganache into a piping bag. Pipe an even amount onto the backside of one of the cookies. Gently place another cookie on top of the chocolate. Allow to sit at room temperature until you are ready to serve. They can be served the same day, or placed in an airtight container for up to three days. The ganache will set and stiffen a bit, so that the cookies will stick together nicely and not move. Because of this, you’ll want to be sure that your cookies are strait when you place them together, and allow them to set on a flat, even surface.
Mili’s Sweets Classic Sugar Cookies
If you are looking to make classic, sugar cookies, shortbread is the way to go. They are simply beautiful and delicious. They really don’t need more than a sprinkling of crystalized sugar, and can be classic and elegant for parties if you use all one color.
Simply follow the recipe above for “Shortbread Sugar Cookies” and remember to apply your sprinkles and/or sugar, before placing them in the oven to bake.
Now, I’m saving the most time consuming for last. . . iced cookies. I’ll never claim to be an expert at piping these cookies, but I love them. I love making them. I love eating them. I love it when kids decorate them with a mountain of decorations. Just because I’m not an expert, doesn’t mean I’ll stop making them for my friends and family. If you are like me and are more of a beginner, the trick to having a nice iced cookie, is to keep it simple.
Here’s how I made a batch of teapots for a mother-daughter tea party.
Iced Shortbread/Sugar Cookies by Mili’s Sweets
First thing is first, you’ll want to follow the Shortbread Cookie recipe above, and allow the cookies to completely cool.
Next, you’ll want to make Royal Icing. Here’s how I make it every single time.
Royal Icing
Ingredients
- 4 cups powdered/confectioners sugar I do not sift.
- 3 tablespoons meringue powder
- 9 tablespoons warm, filtered water
- gel coloring if you’d like something other than white
Instructions
- Using a standing mixer with a paddle attachment, place all of the ingredients, minus the coloring, in the bowl, and start mixing at a low speed until all fo the ingredients have come together. Increase the speed to medium-high and allow to mix for 5 minutes. Mix in the desired color.Keep covered or in a closed container before use, as any air will dry it out to stiffen.

Along with decorating cookies, I also love using this royal icing recipe for drizzling onto scones and sweet breads.
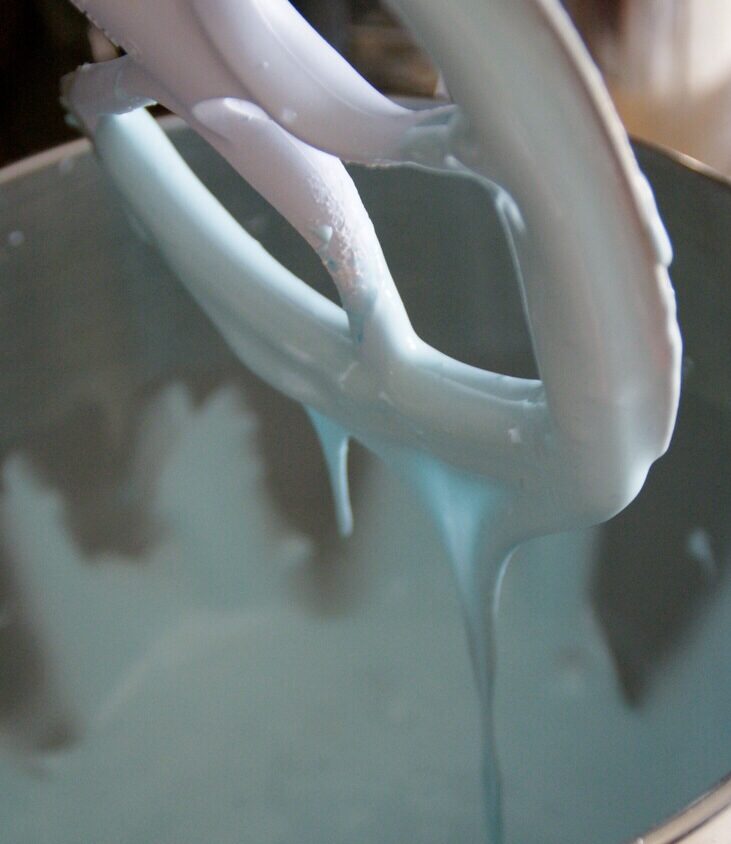
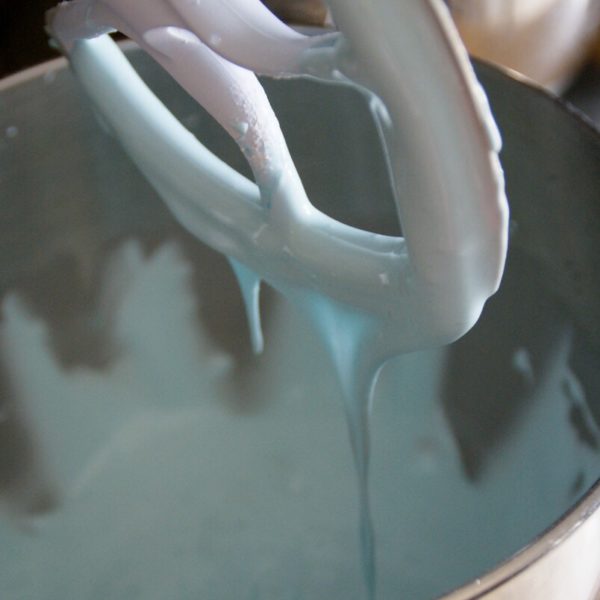
Put all ingredients into the bowl of your standing mixer. To make this pale aqua color, I added two drops of Sky Blue Americolor Gel Food Coloring. I used my scraping paddle attachment to mix, however the standard paddle attachment still works well. Mix on medium speed for 4 minutes.
You know it’s perfect and ready to pipe when it “flows” down the attachment. This will give you the ease of piping onto your cookies.
Royal icing dries very quickly, so right away, you’ll want to spoon it into your piping bag, or cover it with plastic wrap.
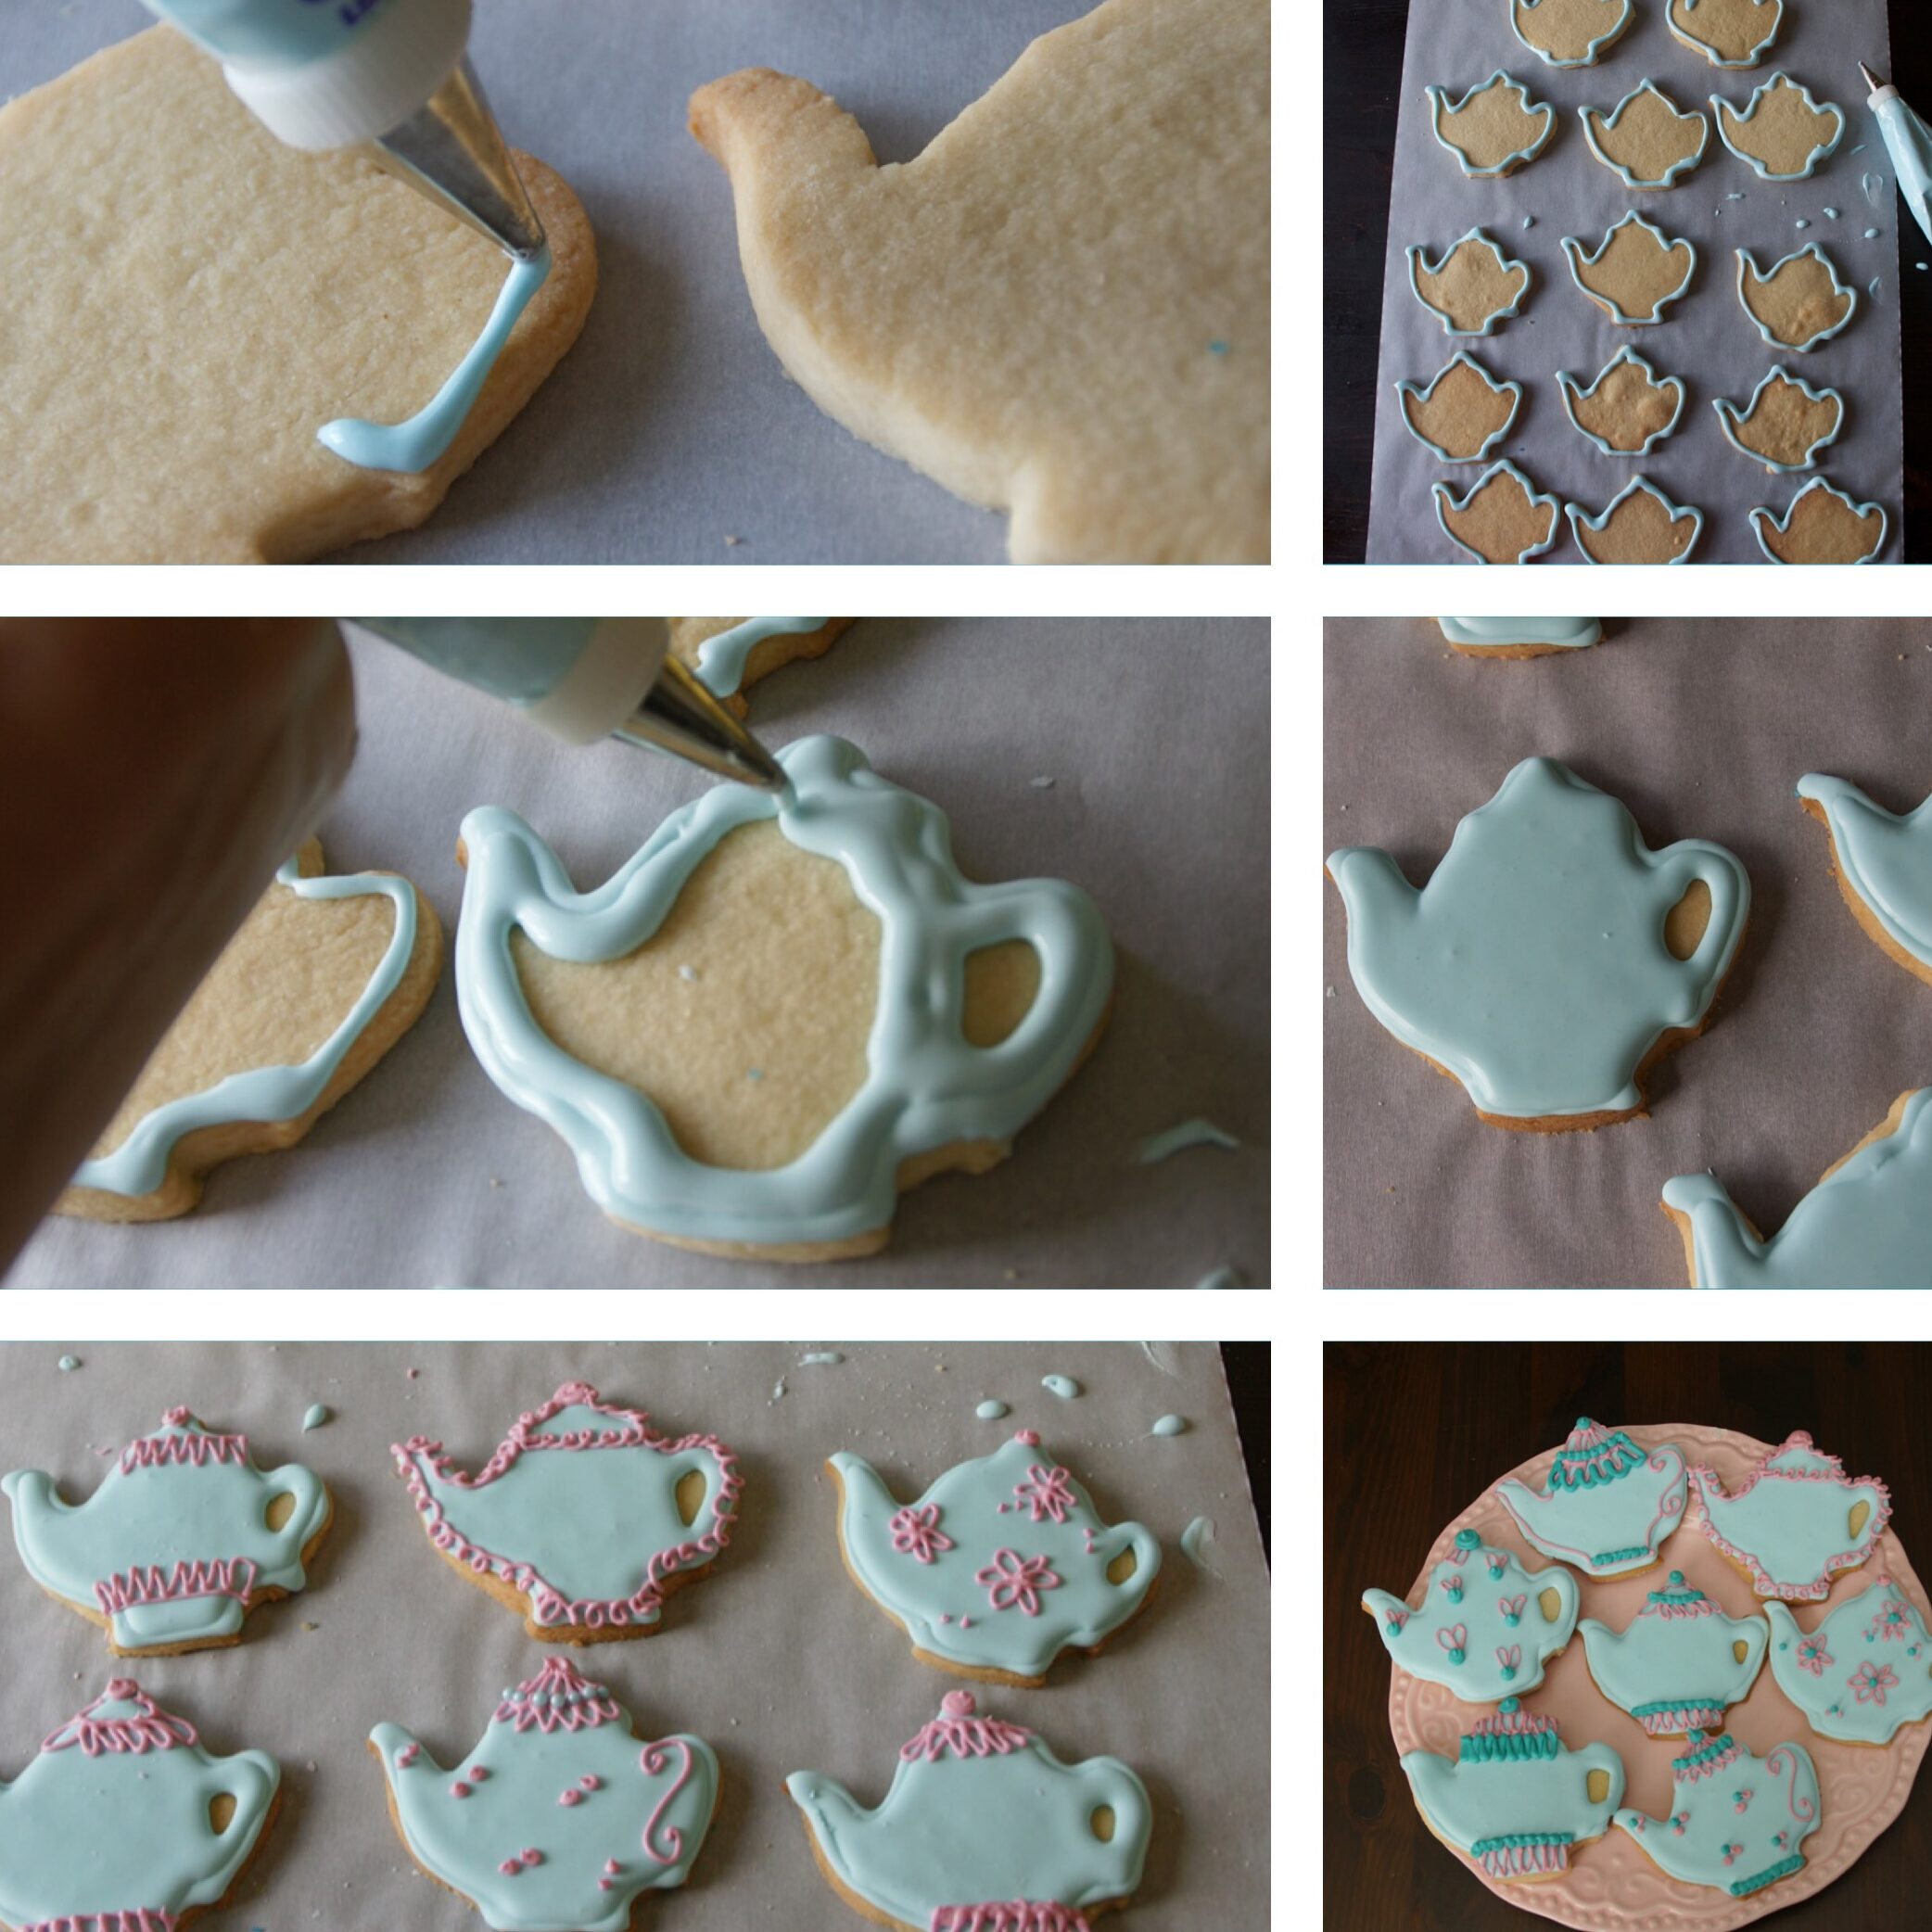
For these cookies, I made two batches of royal icing to make three colors. I started with the aqua as my base color for all of the teapots. Here’s my step-by-step process:
I recommend using the smallest circle tip you have for piping. This will help with control and ease. First, apply a small amount of pressure to the bag, and create a outline on each cookie. I recommend having the same starting point every time, so that your hand has a memory-motion. You’ll get better and better as you go. It’s also great practice for building confidence in your piping skills, even when it comes to cupcakes and other desserts.
Once the outside line as been placed for each cookie, you’ll fill them in. Start from the outside line and work your way in, toward the center. The royal icing will spread a bit and dry completely smooth. When the cookies have all been “colored in,” allow them to set, without touching them for at least one hour.
Once this base is set, you can apply different colors and layers to the cookies. I made a second batch of icing and split it into two colors: pink and deep turquoise. I really didn’t have a strategic plan for the cookie decorating, I just went for it, with different styles, with most of the cookies having all three colors and I didn’t switch out the tips for piping. I wasn’t lazy – I just know that for me and this type of dessert, simple is best.
Allow each layer of icing to dry and set for about one hour, before serving or packaging them. The cookies will stay fresh and delicious for 4-5 days, if kept in an airtight container at room temperature.
So there you have it! One recipe and three ways to enjoy it.
Big hugs, and enjoy this precious time!


