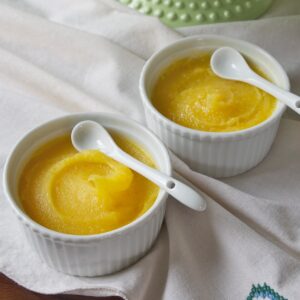
Mili's Citrus-Lemon Curd
A classic staple in most dessert menus, this is how I make lemon curd or orange curd for tea time spreads, pie fillings, bars and tarts, and I could go on and on. This dessert is naturally gluten-free, can be made dairy free, and the juice or puree can be switched out for make almost any curd you can dream up. No artificial colors or flavors are needed or added.Think of: AMOUNT NEEDED: To fill a pie, you'll need to double the ingredients in the curd recipe above. TIME: Make sure you plan for plenty of time before your dessert is served, since the curd/pie filling will need to set in the refrigerator, for at least three hours. DECIDE ON TEXTURE: If you love lemon skin, you'll like a larger grate for the zest. If the texture of the larger lemon pieces doesn't suit your tastes, use a fine grater tool, to produce a smaller lemon zest. The fineness of the grater will only effect the texture, not the flavor. It's all about personal preference. When I make curd for customers/custom orders, I do not use zest. When I make it for home, I do.
Equipment
- Tools I use: saucepan, handheld whisk, grater, standing mixer with paddle attachment, handheld digital food thermometer.
Ingredients
- 1 cup salted butter, softened 2 sticks. Use vegan butter in a 1:1 ratio for a dairy-free recipe.
- 1 cup granulated sugar
- 2 whole eggs
- 2 egg yolks
- 1/4 teaspoon salt
- 1/3 cup fresh-squeezed lemon juice (or orange juice or lime, etc.)
- 1 tablespoon zest of two large, fresh lemons optional
- 1/3 cup corn starch optional
Instructions
- Prepare your lemon flavor by zesting the lemons you are using, and straining fresh-squeezed juice to make 1/3 cup per batch. Juice will always be placed as the last ingredient when mixing curd.
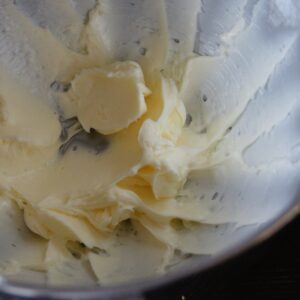
- To soften my butter, I put one cup in the microwave all together, for a total of 15 seconds. Microwaves are different so it's up to you. You can also do the old-school method of leaving it out at room temperature until it has softened. In a standing mixer, with a paddle attachment or scraping paddle attachment, on medium-speed, cream the softened butter until it completely covers the bottom of the mixing bowl.
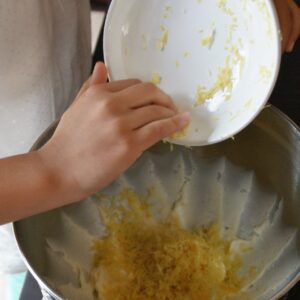
- Next, mix in all of the lemon zest (if using). Add the sugar and salt. Mix until fluffy. If you'd like a thicker or more set lemon curd, this would be the time to add the optional corn starch. I recommend it if you want a stiffer-set and a good cut for lemon bars.
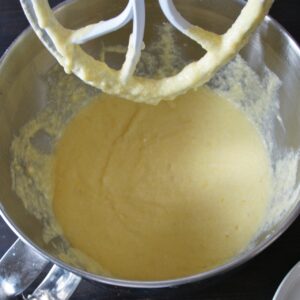
- Add the eggs, one at a time, until all are incorporated. Mix in the juice last.
- Pour the mixture into a saucepan at medium-high heat. Keep the heat there. Use a whisk to constantly stir the ingredients. This process will take about 10 minutes.
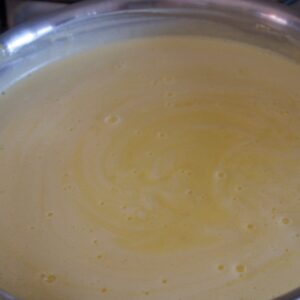
- You're whisk and continue to whisk. In about 5 minutes you'll notice that it will start to bubble and the color will deepen.
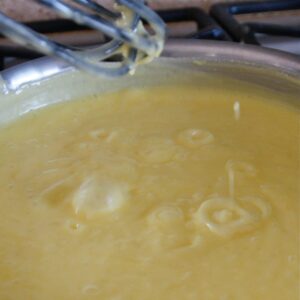
- It will also be turning a more golden-yellow color. Keep whisking, until your thermometer reaches 173-175 degrees. I'm using All Clad pans that are designed to heat quickly and distribute the heat evenly. I like to see my curd begin to bubble as my second sign of being cooked properly. Take it off the heat once it is done. If you overcook this, or don't allow the heat to be evenly distributed while whisking/cooking, the entire batch will be ruined.
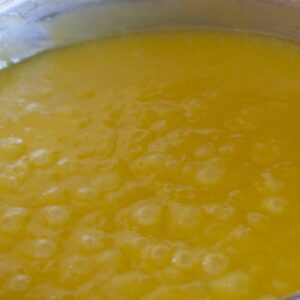
- If pouring into a cooled pie, tart, or bar crust, the curd needs to be poured in hot, to set nicely.
- If you're reserving it for canning, or topping desserts later, you'll cover it with wrap, allow it to cool, and then refrigerate for at least three hours or overnight. After it has set and chilled, it can be piped or spread.