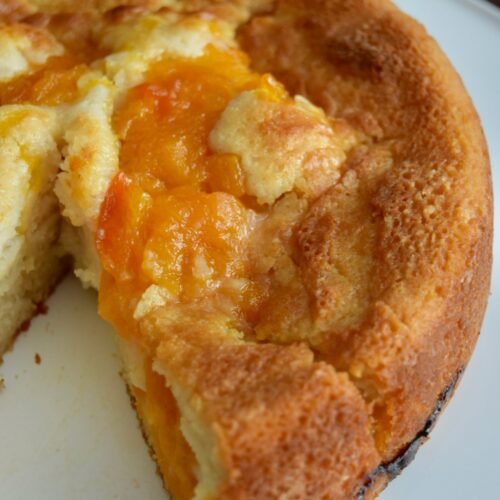
Mili's fruit cobbler
A handful of ingredients come together for a single-layer cobbler, or into cupcakes/muffins. Use most any stone fruit or berry for this not-overly sweet, cake-like dessert with a very soft crumb inside and crisp bake on the outside. At home, we love it served with a scoop of vanilla ice cream.Here I share how to make this classic, egg-free recipe, with ingredient switch outs for gluten free or vegan. In this post, I'm making Peach Cobbler.
Ingredients
fruit
- 4 cups fruit - cut stone fruit or berries
- 1/2 cup filtered water
- 1/2 cup granulated sugar
cobbler batter
- 1 and 1/2 cup self rising flour If you only have classic all purpose flour, or want a gluten free cobbler, no problem. Make your own self rising flour by adding 1 and 1/2 teaspoons of baking powder, plus 1/4 teaspoon of salt, for very one cup of flour you have on-hand.
- 1 and 1/2 cup milk use any variety you wish - lactose free, fat free, dairy free, vegan, etc.
- 1 cup granulated sugar
- 1/2 teaspoon salt
- 1 teaspoon pure vanilla extract (optional)
pan/cupcake liner prep
- 4 tablespoons butter, melted I always use salted butter.
peach nectar reduction
- 1/4 cup reserved nectar from cooking the peaches
Instructions
- Preheat your oven to 350 degrees.
cooking the fruit
- Take 4 cups of fruit and wash. If you're using stone fruit, remove pits and cut into cubes. If using berries, keep whole.
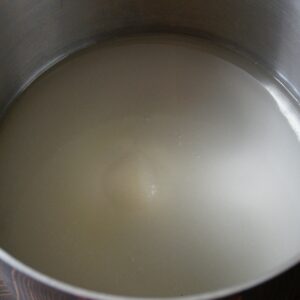
- In a pot or pan, at medium heat, place the 1/2 cup water and 1/2 cup of sugar. Stir to dissolve the sugar. Bring to a boil. Add the fruit. You'll notice that you can't really see the water below the fruit. That will change, once it starts to cook down. Once you see the liquid coming back to a boil, reduce the heat to low and simmer for 5 minutes. When the fruit is cooked, it will still have some firmness and the juices will have risen up to the top of the fruit.
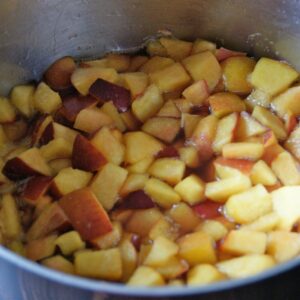
- Remove from heat. Strain the fruit so that all of the nectar is reserved in a bowl and the fruit is in a separate bowl. Allow the fruit and nectar to cool, while you prepare the pan and the cobbler batter.

preparing the cobbler batter
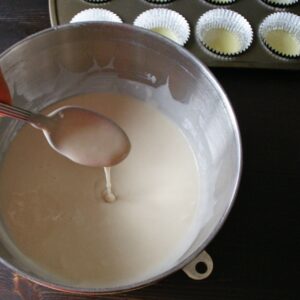
- Place the dry ingredients in a bowl: flour, sugar, salt. Pour in milk and vanilla extract if using. Whisk by hand to completely combine. I like to do this by hand so it is not over-mixed. It will look similar to pancake batter.
putting the ingredients together to bake
- Melt the butter and distribute the butter evenly to the bottom of the areas you're about to bake in - to the bottom of a pie pan, cake pan, or cupcake liners.

- You can add some non-cooked fruit to the bottom of the pan if you wish, if you have some extra pieces that you didn't cook. I do this if cooking in a cake or pie pan, pan versus making cupcakes/muffins.Pour the batter on top of the melted butter. The butter will show on the sides. That's that you want to see.
- Spoon the cooked fruit onto the top of the batter.
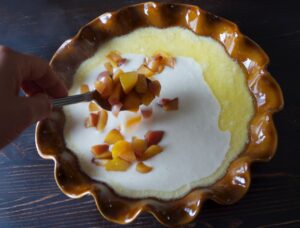
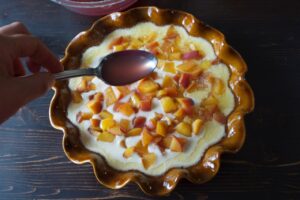
- Spoon-over about 1/4 cup cup of the reserved nectar, to the top of the laid-over fruit and batter. A cobbler baked in a pie or cake pan, will take close to and hour to bake. I recommend to begin checking the center for how baked it is (with a pick) at 50 minutes and go from there. Every oven is a little different.
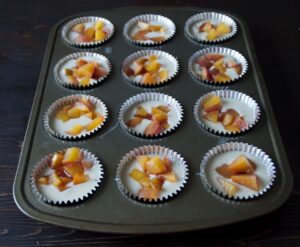
- This recipe yields about 18 cupcakes/muffins. Because of the melted butter at the bottom, you cannot use paper liners. You can use no liners for your pan, or aluminum liners. After placing the batter and fruit, spoon about two teaspoons of the reserved nectar onto the top of each. They will bake for about 20 minutes. Check the oven at about 16 and it may take about 22 minutes, depending on your oven.
- Allow to cool.
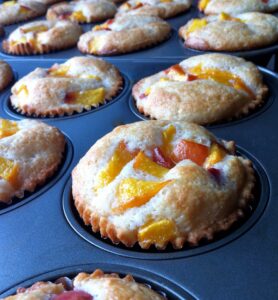
- Offer with vanilla ice cream and reduce the nectar for a syrup on top. I share my fruit-based reduction/syrup recipe in a separate post.

- If you have leftovers from a cobbler that has been baked in a cake or pie pan, you can leave them out at room temperature for one day, in a covered container. Because of the moisture-level from the fruit involved with this recipe, I recommend refrigerating after the first day.