Four simple ingredients come together to make a custard so amazing, it can be enjoyed on it’s own, or torched for creme brulee. I absolutely love my easiest dairy-free, no-bake recipe, using coconut cream. I share my notes for making this most-loved dessert with any type of cow/alternative milk or cream you’d like, so that you can have a beautiful and delicious result every time. Once you have this custard down, all you need is a torch to brulee it.
You can make this with me, in my easy-breezy video for this recipe, on the Glorified Hobby YouTube Channel.
This is a two-part recipe series I’m posting all about making the easiest and best custard and creme brulee from the comforts of home. Here I share a dairy free recipe, and use a handheld torch to create the brulee. Please see my second post, for oven-torched creme brulee, if you’d like to see how I make it using whole milk, and the oven to easily “torch” and burn the sugar on top for the best end result possible without the use of a professional-style tool.
Milk or cream, egg yolks, sugar, and a little corn starch is all you need. The trick to success with custard is getting these simple items within the right chemistry, using the correct fat content and ingredient ratios. Then it comes down to using the heat of cooking and whisking over the stove.
Custard is something I’ve made too many times to count, in my many years as a professional baker. It’s funny, because it’s not something that is not baked at all. It has been a key element to add-in for incredible cakes and fillings, that bring out flavors and textures of what I bake, to a whole other, wonderful level.
This dessert is a no-bake recipe. It’s absolutely unnecessary. Every other recipe you’ll find for creme brulee calls for baking ramekins in a water bath. I say no. Don’t bother. Once you have your custard completely cooked and set, it can be torched or bruleed. Creme Brulee literally means torched-custard/creme, and that is what we are doing.
I had been testing and working on a new custard recipe – apart from the Italian Custard I have made hundreds and hundreds of times for my catering work, with the use of whole cow-milk. However, to switch it up and to make it dairy free, took many takes in my home-test kitchen, based on what I had left and hanging out in my fridge and pantry. Ultimately what won the prize was coconut cream. When this worked so incredibly well, I was beyond-excited.
If you have a handheld torch and a little extra sugar on-hand, you can create the exciting part of breaking into the hardened, burnt sugar on top. I have read some recipe authors say that you can set your oven to broil and place your servings with some sugar in the oven, but I haven’t tried this and am not sure if it actually works. If you try it and it does work, let me know how you made it happen! I love learning something new, especially when it comes to the precision it takes to make a really good dessert.
This awesome dessert is best served chilled and topped with fresh berries.
You can scroll right on down to the written out recipe to view/download/print, to get started, or get a little more information about my ingredient-details and notes as I go on.
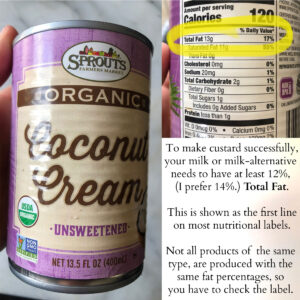
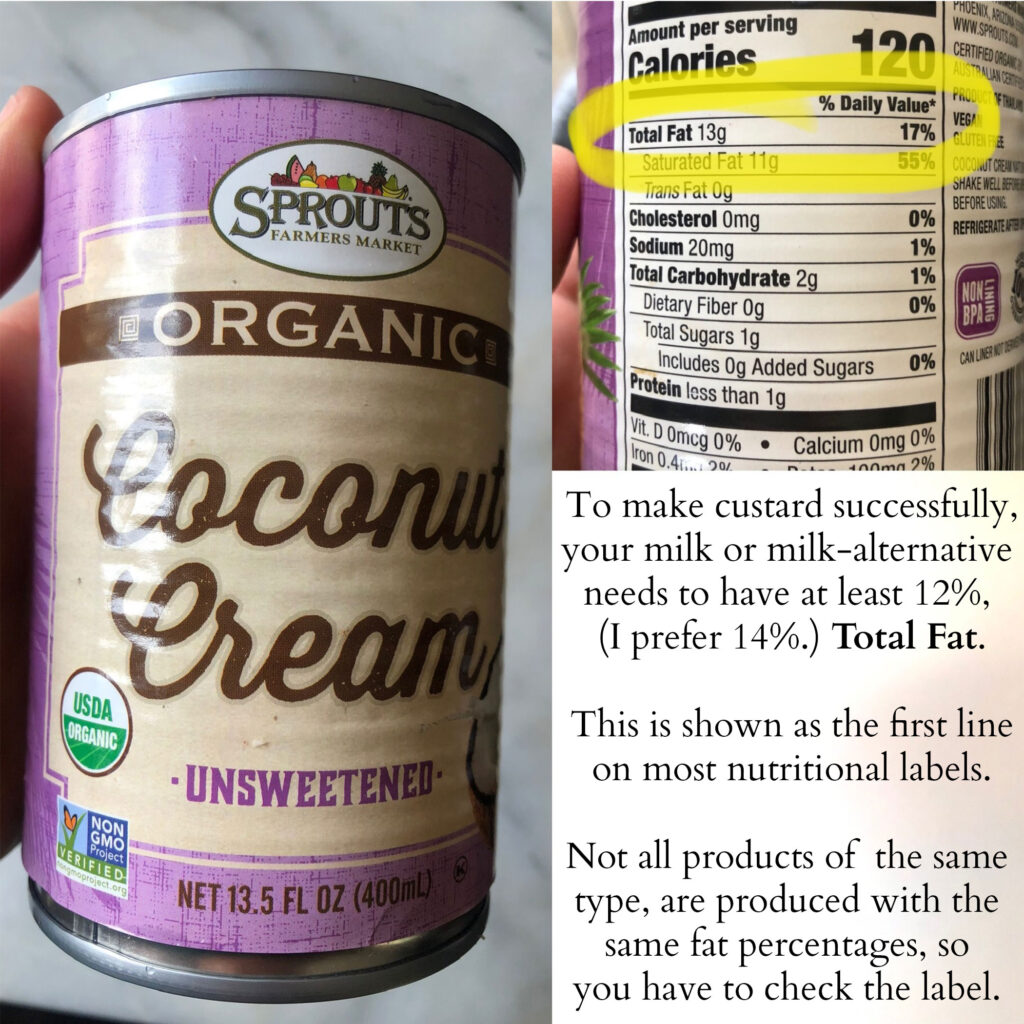
First, let me start with a basic guideline for making custard, that is based on the percentage of total fat content. In this recipe, I’m using coconut cream, but you can use any cow-milk or alternative milk you’d like for this, as long as it has at least 12% total fat. If it does not, you will not be able to make custard.
If you’d like to read my notes about coconut and how it’s a seed and not a nut at all, making this a nut-free dessert, please scroll down past the custard recipe, and before my toasting coconut recipe, toward the end of this post.
All right. Let’s make this!
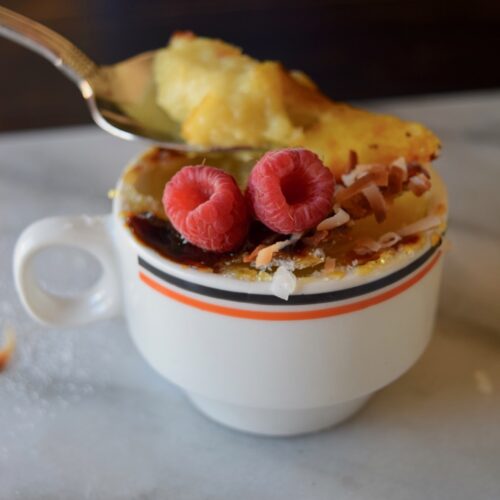
custard, and creme brulee – no-bake and dairy-free
Ingredients
coconut-cream custard
- 13.5-15 ounces I used one can of coconut cream. If measuring or using another milk/cream, measure 1 and 3/4 cups You can substitute with any milk or milk alternative that has at least 12% total fat as displayed in the nutritional information.
- 6 egg yolks
- 2/3 cup granulated sugar
- 2 tablespoons corn starch
- 1 teaspoon pure vanilla extract optional
- 1/8 teaspoon vanilla bean powder optional
toppers for torching sugar on top, to make it creme brulee
- 2 tablespoons granulated sugar about this amount per serving for torching
- 1 teaspoon toasted sweetened coconut optional
- 1 ounce fresh raspberries or blackberries optional
Instructions
Making Custard
- In this recipe, I'm using (a 17% total fat) coconut cream to make dairy-free custard. This recipe is also nut free because coconut is a seed and not a nut. You can use whole cow's milk, or any alternative milk you'd like. The only way you can be successful with the outcome, will be if this main ingredient has at least 12% Total Fat.

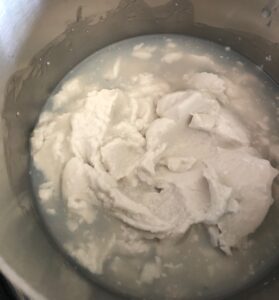
- In a saucepan, over medium heat, place all of the contents of the can of coconut cream. This particular brand and type has a very thick layer of cream at the top and thin coconut milk at the bottom. (Not all coconut cream are produced with the same ingredients or fat content.) Stir to completely combine the cream/think portion, with the liquid.If you are using another type of milk, or want to measure, you will want one and one half cups, plus four tablespoons.

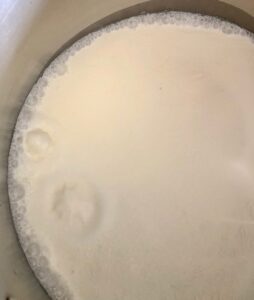
- As the cream is heated, the thick portion will melt and the mixture will become an even liquid. Allow the mixture to come to heat, where it is bubbling along the edges. This is to the point of scalding. When you remove it from heat, there should be some steam lifted from it. This process should take about 4 minutes from start to finish.

- You know you have accomplished the scalding when you remove the pan from heat and steam rises. Set aside, and a timer for 10 minutes, so that the coconut cream can cool.

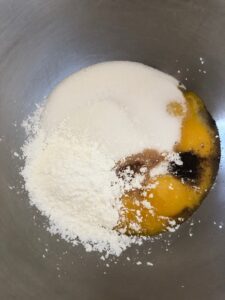
- Once the 10 minutes are over: In a separate bowl, add egg yolks, 2/3 cup sugar, 2 tablespoons of corn starch, and optional vanilla or your choice if extract.

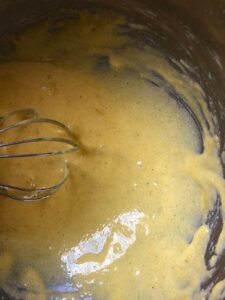
- Whisk these ingredients together so that all of the sugar has dissolved and everything is incorporated.

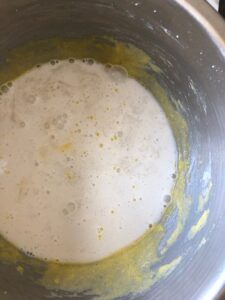
- Now, take the cooled coconut cream (or milk of your choice) from the pan and pour it onto the egg mixture.

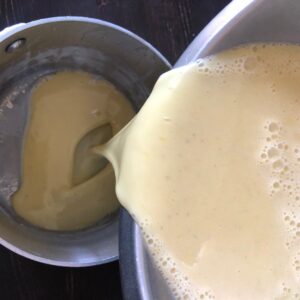
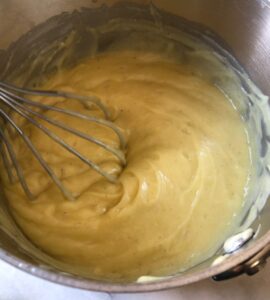
- Easily whisk these two together, and pour this entire mixture back into the original saucepan to cook.

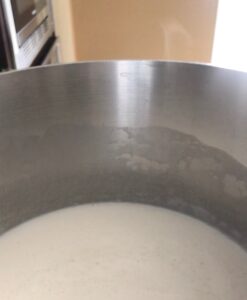
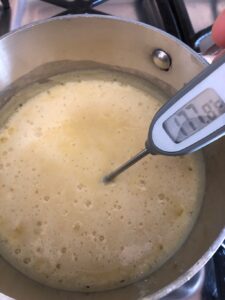
- Now it is time to make the custard. At medium heat, with the use of a hand held thermometer, whisk the custard until it comes to the temperature of 180 degrees.

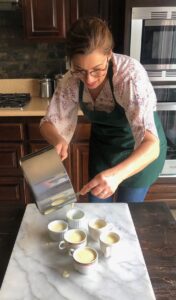
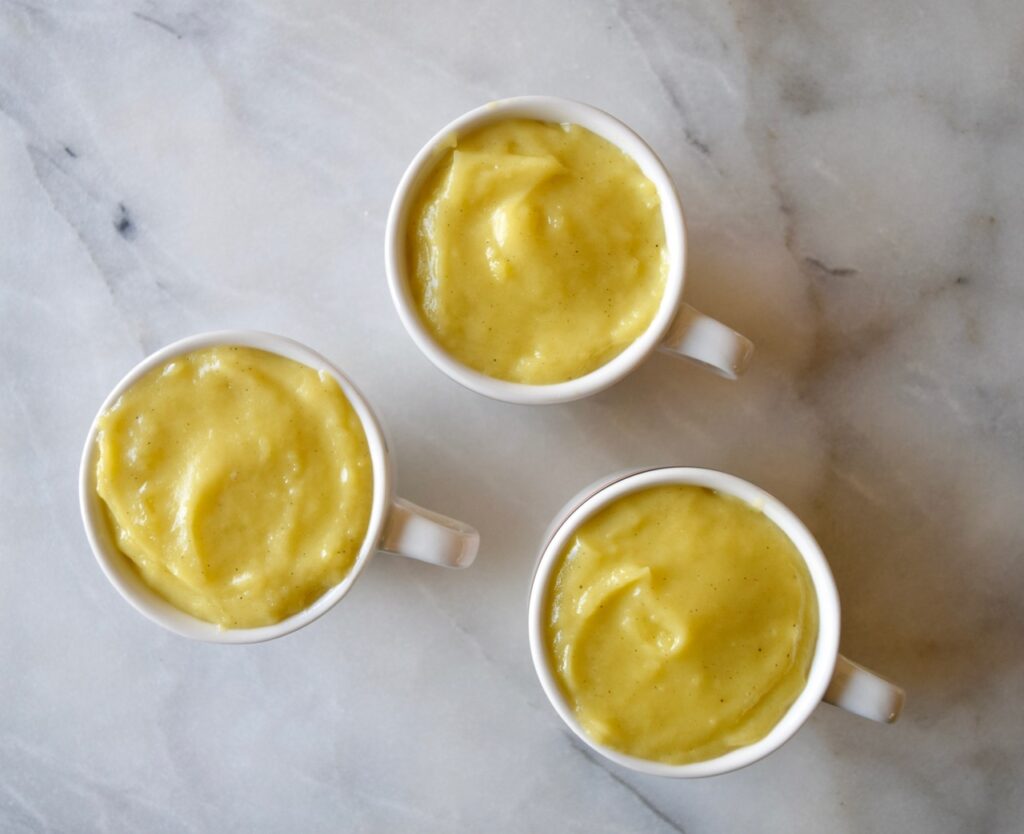
- Your custard is completely cooked and complete. Cover and allow to cool for 30 minutes before placing in the refrigerator. It is best served chilled and set, after two hours. You can enjoy this dessert as is, or with fresh berries on top. If you have a kitchen torch and would like to make creme brulee, please see the next steps. While hot, pour the custard into ramekins, or small ceramic/stone wear, metal, aluminum containers for individual servings. Pour to the top. and smooth over if necessary.

Making Creme Brulee with the Custard
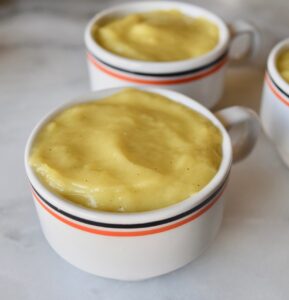
- To make bruleed custard, all we need to do is pour it, chill it, and torch it. First thing to do once your custard has come to temperature, is to take it from heat, whisk a few more times and pour into individual ramekins or small containers. I used a mix with espresso cups. Any stonewear, metal/aluminum containers for individual servings will do.

- Allow the filled containers to sit out, covered, to cool for about 30 minutes. Then place in the refrigerator for at least two hours so that the custard can completely set, or when you are ready to serve. You can prepare them at least two days in advance and they will last in the fridge for a total of three days.

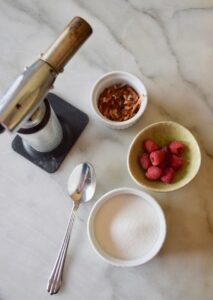
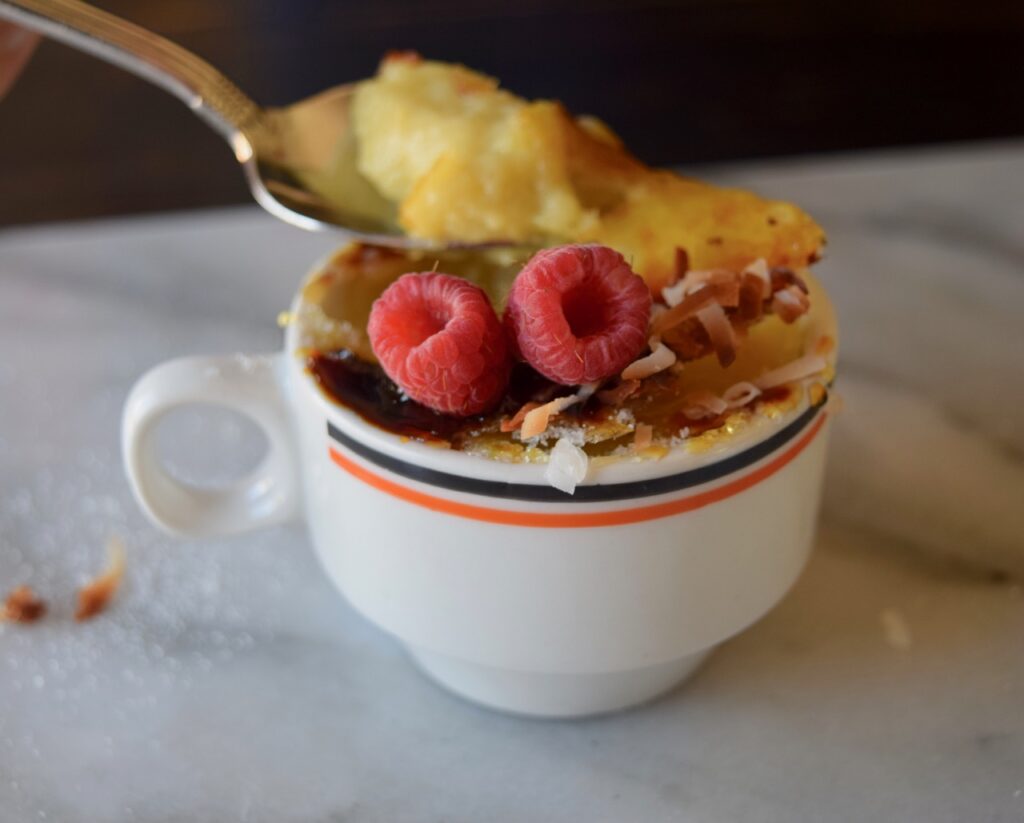
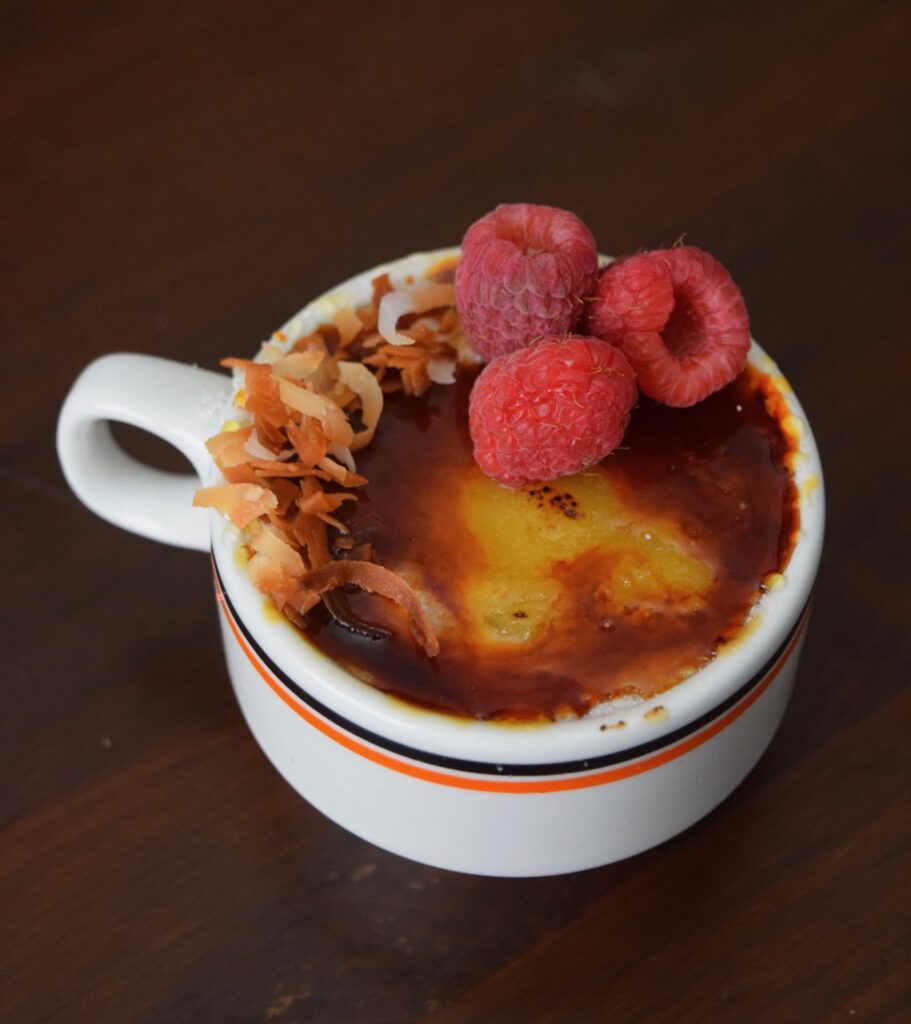
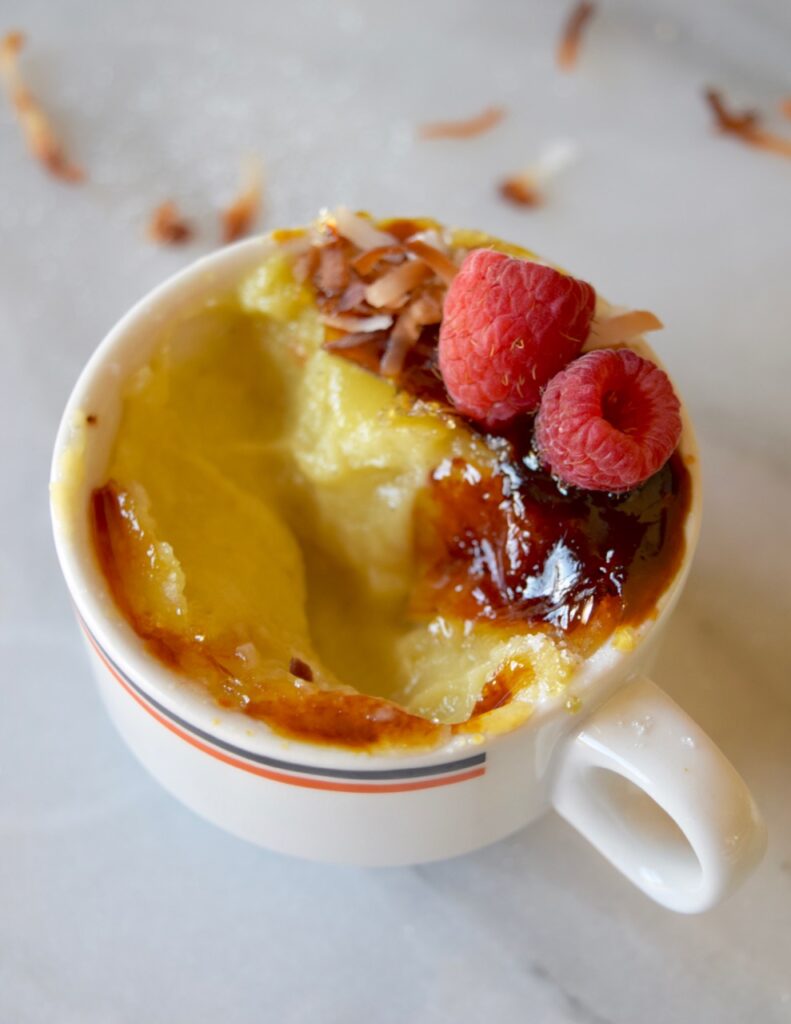
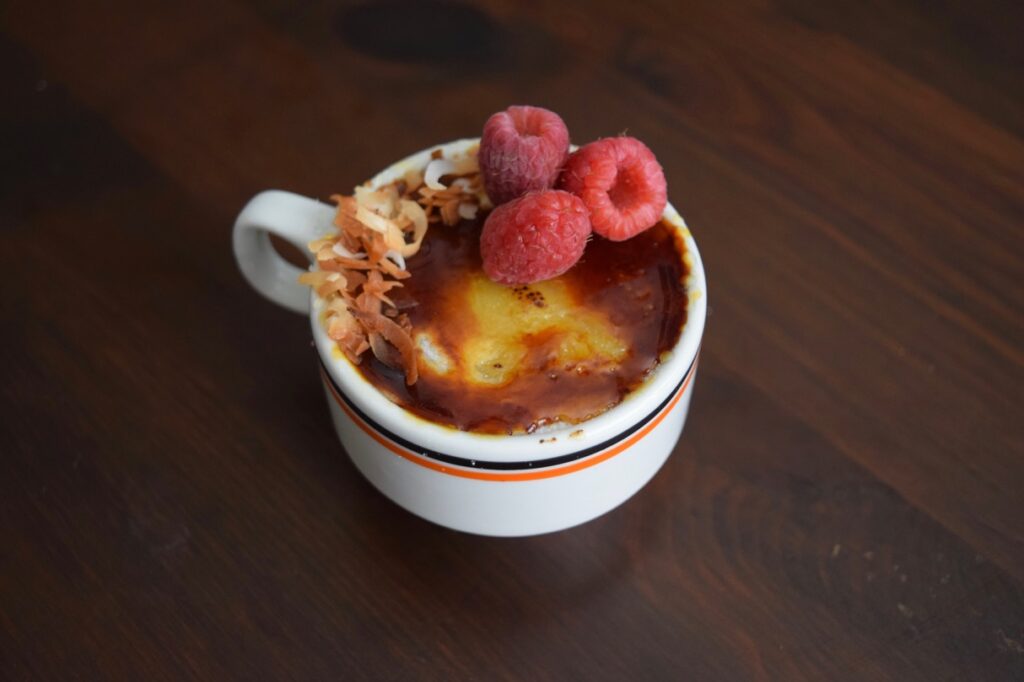
- Once you are ready to serve, spoon an ample amount of granulated sugar to the top. Use a hand-held kitchen torch to burn/brulee the sugar at the top.

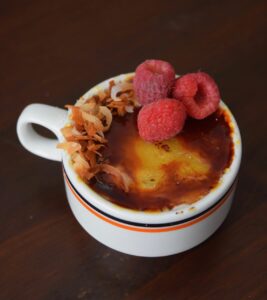
- While the burned sugar is still very hot and bubbling, you can carefully place toasted coconut or berries, or any topping you wish, and it will stick and stay. I recommend just placing these items on the edges so that there is plenty of space for cracking the torched sugar. This is most exciting part of creme brulee!
- You can serve right after torching, or keep in the fridge for a couple hours after the servings are torched.

Video
I’ve made it part of my life to very educated in understanding food and ingredients. It became a necessity as a professional baker, but even before then as a mom with a baby diagnosed with severe allergies to peanuts and tree nuts. I actually think it’s cool and fascinating to know about the food I’m serving. I know I’m not like most people.
Having a small business that involves making food for others takes a lot of responsibility. I believe part of that is totally understanding ingredients as a part of food-safety. In my decade-long span of being a dedicated custom-recipe baker/caterer who is always peanut and tree nut free, coconuts have come up many times in conversation. There is confusion because nut is part of the name. It’s not literal. Coconut is a great, big, seed. Coconut definition.
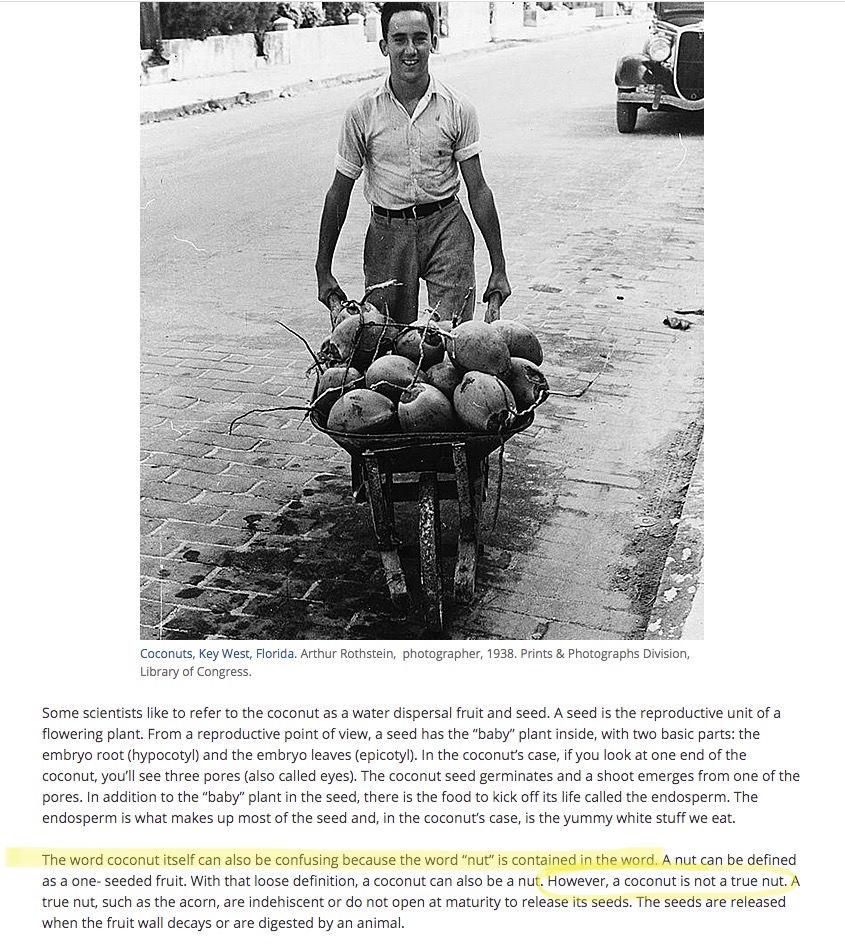
I wish I didn’t get annoyed (only slightly) when I read a food label, or go into a dessert shop, and they have coconut labeled incorrectly, as a tree nut. People are allergic to the seed, coconut. Absolutely. Some people also need to avoid other seeds like sesame or sunflower. People are allergic to all sorts of foods. It’s always good to know what it is to avoid, a little or all together, and to be aware.
Now, if you’re interested in toasting this beautiful seed, like I did to top the finished creme brulee, here’s my little recipe for toasted coconut.
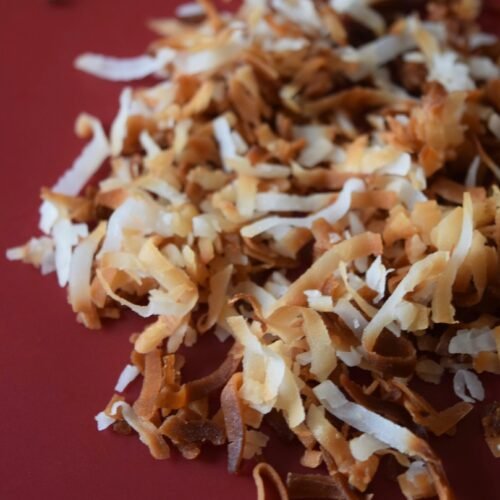
toasted coconut
Ingredients
- 1/2 cup sweetened coconut
Instructions
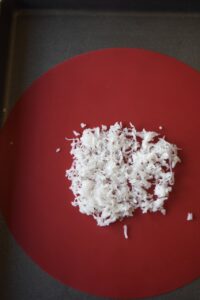
- Pre-heat your oven to 325 degrees. On a baking sheet, with a piece of parchment paper or non-stick baking mat, place the sweetened coconut in the center. Lay flat.

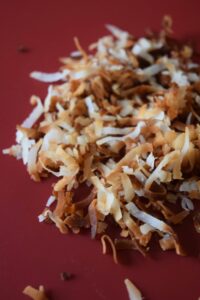
- Check after it has baked for 10 minutes. The edges will be very browned and the center will be hardly toasted at all. This is what you want. You're all done. Once it has cooled to the touch, toss it all together. Enjoy.

I hope you love this! Take care,

