We are making focaccia (all the time). Focaccia is my favorite comfort food in the whole wide-world. It’s a pan-baked, bread-style of pizza, created with a technique that is a traditional staple from Italy with intense texture, and authentic flavor. Each region of Italy has it’s own flavor and style, and I’m sharing what has been passed down from generation to generation from my mom’s home-country and small town of Tricarico.
In the past I have used the old school method with our Italian Master Dough recipe but these days I’m using the quick-rise, no-knead bread dough method and seasoning in a saucy-authentic flavor that I grew up with.
Jump to Recipe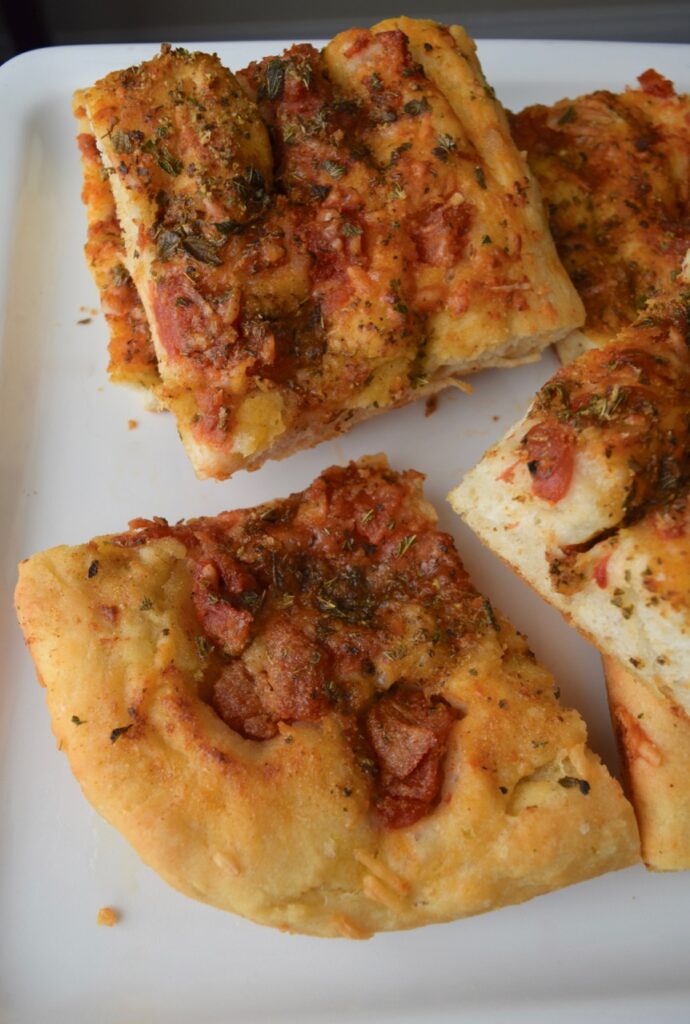
Like all food in Italy, flavors tend to be regional. A best part about this food is that you can be as traditional or as creative as you like with this beautiful base and texture.
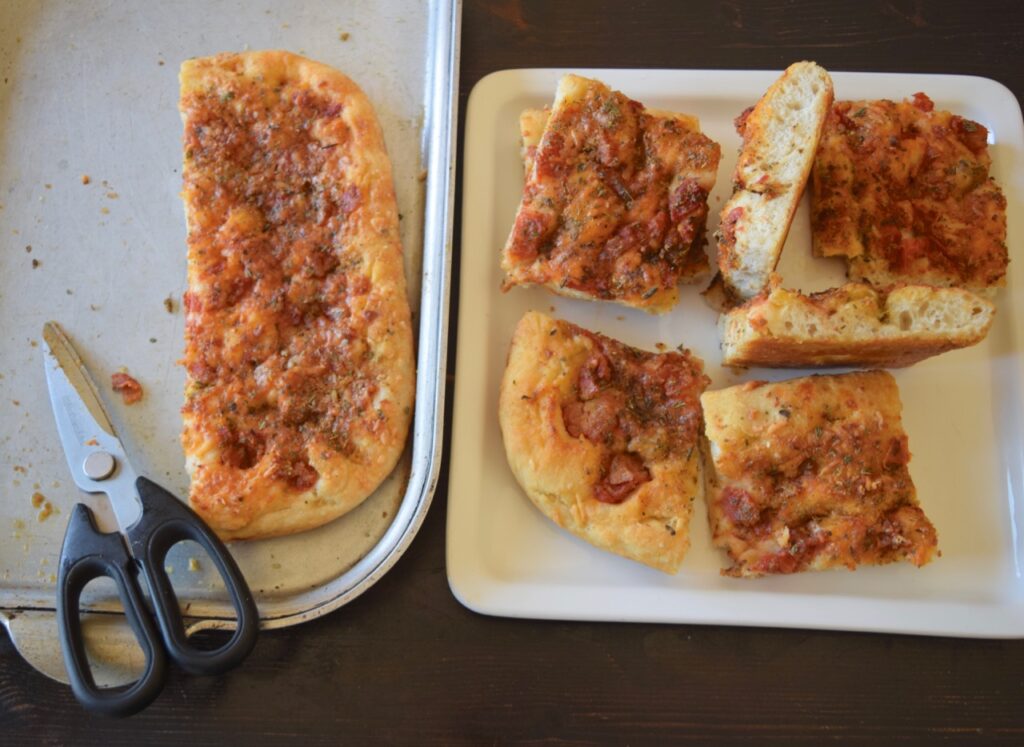
This recipe I’m sharing is all about the time-and-time again, simple, traditional flavors. You can watch me make my first-ever focaccia with Nonna via YouTube. It was so fun, and the result was outstanding! There I used diced tomatoes and granulated garlic. On the step-by-step recipe posted below, I show how I use tomato sauce and minced, fresh-garlic.
Since then, I’ve enjoyed going beyond this method, and share how creative you can get with other toppings, just as if you were making pizza. Different toppings onto this bite taste phenomenal. And if you want some height, and prefer an extra-thick style of focaccia, you can fold the dough and work in even more layers. My all-time favorite and perfect focaccia is using double the no knead dough recipe, in a large pan, I put all of the toppings on, cover it, and then allow it to rise for an additional 30 minutes before I bake at 375 degrees for about 45-50 minutes (until totally golden at the bottom).
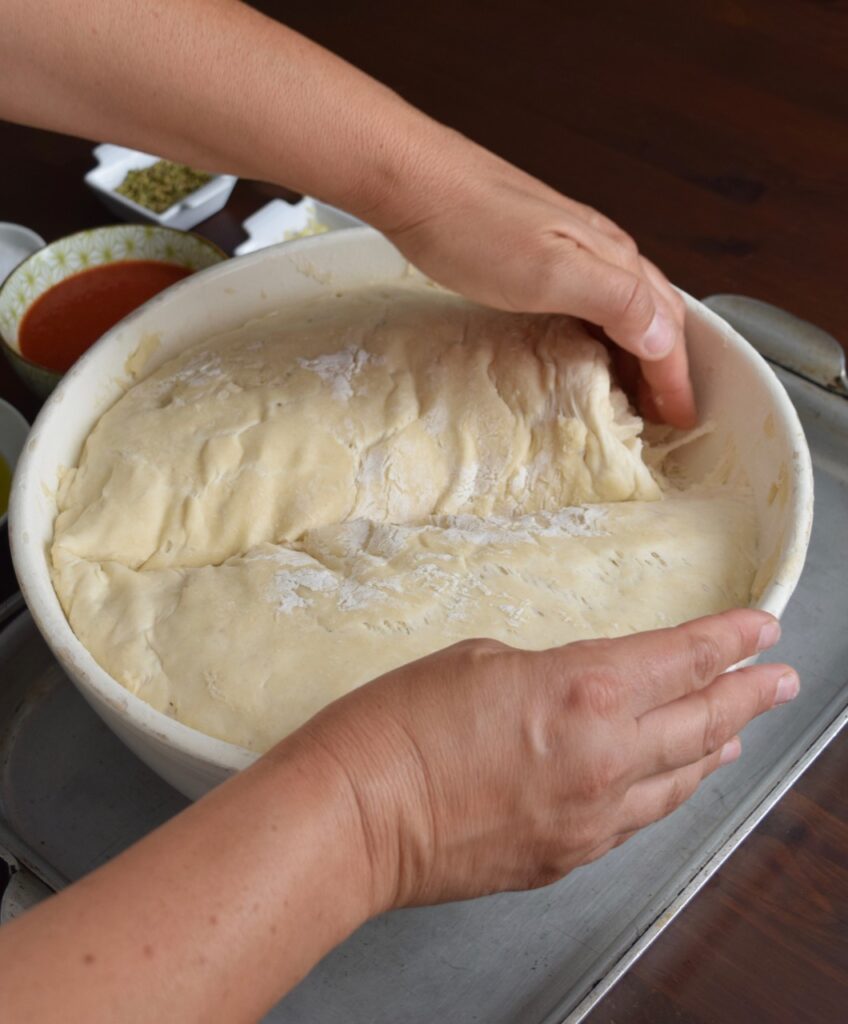
During the time that I was working on this skill, and not feeling 100% confident in preparing the master dough on my own, I would listen to the video where Nonna coached me, and let me put this together with my own hands, (for the first time). She talks me through when to add water, and when to keep punching-in. We hear the snapping noises, and it holds the total time for kneading – within about eight minutes- to help ensure I have done the work and my dough will rise. Working this way has created successfully-risen dough every time. The more I work at this, the better I’ll be at this.
If you’re looking to make other goodness with this recipe, try my posts for making pizza or making frittelle.
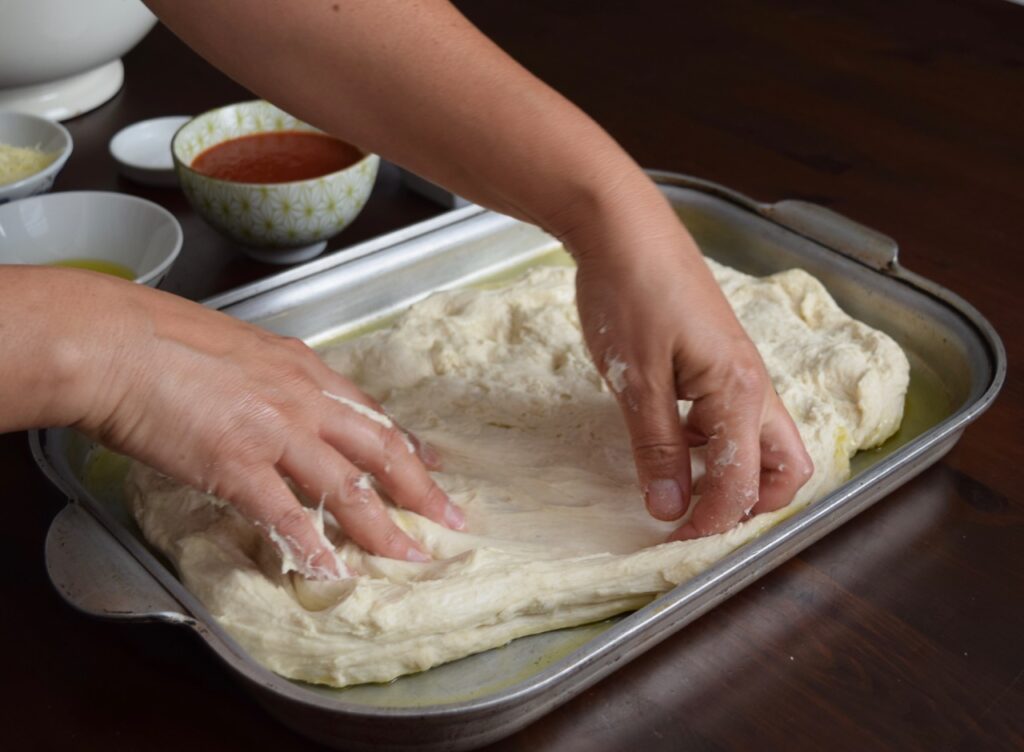
Baking in this way is something I’ve always wanted to be good at, because I’ve always looked up to the women before me, and their expert hands do this so well. I am always in awe of hands that have real experience! Becoming good at any skill, (cake-decorating, driving a car, public speaking, etc.) takes confidence – both mental and physical. You have to feel a certain way about your knowledge of the task at hand, so that your hands/body can relax, and act accordingly.
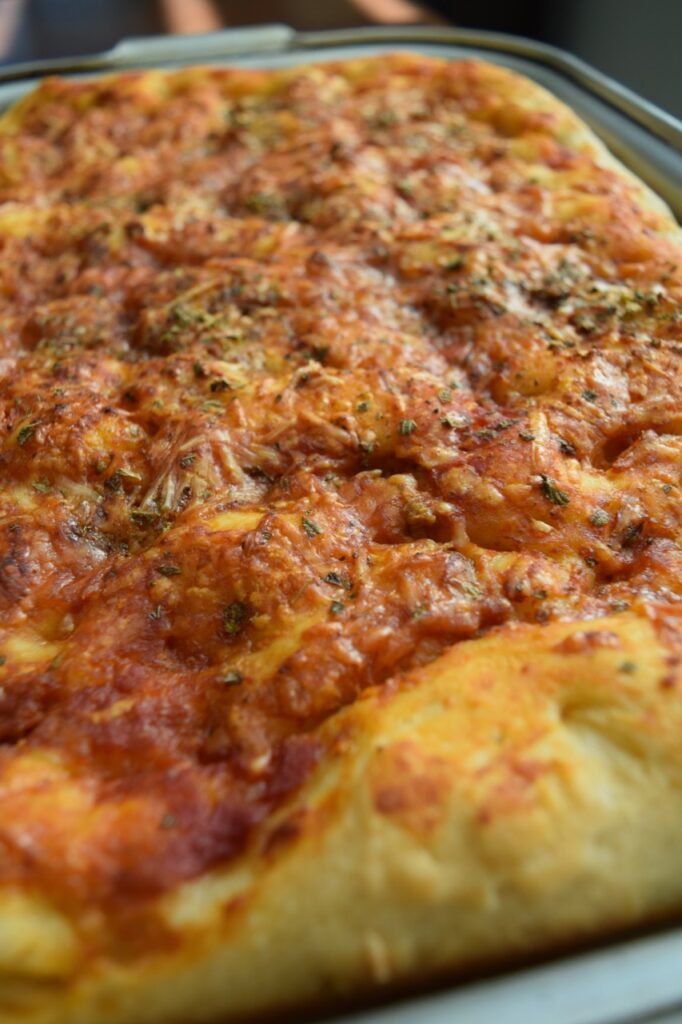
We have to put in the work, to gain real experience, so that those stars can align for us, with anything we want to achieve. I’m a self-taught baker and it took an incredible amount of determination and too many practice hours to count of developing my own recipes and the confidence to become the master-baker or “fornia” I am today. I do feel blessed to have the gift of a steady hand, and any gifts I need to help achieve this personal goal that has only been recently awarded to me by my mom (after 10 years of being a professional).
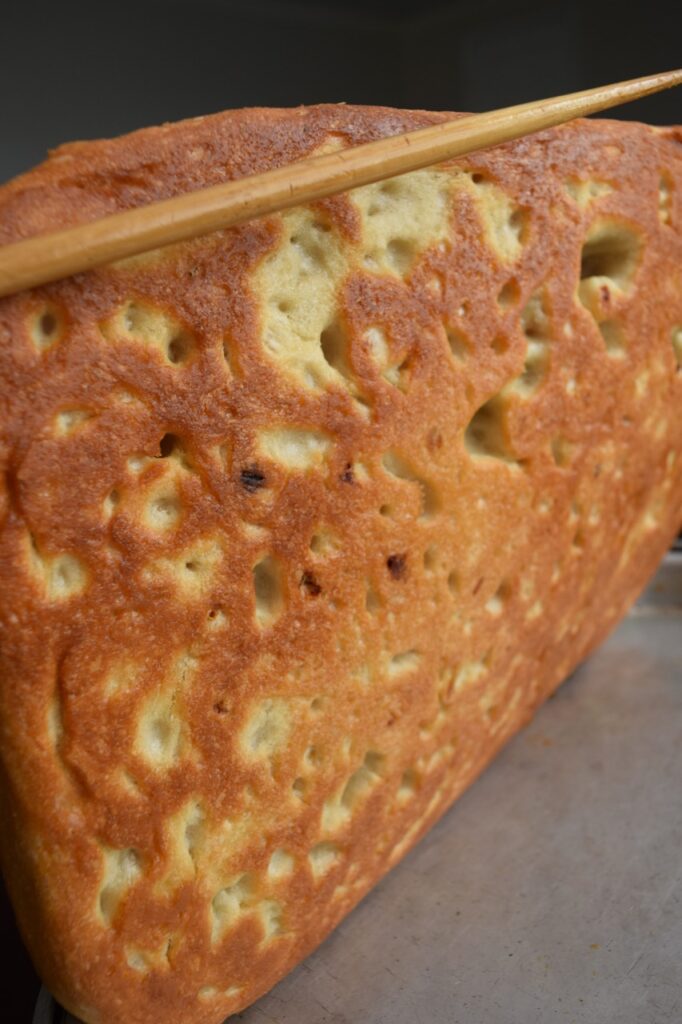
creating a one-of-a-kind texture and taste.
Speaking of goals, this golden-brown and crisped bottom is a joy to my world! One thing I know for certain: If you really want to do this, you can do this! Here’s my step-by-step:
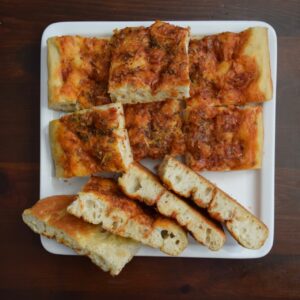
making focaccia
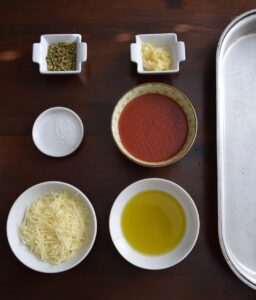
Ingredients
- prepared dough recipe I tend to use my no knead bread dough recipe for this.
- deep-dish metal pan
- 1/3 cup extra virgin olive oil The amount oil depends on the size of pan and amount of dough you are using. You'll want enough to completely cover the bottom of the pan and enough to be saturated at the top of the dough.
- 3/4-1 cup either smooth tomato sauce or diced tomatoes without the liquid The texture is about personal preference and what you have on-hand. In my blog post, I share how I created focaccia both ways.
- 2 teaspoons garlic two minced cloves or enough granulated garlic sprinkled to evenly top the dough.
- 1/2-3/4 teaspoon coarse kosher salt Use enough to moderately and evenly sprinkle over the top of the dough. Add more to taste.
- 1 tablespoon dried oregano
- 1/4-1/3 cup grated Parmesan cheese Add more or less, according to what you like best.
Instructions
- Prepare the dough. Either of my dough recipes dough-making process take under 8 minutes after ingredients are prepped. The dough will need to proof/rise for one hour before it is ready to work with.

- To make focaccia, takes one half of one risen-batch of our Master Dough recipe, and for my favorite thick-style of focaccia, I'm making two batches of my No Knead Bread Dough.

- When you are ready to bake, pre-heat your oven to 375 degrees Farenheight, or 190 degrees Celcius. Prepare your toppings. Extra virgin olive oil is a requirement for a true focaccia.

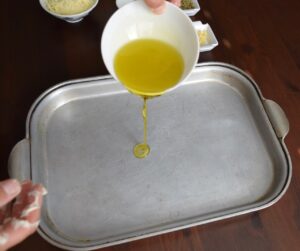
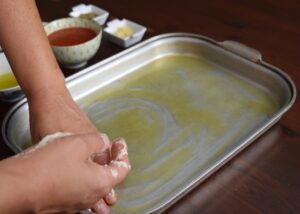
- In a deep-dish, metal baking pan, pour the olive oil into the bottom.

- With your hand, spread the oil to thourally cover the bottom.

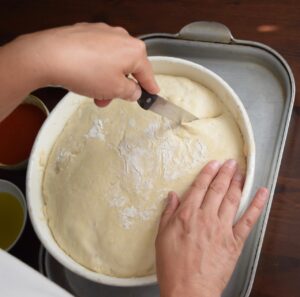
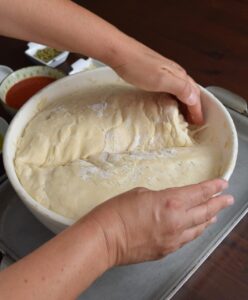
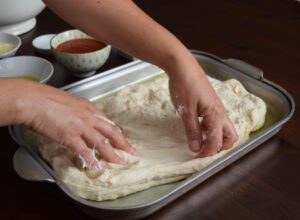
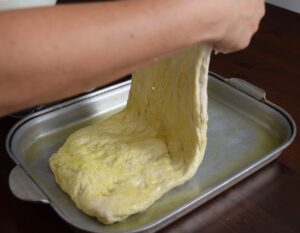
- With your hands, pull and stretch the dough to fit the pan.

- You can press your fingers in before flipping the dough. For traditional focaccia height, as will be the end result with this particuluar focaccia, you will keep it here.

- For a thick focaccia, you would fold the dough in half – doubling it – and from here, stretch it out again.

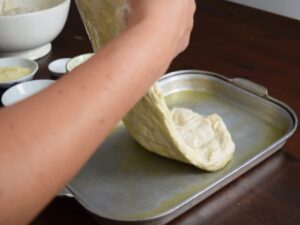
- Next, hold the dough and flip it to the other side, so that the bottom that soaked in some of the olive oil, is now at the top.

- Finish the stretching with a final stretch.

- If you have not used a signifiant amount or all of the olive oil at the bottom of the pan and the top is not thourally oiled, you can add more at this time. You do not want the top of the bottom to be dry of oil.

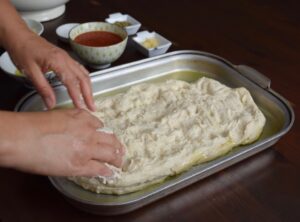
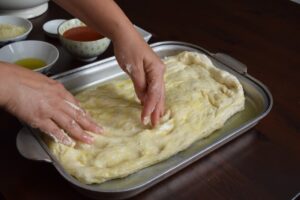
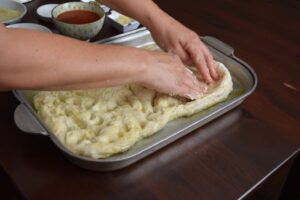
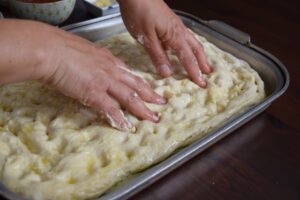
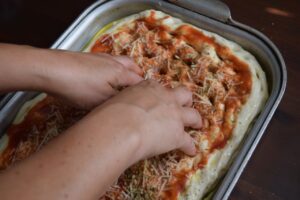
- Use your fingers to apply a soft amount of pressure, to evenly press into the dough, creating craters.

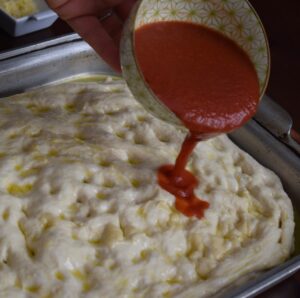
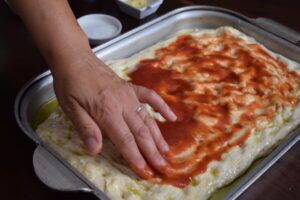
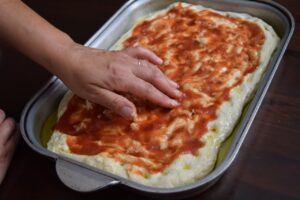
- Time to add the tomatoes. If you are using tomato sauce, pour it on. If you are using diced tomatoes, place them evenly.

- Make sure the tomatoes have covered the top. We leave a crust without toppings around the edge.

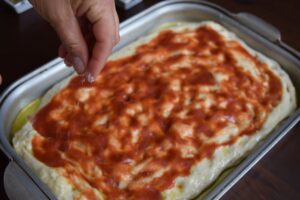
- Sprinke-on coarse salt.

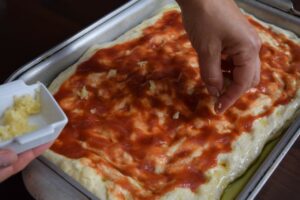
- Add garlic: either granulated garlic or minced garlic.

- If using fresh-minced garlic, with your fingers, spread it evenly over the sauce, or keep little garlic pockets. It is up to you.

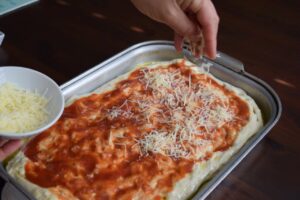
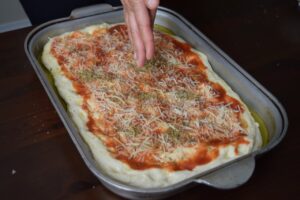
- Next, sprinkle the cheese. With focaccia, we use a spare amount of dry-style, grated cheese like Parmesan, or a Paremsan-Romano blend.

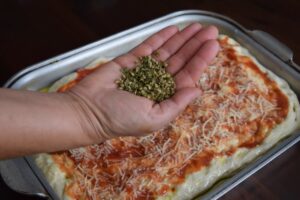
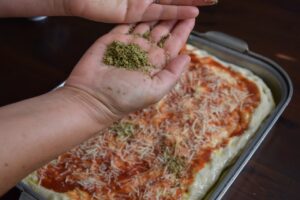
- Take the dried Oregano in the palm of your hand.

- Place your other palm on top, and crush the whole pieces by firmly pressing them toghether, and moving your palms in opposite directions.

- The fresh-crushed oregano, using whole herb pieces, versus the ground/over-processed variety, offers more flavor and a better result.

- We always clap any excess from our hands onto the top, so that nothing goes to waste.

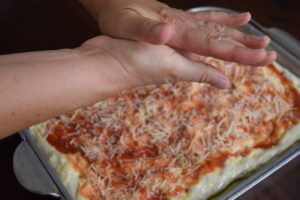
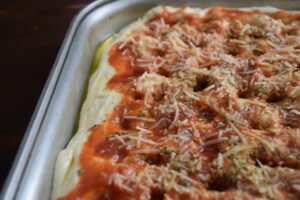
- Now that all of the ingredients are present, we'll put our fingers down once again. We start from the top and work our way down in rows.

- Time to bake! Place in the middle, to bottom-middle rack of your oven and bake for 40-45 minutes, depending on the golden color you are looking for.

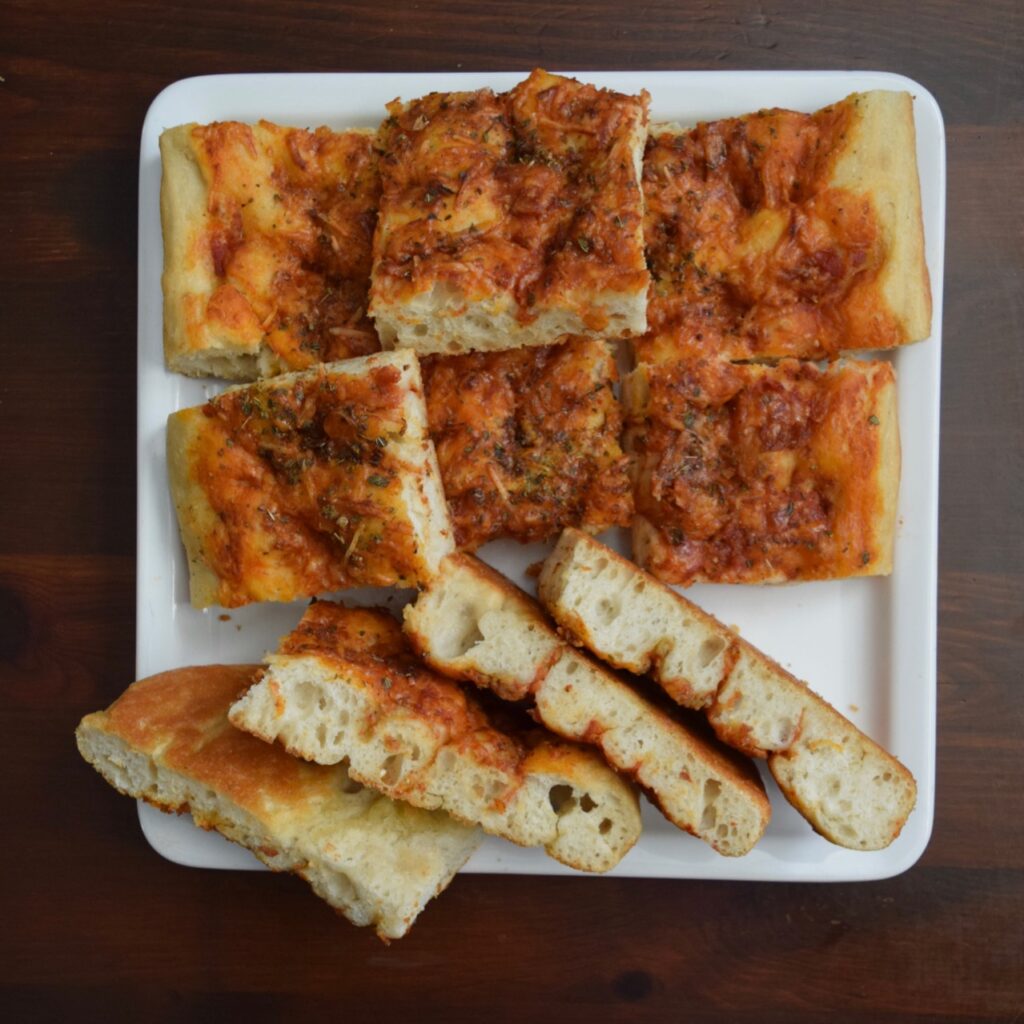
- For our oven, 40 miunutes seems to be the the time, to get this beautiful color and crisp edge with a very tender, airy, bread-like center. All of the olive oil will soak in into the dough when it is baked, so that the pan itself and the pizza, will not be greasy.

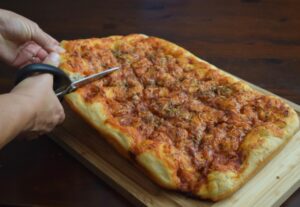
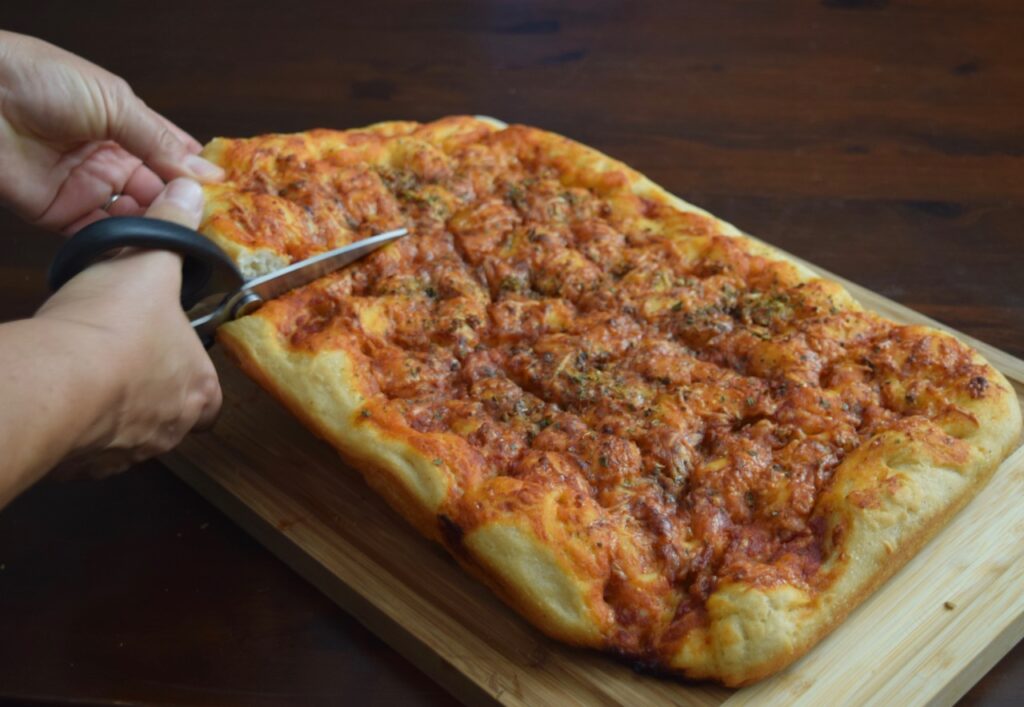
- We tend to cut focaccia with a pair of kitchen/larger siccors, but you can use a knife. We cut pieces into square sized servings, and ask who wants middle or corner pieces. First come, first served!

- This disappears quickly at our house. Focaccia, like pizza, offers the best texture and finish when it is eaten fresh-made or the same day. Extras can be stored in a sealed container and kept out at room temperature or refrigerated, for up to two days.

Video
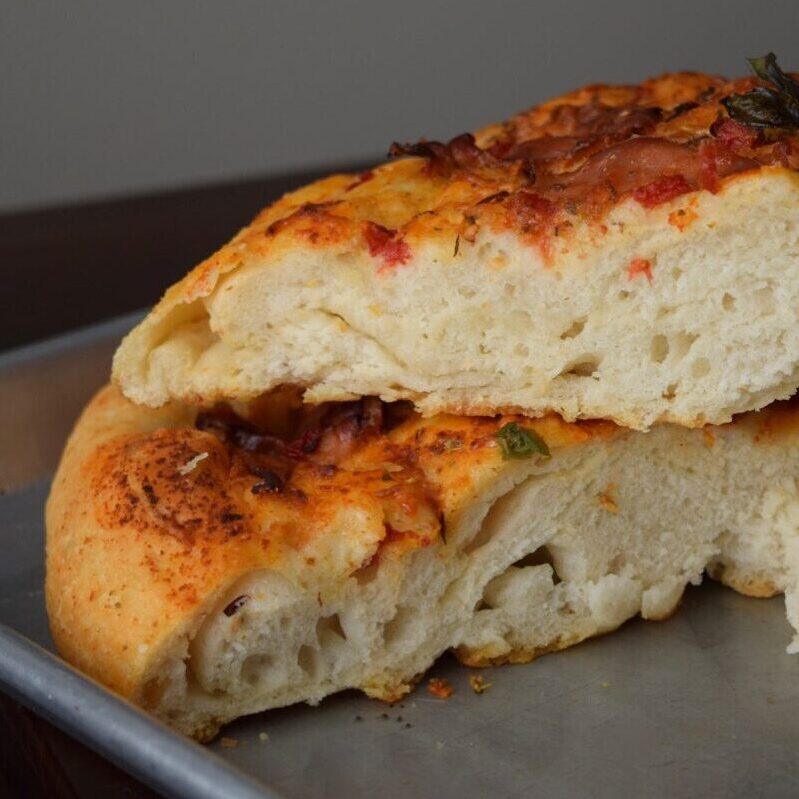
To switch things up a bit, here’s a focaccia made using the same dough, with a simple dough layering method to create an absolutely beautiful, extra-thick focaccia.
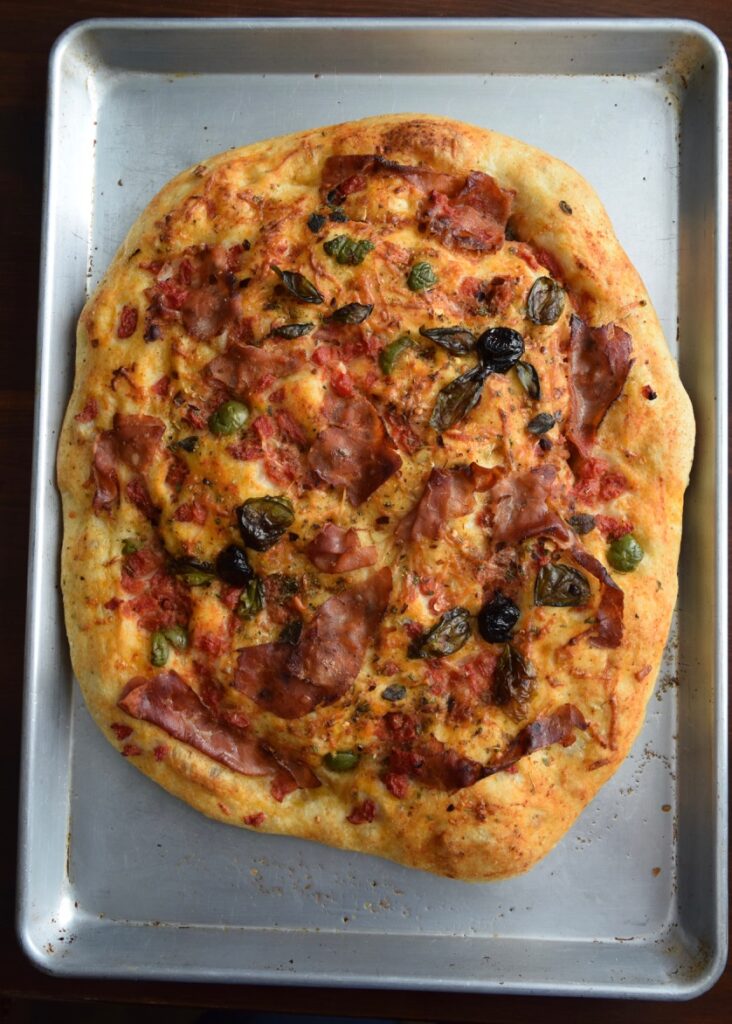
Here I folded the dough in half, and spread over the pan a second time, before adding toppings. This created a little more resistance in the dough since it feels stronger, or harder to spread. It’s why it’s really hard to get rectangular shape to fit the pan.
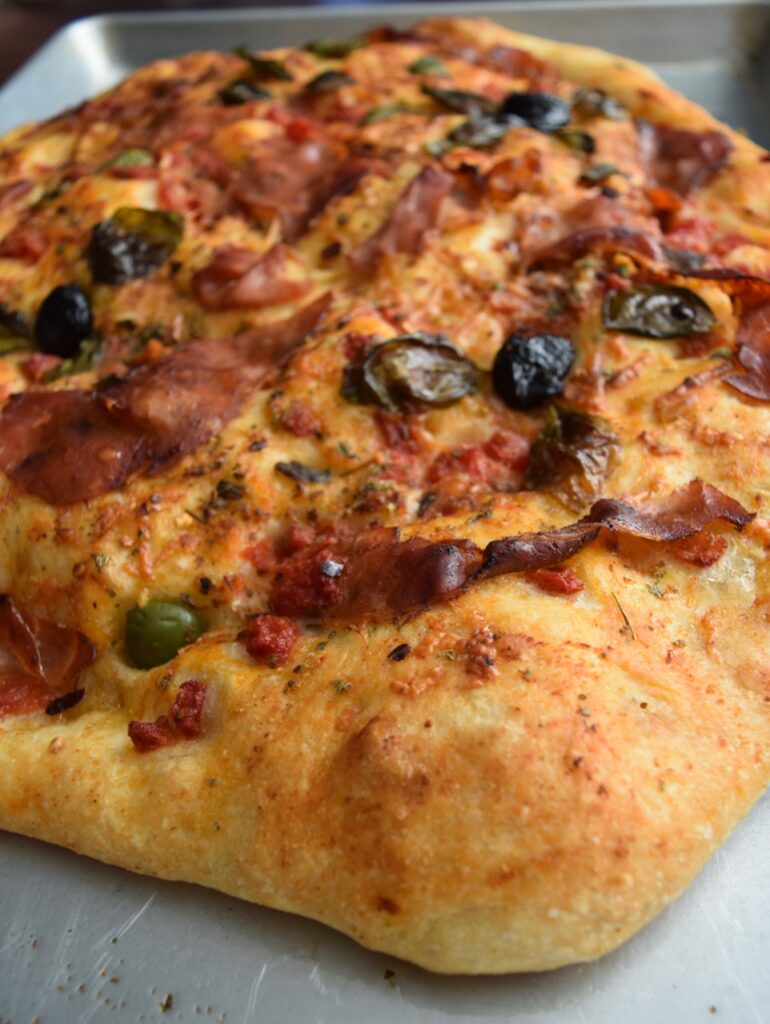
The focaccia will be rounder and a little shorter, and remember, making pizza and focaccia is not about perfection, so we welcome whatever shape it bakes into.
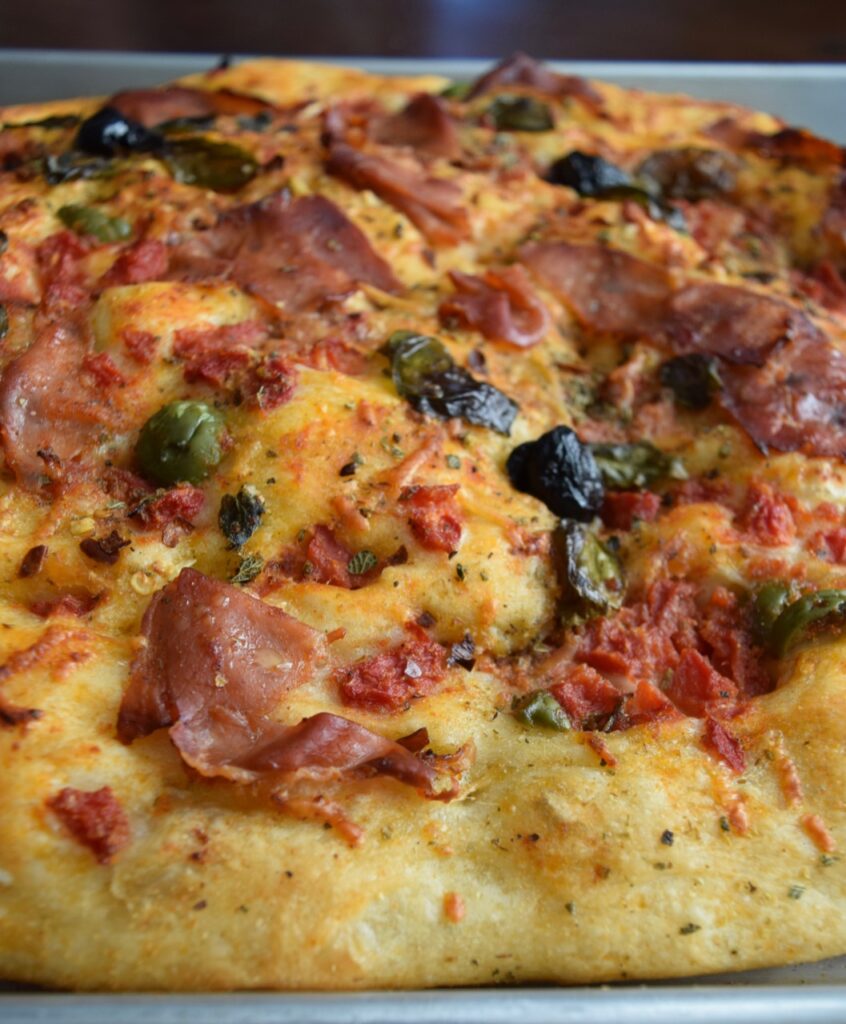
Here I used extra virgin olive oil, diced tomatoes, coarse salt, one clove of minced garlic, hand-crushed oregano, red chili pepper flakes, the slightest bit of Parmesan cheese, fresh leaves of Basil and Oregano, both black and green olives, and Prosciutto.
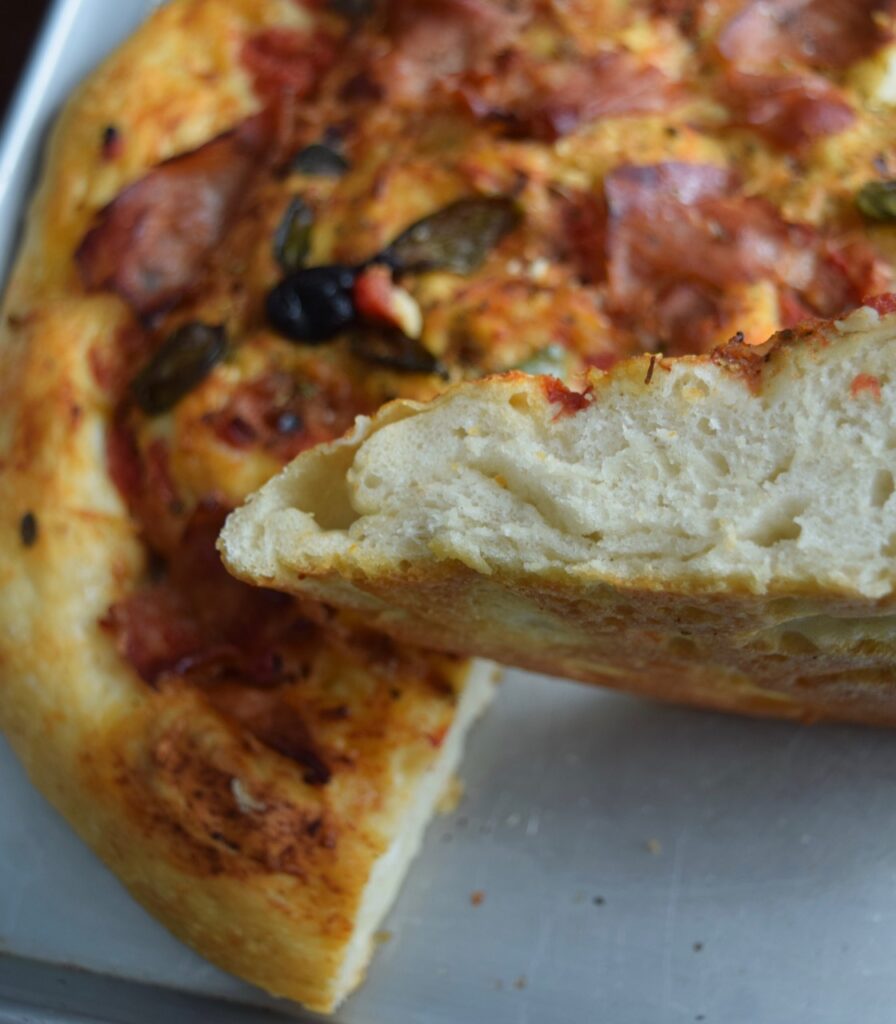
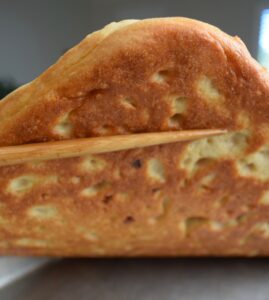
The air in the end-result is outstanding. There are baby pockets and big pockets. The thickness is different and so satisfying.
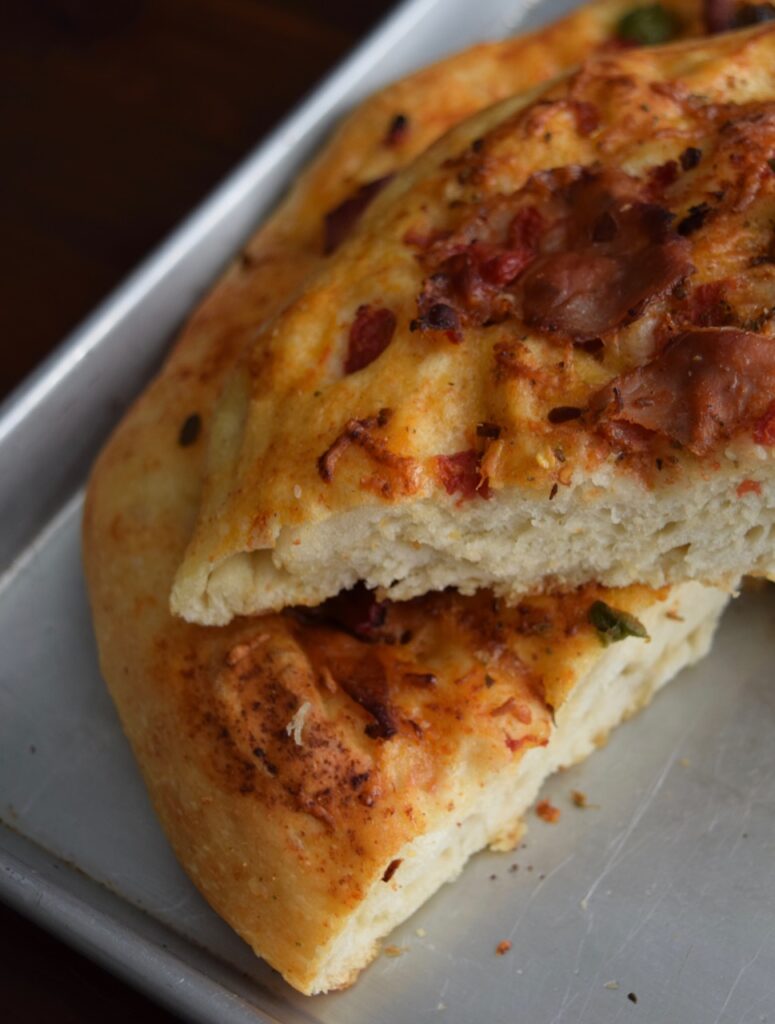
Here’s the Instagram post, showing the ingredients, and a quick-time video of how it all came together, after folding the dough.
I love to share some of the background to the Italian food and culture I have been raised with. Bread and focaccia is a part of Italian-life. This staple is enjoyed as a snack or as a side to a meal. For many families in Italy, and in some traditional Italian-American homes, focaccia is made once a week. This culture of bread and focaccia-making has been carried out long before and even after the convenience of stores and bakeries, because the love given and received by homemade food, tends to be preferred. Homemade food is considered an act of love within the family.
Back when my mother was being raised in Italy, bread was made at home, – or baked in a community oven – daily to feed a family. It is why my mother taught me to bless, or basically pray over dough before it proofs, so that it can rise, and therefore feed us. Making bread, with a separate dough recipe, that calls for the addition of potato, will be something I plan to share with you in the months to come.
Thanks for being here. With love,

