Our family’s buttermilk biscuit recipe is an all-time favorite. There’s just as much enthusiasm for them at an everyday meal, as there is at our Thanksgiving table, where this recipe became a tradition for us close to twenty years ago. Within the culture of our family, time is well spent when we offer our love and very best homemade-food. This is one of those special recipes that I’m so happy to share, along with a relevant update to my original biscuit post several years ago, so that these delicious side can be made the classic way and alternative – with both vegan and gluten free options.
Thanksgiving is my all-time favorite meal, and family-gathering of the year. We do a lot and love to go big on our best homemade food. I love sharing these important and special recipes with you, and this is definitely one of them!
Good savory baking, and excellent biscuits are all about the right ratios of ingredients to get a rich, flavorful bite. This chemistry has to be just-right. We don’t need to compromise. We can have our details on-point. Whether we’re making the all-time classic, and my best buttermilk biscuit recipe, or a vegan or both vegan and gluten free version of this biscuit, we want lots of flavor and texture!
The ingredients for this recipe are easy and we do even switch out of ingredients for alternative-needs. The most significant difference in end-result between the classic or alternative-recipe is the choice of flour. Gluten free flours are not going to provide the same rising, texture, or end-result, as a classic all purpose wheat flour will, and that’s totally all right. It is simply impossible to get the same kind of biscuit using the different flours and that yield different protein-contents. So please don’t be disappointed. Be happy! If this is the kind of food you have to eat, let’s embrace it. With this recipe, I’m going to help you enjoy your choice. Remember that you’re living your best life and not compromising, whether going gluten free is a personal choice, or an absolute need because of an intolerance or serious allergy. I’ve got you covered.
So let’s get this started! I truly hope you make this recipe with me!
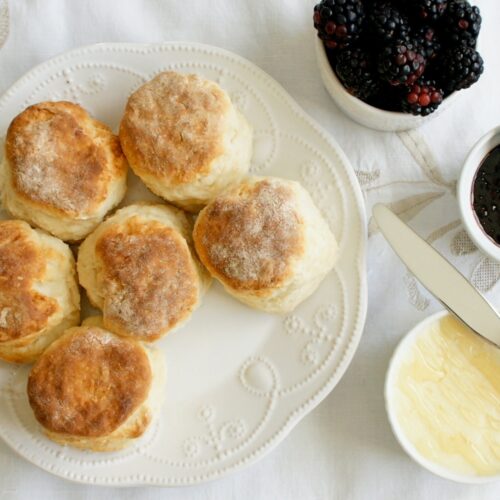
Mili’s Best Biscuits – classic buttermilk and vegan and gluten free
Ingredients
- 2 cups all purpose flour. (I'm using King Author.) For GLUTEN FREE: switch the same amount for gluten free baking flour. (I'm using Bob's Red Mill.)
- 4 teaspoons baking powder
- 4 tablespoons salted butter cold and cut into pats or cubes. For VEGAN: use the same amount of vegan, alternative butter. (I'm using Earth Balance Original.)
- 1 cup buttermilk For VEGAN: pour one tablespoon white vinegar into a glass, with one cup of original Soy Milk on top. Let stand for five minutes, allowing the milk to curdle like buttermilk.
Instructions
- Preheat your oven to 450 degrees.Prepare a cookie sheet with a silpat mat or parchment paper.In a large mixing bowl, combine the dry ingredients.

- Place the butter on top of the flour mixture. I use a dough/butter cutter to cut the butter into the flour. This is a great and inexpensive tool you should have on-hand if you love making biscuits or scones. If you don't have this tool, no worries. Cut the cold butter into small, pea sized cubes, and place them into the fridge until you're ready to make the dough. Once you're ready, place these cut pieces onto the flour, and use your hands to quickly rub the butter pieces into the dry ingredients. Don't over-handle. You want to try to get these bits mixed in so that the butter stays cold. Do this task quickly since for best results, the butter should stay firm and not melt. Create a well in the center of your bowl and pour in the chilled buttermilk. With your hands, mix in the buttermilk so that it's all combined.

- In the bowl, you'll get the dough totally incorporated. fold the dough onto itself at least three times. If you have some flour on your hands or you have saved a little reserved flour, place a pinch and rub onto a flat surface. Fold again onto that surface and with your hands create a mound that is about one to one and a half inches thick and even. This makes for lots of nice air and flaky layers in your biscuits. Wash your hands and start cutting your rounds. I have used lots of different cutters in the past. A round cookie cutter works well. However, I found that my son's school-lunch thermos works best. It allows for the serving size I prefer (about 1.5") and I like how tall it is, so that I don't have to compromise the height of the biscuit when cutting. With your cutter, press straight down and through the dough. Place biscuits onto your prepared baking sheet so that they are just touching. You'll notice that your first cuts will be your best biscuits and the ones you cut with the scraps/remnants will not come out as well. That's OK. There's no sense in waste and no one will complain!

- Bake for 15-20 minutes (depending on your oven) or until the biscuits are very golden at the top and cooked through with a slightly golden color at the bottom. There should be no moisture seen from the outside.
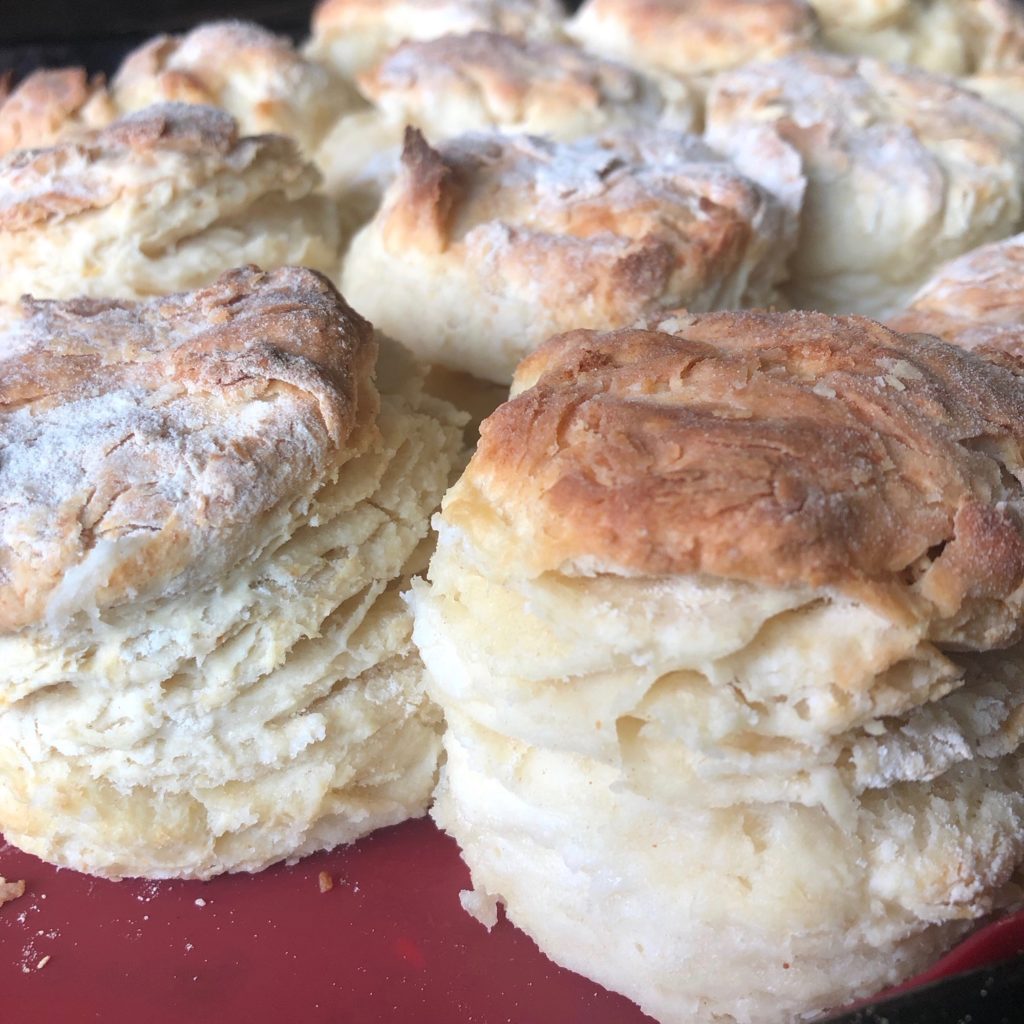
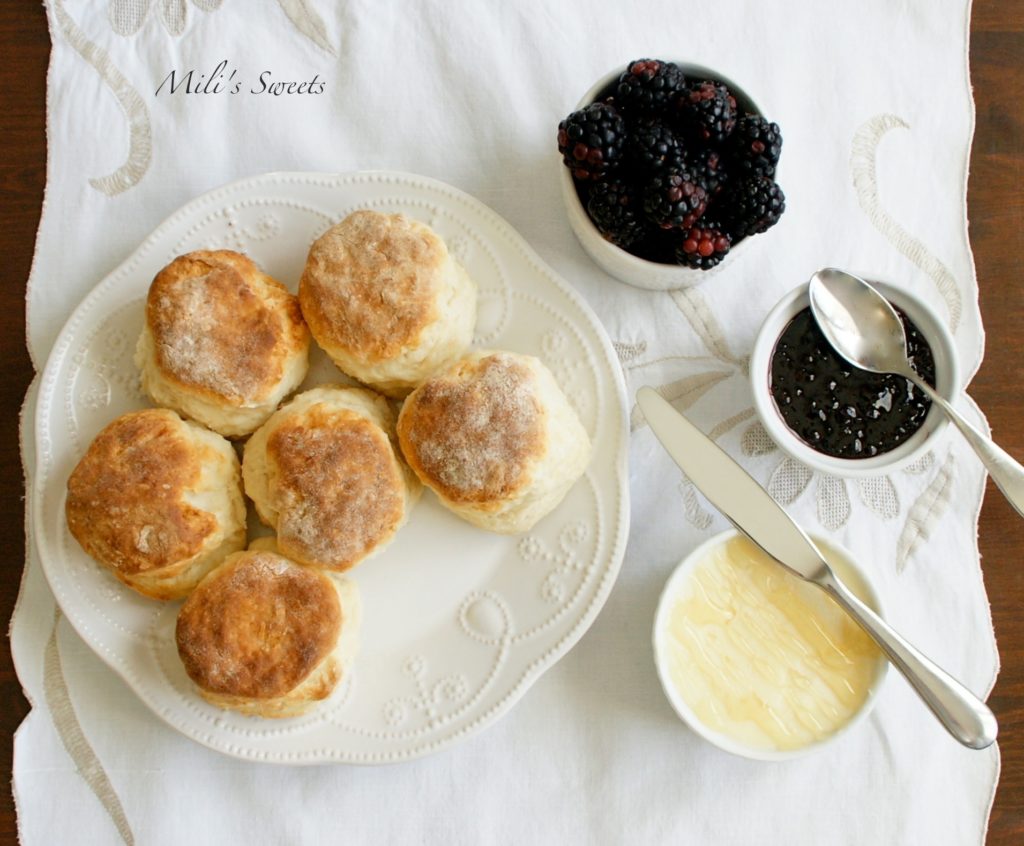
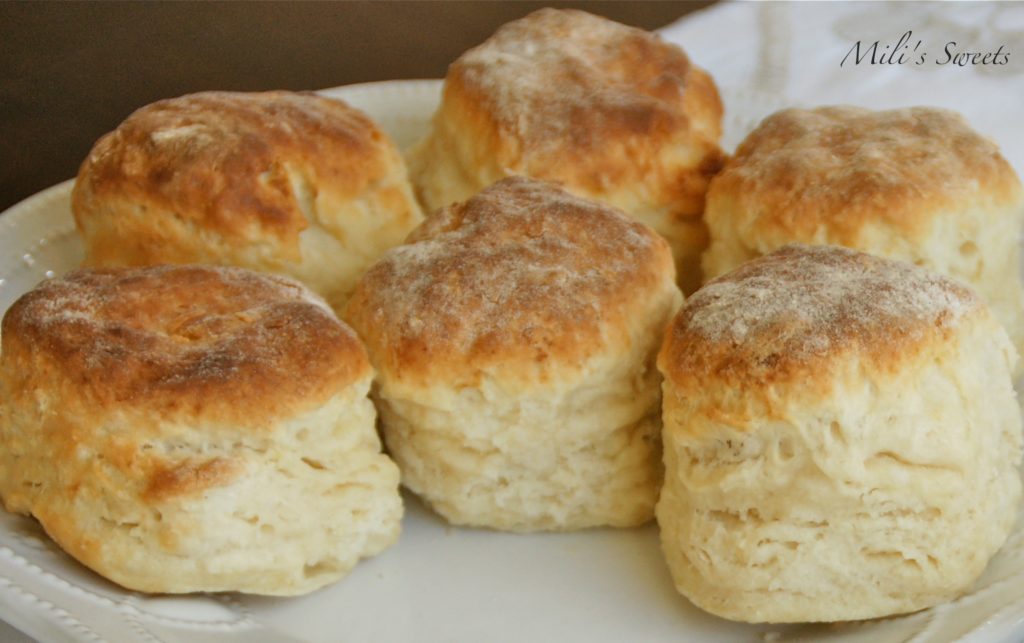
- end result for classic buttermilk will look something like this:

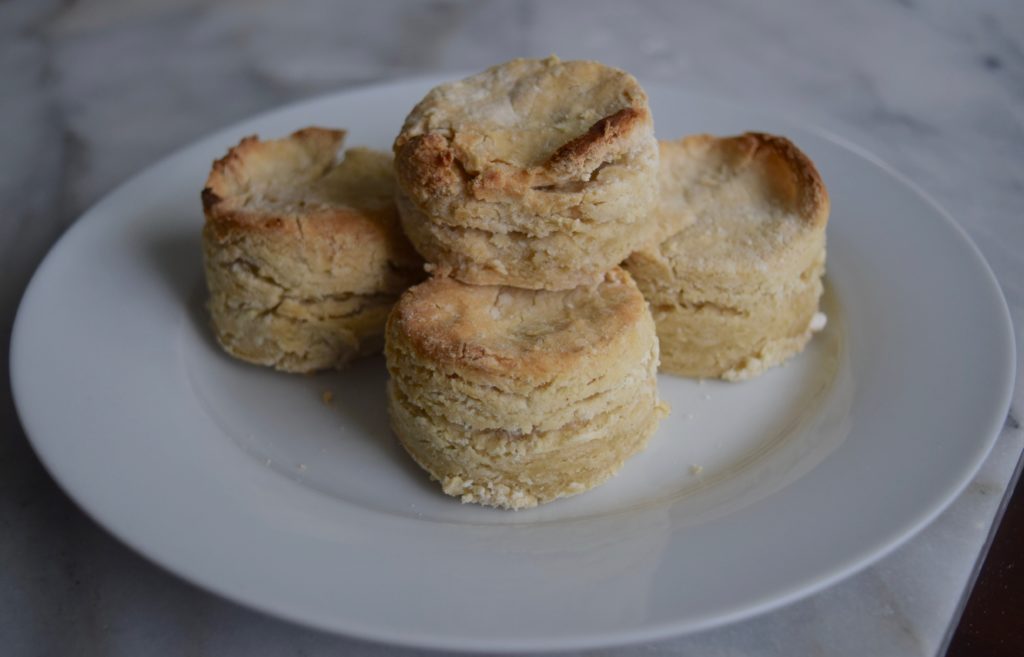
- end result for biscuits made both vegan and gluten free will look something like this:

With a little practice, biscuits can become a quick and easy bread serving, without the worry or wait of yeast performance. I think you’re going to love making them just as much as you will love eating them.
Experience is a very good thing when it comes to handling and making biscuits, but I don’t want this process to intimidate you at all. You can totally do this! If you’ve never made biscuits from scratch before, you just need to give yourself a break and give it a try. No pressure. Once you’ve made them even one time, that is considered hands-on experience. You’ll feel better and better about it every single time you make them. There’s a hand-feel that is involved, and once you’ve made these a couple times, you’ll have the confidence in knowing when you’ve combined and folded the dough enough, just by the touch. You’ll want this gift as soon as you bite into your first-ever batch. From there, you are hooked. Call me a biscuit snob, but I am only eating from scratch biscuits, since I simply cannot go back!

Just like making pastry for the first time years ago, I thought that I just couldn’t do it. I wanted to, but I was stopping myself from trying. Don’t waste another minute if you felt the way I once did. As soon as I went for it, I was thrilled. I am certain that you’ll feel the same way. We only have everything to gain by trying our best.
Ingredient Details
The keys to our ingredients for this wonderfully carb-dense, traditional side, is having an ample amount of good-fat in both the butter or butter substitute, and the buttermilk or curdled milk-substitute. These details matter a lot. The total percentage of fat in classic salted butter 14%. The total percentage of fat in vegan butter (I’m using Earth Balance Original) is 17%. This is good fat. We need it, and we want it.
The flour we use should have some body to it. By body, I mean we are looking for protein content. I’m using what’s in my pantry. For the very best result, for vegan or classic biscuits, we’re looking for a little more protein that typical all purpose. Most have 10%. I use King Arthur and it has 11.7%. The classic versus alternative-recipe biscuit is different because the percentage of protein in the Bob’s Red Mill Gluten Free Flour 1:1 blend I’m using has a total of 6% protein.
If this is all too much information for you, no worries. I totally get it! The research, strategy, and planning have been done, so that we can all reap the benefits for really good biscuits. These details can be a lot of depth for some people. However, if you love to bake like me, and want to know more about why you put things together in a specific way, I’m happy to share what I have learned with you as a professional and a home-baker, down to the very last detail.
Helpful hints to new biscuit makers:
Before serving guests a new recipe, especially one that is served with a more formal or holiday meal, I always recommend testing it beforehand. That way, you know exactly how many servings the recipe will yield, with your cutter and technique. My number of servings depends on how many times I fold my dough over. I tend to double the recipe, and roughly get about 10 nice biscuits and a couple not pretty ones with remnant dough, using my 1.5″ cutter.
Holiday meals are best when prepared food is timed to be hot and fresh. These biscuits are the last item that we put into the oven. To make sure we have enough, I prepare my cookie sheet with the number of biscuits that I’ll need so that I’m ready to place them at the table on-time.
Some people will find it hard to not use shortening in their biscuits. I totally understand and respect the need to keep traditions alive in your own food, but it’s not a tradition in my home and we do not use it in our food. We go all-butter. So, if you can’t be without it, I recommend using 1/2 of the above single-recipe as butter (2 tablespoons) and 1/2 as shortening (2 tablespoons).
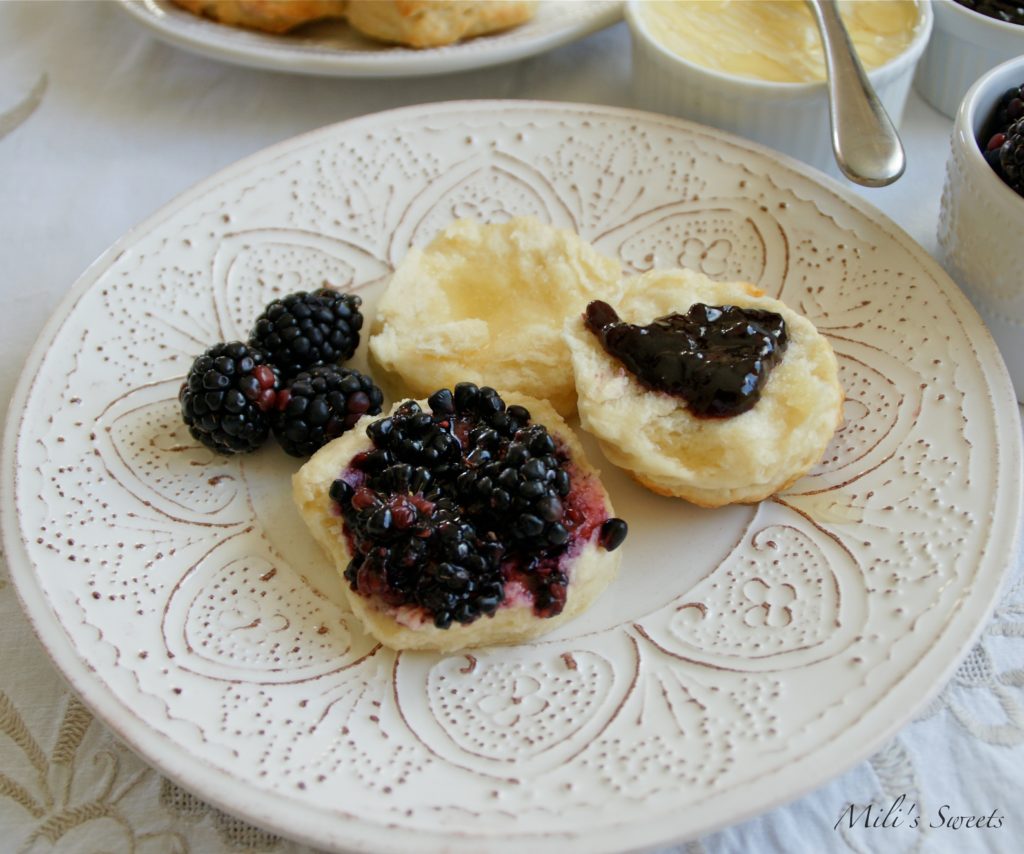
Thank you for being here! Take care.


